






Boost.space
Connect Boost.space, a centralized data platform, with Webflow to sync CMS items, form submissions, and orders through one record database.

Each Webflow site stores its own Webflow CMS items, form submissions, and Ecommerce orders. Nothing in that data model reconciles a visitor who fills out a form, places an order, and already exists in your CRM. Every additional tool needs its own connection, and duplicate records pile up across the stack. Boost.space holds that shared record layer outside any single site.
Connecting the two turns site events into records in one database with two-way sync. A form submission can map to a Contacts or custom module record, and a new order can land in the Orders module while a product update comes back as a staged CMS item. A key field on each record decides whether incoming data updates an existing record or creates a new one. The same scenarios that read from Webflow can publish items and fulfill orders in the other direction. Sync in that direction with care: a CMS item you publish is readable by anyone who loads the page, so map only the fields you are happy to show, and leave internal notes, costs, and contact records in Boost.space.
The integration is most useful for ecommerce operators and marketing teams running campaign landing pages. Agencies managing several client sites also benefit. A master product database can sit behind a Webflow storefront while landing page leads flow into a deduplicated contact list that feeds email and ad platforms, with CMS content, submissions, and orders from several client sites centralized in one place. Developers get a data layer to build Make scenarios and API workflows on top of.
How to integrate Boost.space with Webflow
What is Boost.space? Boost.space is a cloud database that consolidates records from connected apps into one source of truth, and it now positions that database as the data layer its AI agents run on. It stores data as modules, spaces, records, and fields, and you define the modules yourself. Automation between Boost.space and other apps runs on Make, using a Make account you connect once. The older Integrator scenario builder and the fixed modules that came with it, such as Contacts, Orders, Products, Tasks, and Invoices, are now an archive that Boost.space states is no longer updated, so treat any older walkthrough you find as reference rather than instruction.
Teams use this integration when Webflow is one of several systems writing the same customer or product data. Boost.space stores the shared record layer that your scenarios read from and write to. A Webflow storefront and a CRM can feed one Products or Contacts module, as can a supplier spreadsheet. Webflow then reads back from that master copy instead of holding its own version.
The Boost.space and Webflow integration supports five approaches:
- The Boost.space app authorizes Boost.space against your Webflow site or Workspace over OAuth, which is what opens the Webflow modules in a scenario.
- Webflow webhooks post form submissions and site events straight to a Boost.space webhook address, with no Webflow module in the scenario at all.
- Make runs the scenarios that actually carry the data, on a Make account you link to Boost.space once.
- The Webflow Data API and the Boost.space REST API give you full control over record and CMS item sync, at the cost of server-side work.
- MCP puts both systems behind an AI agent, so you describe the outcome instead of wiring the steps.
Most implementations combine two or more of these methods depending on the complexity of the setup.
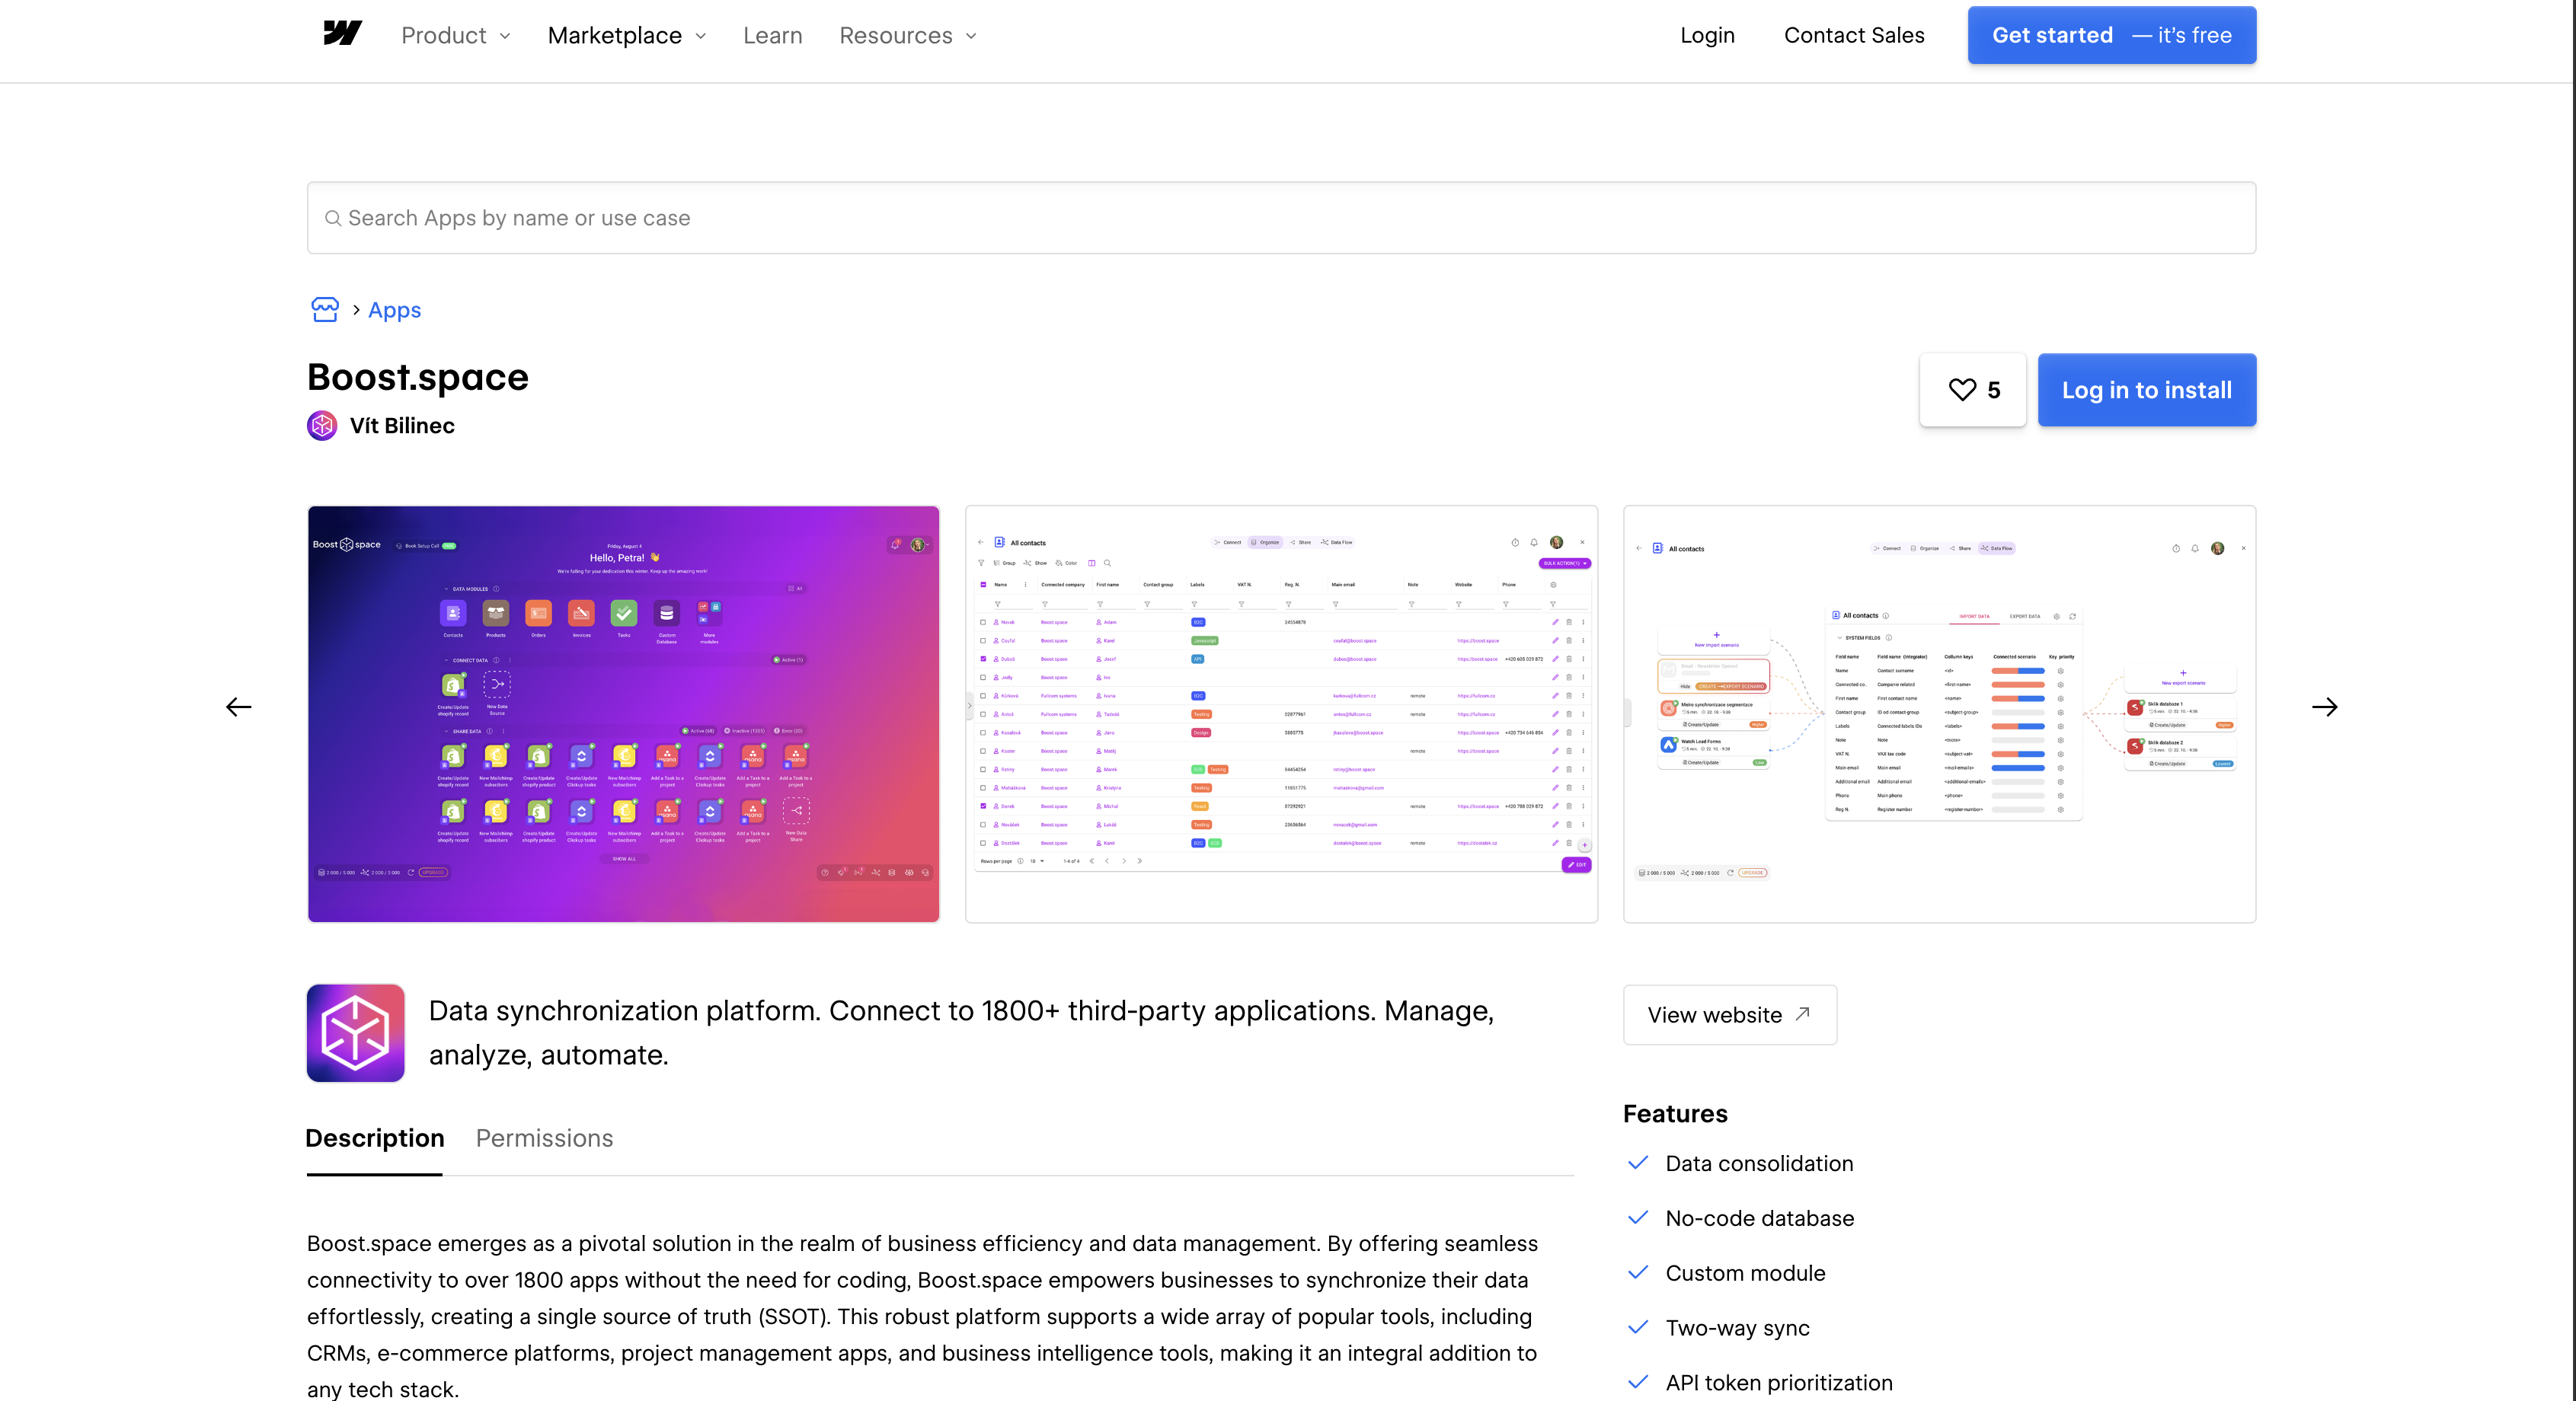
Install the Boost.space app
The Boost.space app on the Webflow Marketplace authorizes Boost.space against your site over OAuth, and that authorization is what makes the Webflow modules available inside a scenario. The listing requests nineteen scopes: assets:read, assets:write, authorized_user:read, cms:read, cms:write, custom_code:read, custom_code:write, forms:read, forms:write, pages:read, pages:write, sites:read, sites:write, site_activity:read, users:read, users:write, ecommerce:read, ecommerce:write, and app_subscriptions:read. That is a wider grant than a data sync strictly needs, and it covers head-and-body custom code as well as your pages and assets. The listing installs at Workspace level, so authorizing it for a Workspace covers every site in that Workspace rather than the one you had in mind. Read the scope screen before you approve it, and pick individual sites if that is what you want. The Webflow-specific connection steps sit in Boost.space's archived Webflow guide.
To set up the integration:
- Open the app listing and click Add to site.
- Select the Workspaces or sites to add the app to, then click Authorize app.
- Log in to Boost.space, open the Integrator, and add a Webflow module to a new scenario.
- Click Create a Connection. To use your own Webflow OAuth app, click Show Advanced Settings and enter its credentials, with
https://integrator.boost.space/oauth/cb/webflow2as the redirect URL. - Click Save, then log in to Webflow and confirm access when prompted.
A Webflow site token is the alternative to OAuth. Copy one from Site settings > Apps & integrations > API access and paste it into the connection dialog. Only site administrators can create one, and a site token covers a single site. Either way, the connection opens forty Webflow modules in the scenario editor:
- Triggers: Watch Events starts a scenario on a Webflow webhook event, and Watch Comment Threads picks up new or updated comment threads.
- CMS items: List, Get, Create, Update, Publish, and Delete an Item cover the item lifecycle, with List Collections and Get a Collection for the schema.
- Products and inventory: List, Get, Create, and Update Products, Update a Product SKU, and Get or Update an Item Inventory keep the catalog and stock counts in step.
- Orders: List Orders, Get an Order, Update an Order, and Mark an Order Fulfilled, Unfulfilled, or Refunded drive fulfillment from the record side.
- Forms: List Forms, Get a Form, List Form Submissions, Get a Form Submission, and Update a Form Submission read and annotate what visitors sent.
- Everything else: site, page, asset folder, and comment thread modules round out the set, and Make an API Call reaches any endpoint the named modules miss.
The one detail worth planning around is timing. Watch Events is an instant trigger, which means Boost.space registers a Webflow webhook and the scenario starts when the event arrives; Watch Comment Threads polls instead, so it runs on the scenario schedule, and a scenario's default schedule is every 15 minutes. Scenarios themselves run on the Make account you link under System settings > Integration, which is now the documented path for moving data between Boost.space and other apps.
Send Webflow webhooks to a Boost.space custom webhook
You can skip the Webflow modules and point a Webflow webhook straight at a Boost.space address. In a scenario, the Custom webhook module generates a URL and starts the run the moment a payload arrives. Boost.space also exposes a native incoming endpoint, POST /hook/{token}, where the token in the path is the credential and no other authentication is required. It accepts any valid UTF-8 body, stores the delivery and answers immediately, rejects anything over 1 MB, and returns the same 404 for an unknown token as for a disconnected one so that a guess tells the caller nothing. That endpoint suits one-way pushes such as lead routing and publish notifications. Boost.space views live inside the Boost.space app, so to put that data on a Webflow page you sync it into a CMS collection and render the collection. Form-level and site-level webhooks are separate setups.
Route a form's submissions with the form webhook
Each form element has a Send to setting that posts submissions to an external URL. Use it when a single form feeds Boost.space and the rest of your forms stay local. The steps come from the add forms article.
To send a form to Boost.space:
- In the Integrator, add a Webhooks > Custom webhook module and copy its address.
- Select the form on the canvas or in the Navigator and open the Settings panel.
- Click the add icon next to Send to and choose Webhook.
- Paste the Boost.space address as the webhook URL.
- Copy and store the Secret key. It displays only once.
- Publish the site, submit a test entry, then click Run once in the scenario.
A form can post to more than one destination at once. The Custom action option is the exception: you cannot combine it with the Webflow or email notification destinations.
Register a site-level webhook for CMS, ecommerce, and publish events
Site-level webhooks fire on events beyond forms. Trigger types include form_submission, site_publish, collection_item_created, collection_item_changed, collection_item_deleted, ecomm_new_order, ecomm_order_changed, and ecomm_inventory_changed. The APIs overview covers the settings path.
To register one:
- Copy the Custom webhook address from your Integrator scenario.
- Go to Site settings > Apps & integrations > Webhooks and click Add webhook.
- Choose a trigger type, such as Form submission or Site publish.
- Choose API version v2 and paste the URL.
The payload your scenario receives depends on the trigger type, per the event reference:
form_submissiondelivers adataobject of field-name and value pairs plusformId,siteId, andsubmittedAtcollection_item_createdandcollection_item_changedinclude the fullfieldDataobject withisDraftandisArchivedcollection_item_deletedandcollection_item_unpublishedreturn onlyid,siteId,workspaceId, andcollectionIdecomm_new_ordercarriesorderId,status,customerInfo,purchasedItems, andtotals
Webflow caps you at 75 webhooks per trigger type per site, retries a failed delivery three times at ten-minute intervals, and treats any non-200 response as a failure, per Webflow's webhook guide. One catch that bites people later: a webhook registered through Site settings does not carry the headers you need to validate request signatures, so register it through the API if you plan to verify deliveries. In the Integrator's Mapping Editor, drag payload fields such as data["email"] into Boost.space record fields. Set the key field so repeat submissions update rather than duplicate.
Connect Webflow and Boost.space with Make
Make is where Boost.space scenarios actually execute, and it lists both apps: Webflow with 40 modules (2 triggers, 26 actions, 12 searches) and Boost.space with 34 modules (9 triggers, 20 actions, 5 searches). Building in Make directly, rather than from a Boost.space module view, fits when Webflow data has to reach apps outside Boost.space in the same run. Webflow's own Make article covers authorizing the Webflow connection.
Common scenario pairs:
- Webflow Watch Events (
form_submission) → Boost.space Sync a record, which updates a matching record or creates one if none exists - Webflow Watch Events (
ecomm_new_order) → Boost.space Create record in an Orders or custom module - Boost.space Watch updated records → Webflow Update an Item, followed by Publish an Item
- Boost.space Watch - Custom Module Item Created → Webflow Create an Item or Create a Product
- Boost.space Watch deleted records → Webflow Delete an Item
Eight of the nine Boost.space triggers are instant, so a record change starts the scenario immediately; Watch Custom Module Item Created is the polling exception and runs on the scenario schedule. Make's module reference describes an instant trigger as a webhook the service calls, which is the difference that decides how fresh your data is. The Boost.space app also includes Make an API Call, so any Boost.space REST endpoint is reachable from a scenario without custom code.
Build with the Webflow and Boost.space APIs
Direct API work fits teams that run their own backend and want to own retry logic, conflict handling, and publish timing. Both APIs take a Bearer token in the Authorization header. Boost.space's base URL is tenant-scoped, https://{system}.boost.space/api, with no version prefix. Webflow's is https://api.webflow.com/v2. Keep these calls server-side. A Code Embed element, and site-wide custom code, run in the visitor's browser, so a token placed there is readable by anyone who views source.
- Boost.space: the REST API handles modules and records through
GET /module,GET /module/{moduleId}/item,POST /record, andPUT /record/{recordId} - Webflow: the Data API handles CMS collections and form submissions on
https://api.webflow.com/v2 - Events: Webflow webhooks push each site event to your endpoint as it happens, which is what keeps a sync from having to poll
Those three surfaces cover almost every sync you would build by hand. Boost.space paginates with offset and limit, returns the total in the X-BoostSpace-FoundRecords header, orders with order=field;ASC|DESC, and filters with filter=field operator value.
Push Boost.space records into Webflow CMS items
Boost.space automations pair Record created, Record updated, and Record deleted triggers with a Webhook action that "Calls a URL with the event's data." Your endpoint receives the record and writes it to a collection. This gives you a product or content record that lives in Boost.space and renders on the site.
To implement this:
- In the module's automation, choose the
Record updatedtrigger and the Webhook action. Build the body with{$entity->field}placeholders for each field, or{$entityLink}for the record URL. - On your server, call
POST https://api.webflow.com/v2/collections/{collection_id}/itemswithfieldDatacontaining at leastnameandslug. This needs thecms:writescope. - Publish the item with
POST https://api.webflow.com/v2/collections/{collection_id}/items/publish, or usePATCH https://api.webflow.com/v2/collections/{collection_id}/items/liveto update and publish in one step. - Store the returned Webflow item
idon the record, for example as a Remote ID with "Webflow" as the Remote Application. The next update then targets the same item.
Bulk staged updates through PATCH .../items are capped at 100 items per request, so batch a large sync rather than sending it in one call. Published items then appear on the live site.
Capture Webflow form submissions as Boost.space records
Register a form_submission webhook once, verify each delivery, and upsert the submitter into Boost.space. Registering it through the API rather than Site settings is what gets you the signature headers.
To implement this:
- Call
POST https://api.webflow.com/v2/sites/{site_id}/webhookswithtriggerTypeset toform_submissionand your endpoint URL. Creating the webhook needssites:write; receiving events needsforms:read. - Validate the
x-webflow-signatureheader (SHA-256 HMAC) againstx-webflow-timestampbefore processing the body. - Look up an existing record with
GET /module/{moduleId}/item, for example with afilteron the email field. - Call
POST /recordto create orPUT /record/{recordId}to update; mappayload.datakeys such as"First Name"and"email"to custom fields.
Boost.space returns 400 for a payload that fails validation, 401 for a missing or expired token, and 403 for a permission gap. Watch for the 400 whose body carries code 4032: token-priority filtering stripped every field from your write, the record is unchanged, and the names it refused are listed in blockedFields.
Drive Boost.space and Webflow from an agent
Both products now expose an MCP server, so an agent can read and write each side without you writing the steps. Boost.space hosts a remote server that an MCP client points at, and its own documentation is explicit that an agent connected this way acts with exactly the permissions of the token behind it, no more. Webflow's server covers the site half: collections, items, pages, publishing, and the governance controls around them.
What this changes in practice is who authors the sequence. A scenario is a sequence you draw; an agent works out the steps from an outcome you describe, which suits one-off catalog cleanups, schema changes, and investigations more than it suits a sync that has to run every hour. Boost.space draws the same line, and keeps bulk writes and deletes off MCP: those stay on the REST API and the SDKs. Keep the recurring sync in a scenario, and reach for an agent when the work is exploratory.
Connect the Boost.space server from its MCP guide, and the Webflow server from the MCP reference. Boost.space's terms place no restriction on agent access to your own data, so nothing stops you running both in the same client.
What you can build with the Boost.space Webflow integration
Integrating Boost.space with Webflow lets you run one master database behind your site's CMS, forms, and store without building a separate point-to-point connection for every tool.
- Product catalog published from a central database: Records in the Products module flow to a CMS collection as staged items, then publish. A retailer maintains SKU descriptions, attributes, and translations in Boost.space and renders the catalog from published CMS items. A scenario creates or updates the staged CMS items and publishes them to the catalog page.
- Lead capture into a deduplicated contact list: Campaign landing pages post form submissions to records in a Contacts or custom module, where the key field merges repeat submitters. A B2B SaaS team builds one page per campaign, and every lead lands in one list that syncs onward to email and ad tools.
- Order fulfillment sync: An
ecomm_new_orderevent creates an Orders record withcustomerInfo,purchasedItems, andtotals. When the warehouse ships, a scenario calls Fulfill an Order and writesshippingProviderandshippingTrackingthrough Update an Order. A Refund Order call reverses the Stripe charge and sets the order status torefunded. - Inventory kept accurate across channels: Stock changes in Boost.space call Update an Item Inventory on the matching SKU. Sales on the Webflow store send
ecomm_inventory_changedwithid,quantity, andinventoryType, so the central count decrements and other channels read the same number.
Each of these starts the same way: one module in Boost.space, one scenario per direction, and a key field that decides what counts as the same record. If you want to see the pattern end to end before you build your own, see how job listings sync from a Make workflow into CMS collections. For conflict resolution or publish timing across many collections, the API path gives you the control the scenario editor does not.
Frequently asked questions
Create and Update an Item modules, and the staged
/itemsendpoints, leave items in draft, which "can be previewed but isn't visible on the live site" according to the CMS publishing guide. Add a Publish an Item module after the create step in your scenario, or call the/items/publishendpoint. The/items/liveendpoints update and publish in a single request when you want to skip the separate step.Through OAuth, using
https://integrator.boost.space/oauth/cb/webflow2as the redirect URL when you bring your own Webflow app. The Marketplace listing requests nineteen scopes, spanning read and write on CMS, forms, pages, assets, sites, custom code, users, and Ecommerce, so review the consent screen rather than assuming it is read-only. The authorization code is single-use and valid for 15 minutes, per the OAuth app reference. A site token is the alternative, and only site administrators can create one, per the site token reference.The key field decides. Boost.space matches every write against it. A match updates the existing record, and no match creates a new one, per the token prioritization guide. You can also store the Webflow submission ID or
orderIdas a Remote ID with "Webflow" as the Remote Application. When two sources conflict, the higher-priority token wins. There are 7 priority levels with Medium as the default, and equal priorities resolve to the most recent write.A webhook can listen for fourteen trigger types, per the create webhook reference:
form_submission,site_publish, andcomment_createdpage_created,page_metadata_updated, andpage_deletedecomm_new_order,ecomm_order_changed, andecomm_inventory_changedcollection_item_created,collection_item_changed,collection_item_deleted,collection_item_published, andcollection_item_unpublished
In a scenario, the Watch Events module receives those webhook events, and because it is an instant trigger the scenario starts when the event arrives rather than on a schedule. Watch Comment Threads adds a comment trigger, but that one polls. A
site_publishpayload includessiteId,publishedOn,domains, andpublishedBy, which is enough to notify a team channel on every publish.You need a paid Site plan to publish to a custom domain. The free Starter plan publishes only to a
.webflow.iosubdomain, per the article on choosing a Site plan. Basic is for sites that use no CMS or Ecommerce features, so CMS item sync needs Premium or higher and order sync needs an Ecommerce plan. Add the Boost.space app from the Marketplace listing, then create the first Webflow connection in your scenario.
Description
Sync Webflow CMS items, form submissions, and Ecommerce orders into one Boost.space database using the Boost.space app, Webflow webhooks, or Make scenarios.
This integration page is provided for informational and convenience purposes only.

Google Docs
Connect Google Docs with Webflow to embed live documents, sync content to CMS Collections, or build custom API publishing pipelines.

Zapier
Connect Zapier with Webflow to automate form routing, CMS updates, and ecommerce order processing across 7,000+ apps.

Airtable
Connect Airtable with Webflow to publish base records as CMS items and route form submissions back into Airtable.

Pipe dream
Connect Pipedream with Webflow to turn form submissions and CMS changes into automated workflows across thousands of connected apps. Orders can trigger workflows too.

Smartarget Contact Us
Connect Smartarget Contact Us with Webflow to add a floating multi-channel contact widget that lets visitors reach you on WhatsApp, Telegram, email, and 12+ messaging platforms.
CMS Bridge
Connect CMS Bridge with Webflow to sync Airtable records to your CMS collections with record-level control over content states and publishing.
Osmo SVG Import
Connect Osmo SVG Import with Webflow to add fully editable SVG elements to your site without character limits or manual code editing.
Telegram Chat - Contact Us
Connect Telegram Chat - Contact Us to your Webflow site to add a floating Telegram chat widget that lets visitors message you directly from any page.
Form Fields Pro
Connect Form Fields Pro with Webflow to add advanced input types, including searchable selects, date pickers, number range pickers, and file uploaders, to native Webflow forms.
Related integrations
Get started for free
Try Webflow for as long as you like with our free Starter plan. Purchase a paid Site plan to publish, host, and unlock additional features.
