






Authorize.net
Connect Authorize.net with Webflow to accept card, eCheck, and digital wallet payments through embedded checkout buttons, hosted payment forms, or the API.

Webflow Ecommerce connects natively to two payment providers, Stripe and PayPal. Standard Webflow forms do not process payments on their own, and no payment gateway can be added through native site settings. Businesses that need a different gateway, whether for industry risk classifications or existing merchant accounts, have no built-in checkout path.
Authorize.net fills that gap through embedded payment buttons and hosted checkout forms. It also offers a full transaction API. Connecting it to Webflow lets you take one-time payments, recurring subscriptions, eChecks, and digital wallet payments from pages you design visually. Hosted form options keep cardholder data off your site entirely, which lowers your PCI compliance burden.
This integration fits healthcare practices, nonprofits, educators, and membership businesses that Webflow's native gateways don't cover. The Webflow integrations page names healthcare among the use cases, describing medical practices that collect appointment deposits and co-pays through Accept Hosted in a way that meets HIPAA and PCI requirements. Developers and agencies building custom checkout flows for these clients get a documented API with sandbox testing.
How to integrate Authorize.net with Webflow
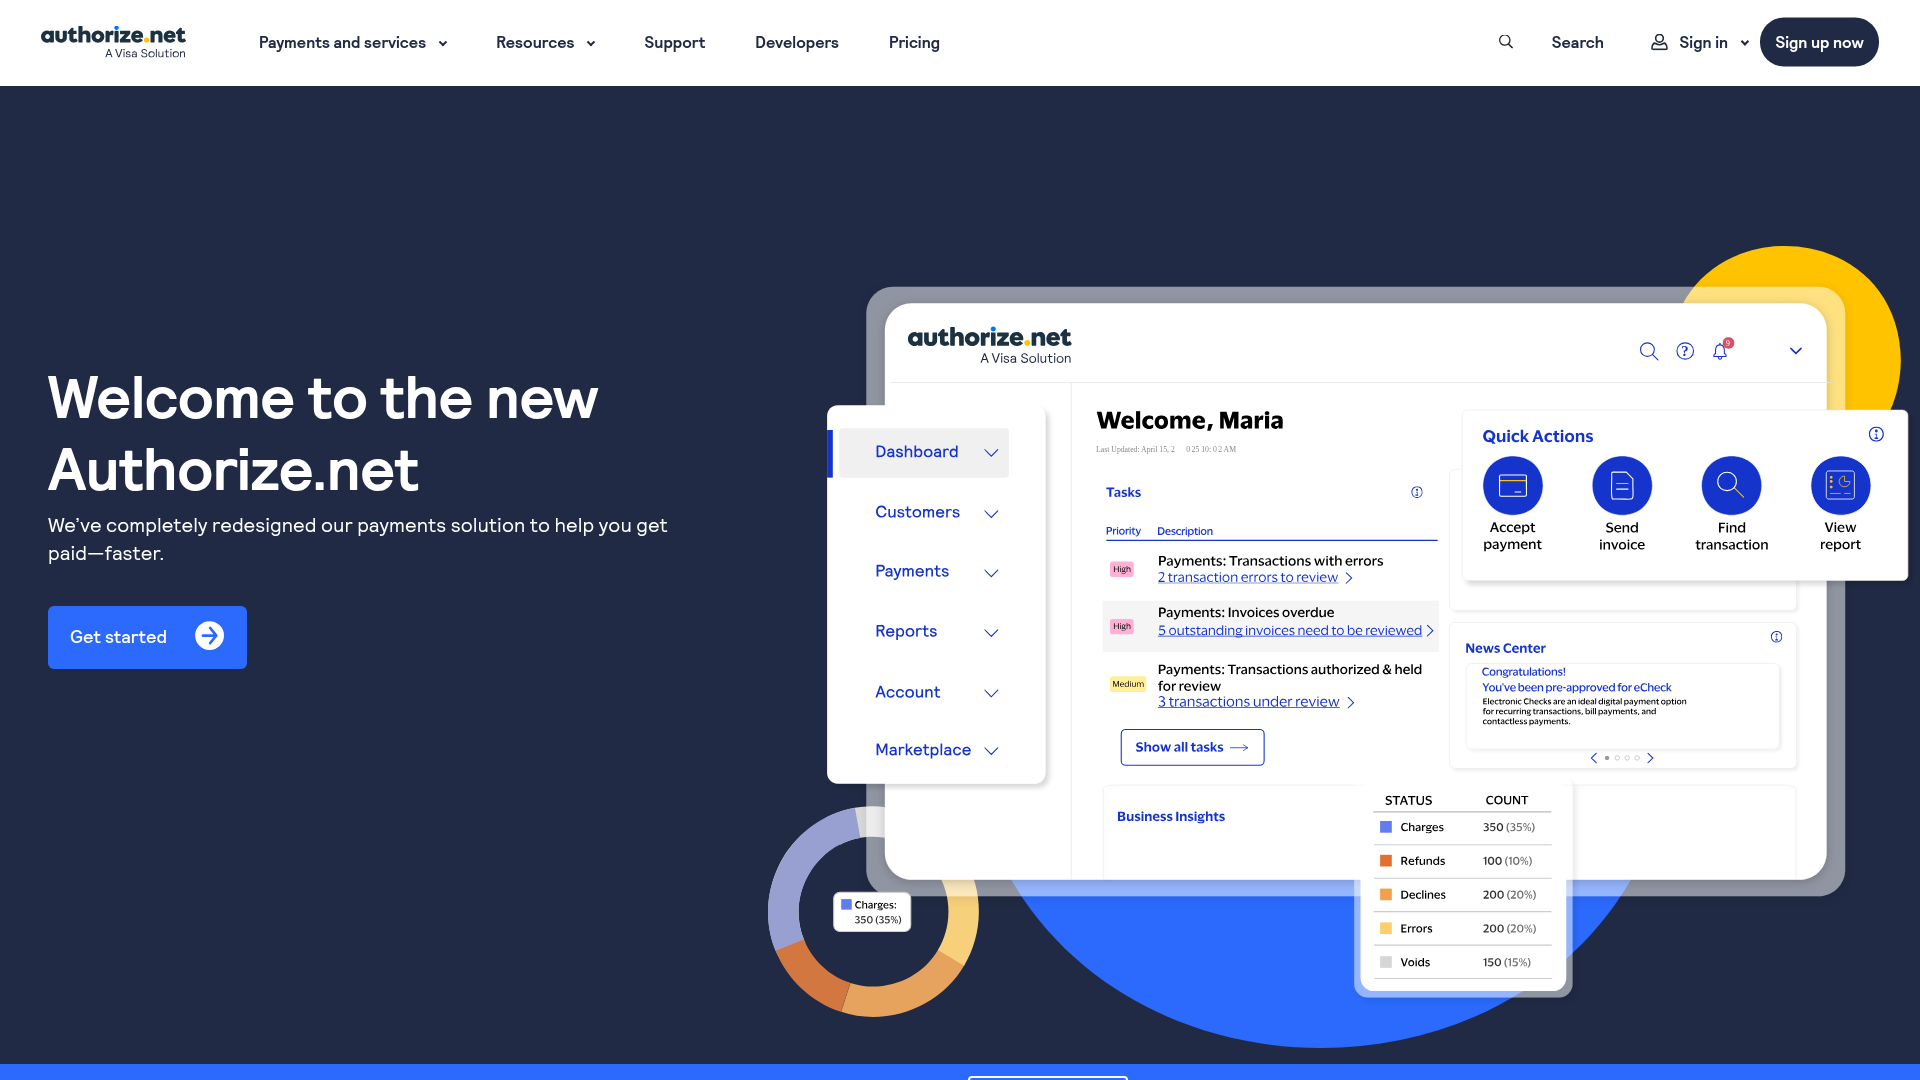
What is Authorize.net? Authorize.net is a payment gateway owned by Visa. It processes credit cards, eChecks, and digital wallets across online, in-person, phone, and mobile channels, primarily for small and mid-sized businesses. Its Accept suite of developer tools, recurring billing, customer profiles, and fraud-detection filters power the integration methods below.
No Authorize.net app exists in the Webflow App Marketplace, and native Ecommerce payment settings support only Stripe and PayPal. Teams pair the two platforms anyway, usually to take donations or appointment deposits on a marketing site, or to support subscription payments without a separate storefront. The right method depends on how much of the checkout you want to control and whether you can run server-side code outside Webflow.
The Authorize.net-Webflow integration supports four approaches:
- Simple Checkout buttons paste into a Code Embed element as plain HTML, with no code to write.
- The Accept Hosted payment form embeds in or redirects from your site, but needs server-side token generation.
- viaSocket connects Webflow form and order triggers to Authorize.net payment actions without code.
- The Webflow Data API and Authorize.net APIs give you full control over checkout and transaction sync, but require server-side development.
Most implementations combine two or more of these methods depending on the complexity of the setup.
Embed Simple Checkout buttons with Code Embed
Simple Checkout is the fastest path and the only one that needs no server. You create Buy Now or Donate buttons in the Authorize.net Merchant Interface, then paste the generated HTML into a Code Embed element. Each item outputs three formats, per support article KA-07410: website button HTML, a shareable URL, or a QR code. This method suits nonprofits, small businesses, and anyone selling a fixed set of items or donation levels.
To set up the integration:
- Sign in to the Authorize.net Merchant Interface and go to Payments > Simple Checkout.
- Create your item, then choose Copy Website Button HTML.
- In Webflow, open the Add panel, drag a Code Embed element onto the canvas, paste the HTML, and save.
- Publish the site. Clicking the button sends customers to an Authorize.net-hosted order page.
Simple Checkout supports these options:
- Buy Now buttons handle fixed-price items.
- Donate buttons support up to 5 donation levels each.
- Payment URLs and QR codes work in links, emails, or print materials.
- Each account allows up to 100 buttons.
One restriction applies from KA-07410: Simple Checkout is not supported for iframes or within an iframe, so paste the button HTML directly into the page rather than framing the checkout. For an on-page payment form instead of a redirect to an order page, use Accept Hosted.
Embed the Accept Hosted payment form
Accept Hosted is Authorize.net's mobile-optimized payment form. Because Authorize.net hosts the form, cardholder data never touches your Webflow site, and your PCI scope stays at SAQ A. The trade-off is a token step: your server calls getHostedPaymentPageRequest to get a form token, valid for 15 minutes, before the customer can pay. Custom code in head and body tags in Webflow runs client-side only, so a serverless function or small backend must generate that token.
Redirect customers to the hosted form
The redirect flow is the simpler of the two paths. Your function requests a token, then the browser POSTs it to the hosted payment page at https://accept.authorize.net/payment/payment (sandbox: https://test.authorize.net/payment/payment).
To set up the redirect:
- Configure the form fields in the Merchant Interface under Account > Payment Form > Form Fields.
- Deploy a serverless function that POSTs
getHostedPaymentPageRequestwith yourtransactionRequest,hostedPaymentSettings, and return URLs. - Wire a Webflow button to call the function and forward the customer to the payment page with the token.
The hostedPaymentSettings parameters control return URLs, button text, accent color, payment options, and address display, so the form can approximate your site's look.
Embed the form in an iframe
Accept Hosted also embeds directly in a page as an iframe or lightbox, which keeps customers on your domain.
To embed the form:
- Host an iframe communicator page on your domain over HTTPS and pass its URL in the
hostedPaymentIFrameCommunicatorUrlsetting. - Generate the form token server-side, then POST it into an iframe placed in a Code Embed element.
The form itself cannot be restyled beyond the documented settings, and that constraint is what keeps the SAQ A scope described in the Accept Hosted reference.
Connect Webflow and Authorize.net with viaSocket
viaSocket is one of several no-code platforms that connect the two sides. Pabbly Connect offers prebuilt Webflow-to-Authorize.net workflows for both Webflow v1 and v2, and Integrately lists the pairing as well; the Webflow integrations page itself points to Pabbly Connect and Foxy. The viaSocket Webflow connector lists 6 triggers and 6 actions, and the Authorize.net connector offers 6 actions, including Charge Customer, Create Subscription, Create Customer Profile, and Refund Transaction.
viaSocket documents workflows such as a new Webflow form submission charging a customer, a new Webflow order creating a subscription, and Authorize.net payment events creating a CMS item or live item. This path suits teams that want form-triggered billing or CMS records of payments without writing middleware. Validate the connector's field mapping against your use case before building, and remember that viaSocket is one option among several, with Pabbly Connect and Integrately also bridging Webflow and Authorize.net.
Build with the Webflow and Authorize.net APIs
The API path gives you custom checkout, subscription management, saved customer profiles, and transaction sync into the Webflow CMS. It requires server-side development. The Authorize.net API uses a non-REST, single-endpoint POST model. Every request goes to https://api.authorize.net/xml/v1/request.api (sandbox: https://apitest.authorize.net/xml/v1/request.api), with the operation named in the request body. Authentication uses your API Login ID and Transaction Key in the merchantAuthentication element.
These API surfaces cover the build:
- The Authorize.net API handles payments (
createTransactionRequest) and subscriptions (ARBCreateSubscriptionRequest). - The same API also manages customer profiles (
createCustomerProfileRequest). - The Webflow Data API v2 handles CMS collection items and form submissions.
- Webflow webhooks and Authorize.net webhooks trigger real-time events between systems.
Two build patterns cover most projects.
Process payments with Accept.js and a serverless function
Accept.js tokenizes card data in the browser so raw card numbers never reach your server. It returns a one-time-use nonce (opaqueData with dataDescriptor: COMMON.ACCEPT.INAPP.PAYMENT), which your backend exchanges for a charge. Hosting your own form puts you at SAQ A-EP; the AcceptUI hosted lightbox keeps you at SAQ A.
To implement this:
- Generate a Public Client Key in the Merchant Interface under Account > Settings > Security Settings > Manage Public Client Key.
- Load the Accept.js library from Authorize.net's servers in your page settings via custom code in the head or body. Self-hosting the library triggers error
E_WC_01. - Build your payment form in Webflow and call Accept.js on submit to receive the
opaqueDatanonce. - Send the nonce to a serverless function that POSTs
createTransactionRequestwithtransactionType: authCaptureTransactionand theopaqueDatablock tohttps://api.authorize.net/xml/v1/request.api. - Read
transId,authCode, andresponseCodefrom the response to confirm the charge.
Match environments carefully. A sandbox API Login ID only works with the sandbox library, and a mismatch returns error E_WC_19. The page must load over HTTPS, which returns error E_WC_02 otherwise; Webflow-hosted sites use HTTPS by default.
Sync Authorize.net transactions to the Webflow CMS
Authorize.net webhooks push payment, fraud, and subscription events to any endpoint, which lets middleware write records into a CMS Collection for receipts, dashboards, or member status. Payment events include net.authorize.payment.authcapture.created and net.authorize.payment.refund.created; subscription events cover created, updated, suspended, cancelled, expiring, expired, failed, and terminated states.
To implement the sync:
- Create a webhook in the Merchant Interface under Account > Account and API Settings > Webhooks, or POST to
https://apitest.authorize.net/rest/v1/webhookswith Basic Auth (Base64-encodedAPILoginID:TransactionKey). - In your middleware, verify the
X-ANET-Signatureheader by computing HMAC-SHA512 over the raw body with your Signature Key. - Return HTTP 200 immediately, before processing. Authorize.net retries up to 10 times (3 at 3-minute intervals, 3 at 8-hour intervals, 4 at 48-hour intervals) and then marks the webhook inactive.
- Extract fields like
payload.id(thetransId) andpayload.authAmount, then POST tohttps://api.webflow.com/v2/collections/{collection_id}/items/livewith a bearer token scoped toCMS:write. ThefieldDataobject needs at leastnameandslug. - Call
getTransactionDetailsRequestfor any transaction data the webhook payload omits.
Synced items publish live immediately through the Create Live Item endpoint, so a payment can appear in a Collection List within seconds of the settlement events firing.
What you can build with the Authorize.net Webflow integration
Integrating Authorize.net with Webflow lets you accept payments on visually designed pages without moving your site to a separate ecommerce platform.
- Nonprofit donation pages: Offer up to 5 giving levels on each Donate button pasted into Code Embed elements, and print QR codes that resolve to the same Simple Checkout items.
- Healthcare appointment deposits: Collect deposits and co-pays through the Accept Hosted form at SAQ A scope, a use case the Webflow integrations page frames around meeting HIPAA and PCI requirements.
- Course enrollment with payment plans: Trigger
ARBCreateSubscriptionRequestfrom a Webflow enrollment form for installment billing, either through custom middleware or viaSocket's form-submission-to-subscription workflow. - Live transaction records in the CMS: Feed a member dashboard or receipts page from
net.authorize.payment.authcapture.createdwebhooks, writing each payment to a Collection rendered in a Collection List.
If you need more control over saved customer profiles, refunds, or multi-step checkout flows, the API integration path covers those cases. To start on the Webflow side, see the Webflow CMS API guide.
Frequently asked questions
No. Webflow Ecommerce supports two payment providers, Stripe and PayPal, per the payment provider documentation. Authorize.net connects only through embedded forms, third-party platforms, or custom API implementations. If you use a third-party ecommerce integration, official guidance advises against enabling Webflow Ecommerce and recommends a non-Ecommerce Site plan such as CMS, Business, or Enterprise.
No. Searches of the App Marketplace return no Authorize.net listing, and the integrations page confirms no official app provides native integration. The directory entry under payment processing is informational, not installable.
Only with Simple Checkout. Its button HTML works in a Code Embed element because the checkout happens on an Authorize.net-hosted page. Every other method needs a server, since Code Embed does not support server-side languages and both
getHostedPaymentPageRequestand Accept.js transaction completion require authenticated server-to-server calls.Accept Hosted and the AcceptUI lightbox keep you at SAQ A because card fields render on Authorize.net-controlled pages, per the Accept Hosted and Accept.js documentation. Accept.js with your own form is SAQ A-EP. PCI scope is your responsibility as the merchant; custom code you add is not reviewed or validated for PCI compliance.
Create a free Authorize.net sandbox account and point your code at
https://apitest.authorize.net/xml/v1/request.api. The testing guide covers simulating approvals, declines, errors, and AVS responses. Note that all new Authorize.net accounts start in Test Mode, where transactions are not authorized or saved, so switch out of Test Mode before accepting live orders.
Description
Accept Authorize.net payments on your Webflow site through embedded Simple Checkout buttons, the Accept Hosted payment form, viaSocket automations, or custom API middleware for checkout and CMS transaction sync.
This integration page is provided for informational and convenience purposes only.

Flowstar: Payment Button
Connect Flowstar Payment Button with Webflow to add PayPal-based checkout, donation, and subscription buttons to any page without a full e-commerce store setup.

Form Payments
Connect Form Payments, a Stripe payments app, with Webflow to collect card and wallet payments inside the forms you already build.

Quickbooks
Send Webflow form submissions and Ecommerce orders to QuickBooks Online through Zapier, Make, or n8n, add QuickBooks Buy buttons, or build on both APIs.

Revolut for Business
Connect Revolut for Business with Webflow to accept online payments on your site.

Mollie
Accept iDEAL, Bancontact, SEPA Direct Debit, and card payments on a Webflow site with Mollie Payment Links, Zapier automations, or the Mollie API.
Metamask
Connect MetaMask with Webflow to add wallet authentication, NFT galleries, and token-gated content.
GoCardless
Connect GoCardless with Webflow to collect recurring Direct Debit payments without backend development.

Razorpay
Connect Razorpay with Webflow to accept Indian payment methods like UPI, netbanking, and cards on your site.

Givebutter
Connect Givebutter, an all-in-one fundraising and donor management platform, with Webflow to embed donation forms, goal bars, and signup widgets using Code Embed.
Related integrations
Get started for free
Try Webflow for as long as you like with our free Starter plan. Purchase a paid Site plan to publish, host, and unlock additional features.
