






Adobe Express
Generate images with Adobe Firefly, edit them, and save them to your site without leaving the page build.

Every page built in Webflow needs imagery, and you generate or edit it outside Webflow. Creating a hero image or removing a background means switching to a separate tool. Then you export the file, re-upload it, and place it. That round trip slows page builds. It also pulls designers into small production tasks that Adobe Express handles.
The Adobe Express app for Webflow puts image creation inside the site-building workflow. You can generate images with Adobe Firefly and run edits like Generative Fill and Remove Background. You can also insert royalty-free Adobe Stock photos. Finished images save directly to your site. Developers can connect the Firefly and Webflow Data APIs to automate image production at scale.
This integration fits marketers and content teams who edit site imagery without a dedicated designer. Freelancers and agencies use it to speed up client page builds and concept reviews. Development teams can use the API path to generate and publish imagery across content-driven pages in bulk.
How to integrate Adobe Express with Webflow
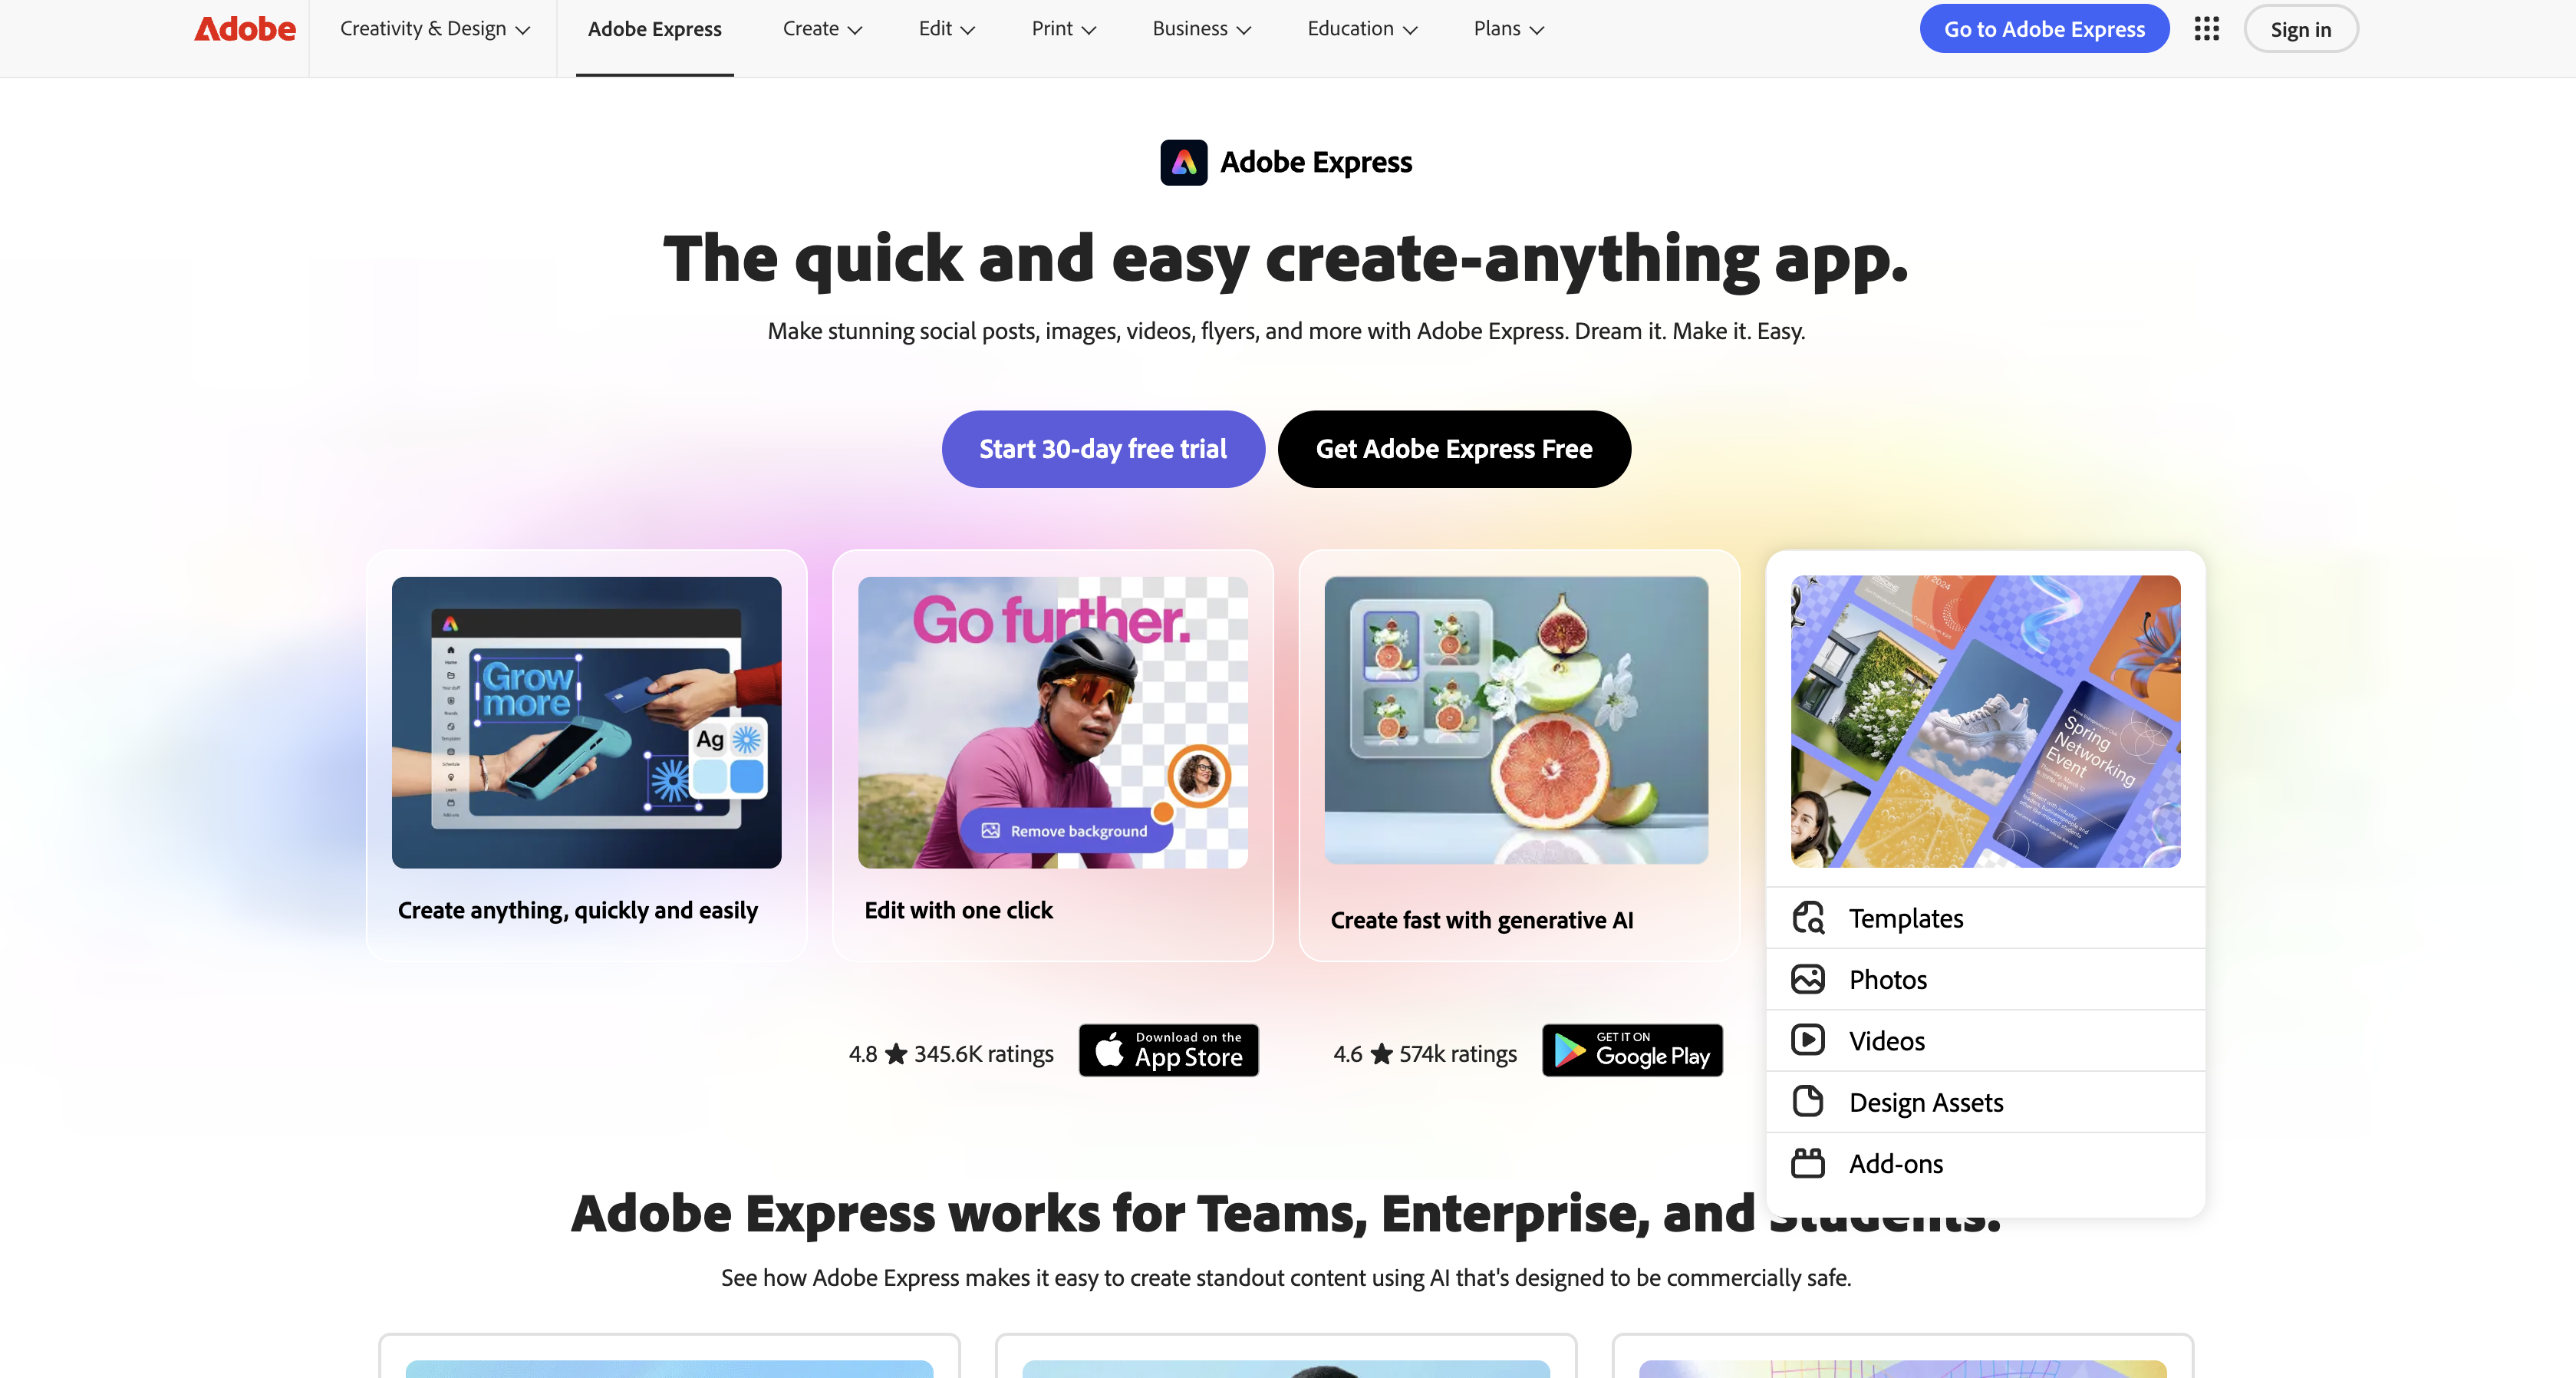
What is Adobe Express? Adobe Express is a cloud-based, cross-device app for producing social posts, images, videos, flyers, and documents. It includes generative AI powered by Adobe Firefly, hundreds of thousands of templates, and Quick Actions that remove backgrounds, resize images, and convert file formats.
Teams pair the two to keep image production inside the page build. IMB Bank used it to create imagery for a business banking page, working from reference images, which we covered in the Adobe Express app spotlight, linked from the View lesson button above,.
The Adobe Express-Webflow integration supports three methods:
- The Adobe Express app handles image generation, AI edits, and Adobe Stock inserts inside Webflow without writing code.
- Direct exports and embed codes let you upload finished designs to the Assets panel or paste published designs into a Code Embed element.
- The Webflow Data API and Adobe's Firefly Services APIs give you full control over automated image pipelines, but require server-side development.
These three methods can be combined on the same site.
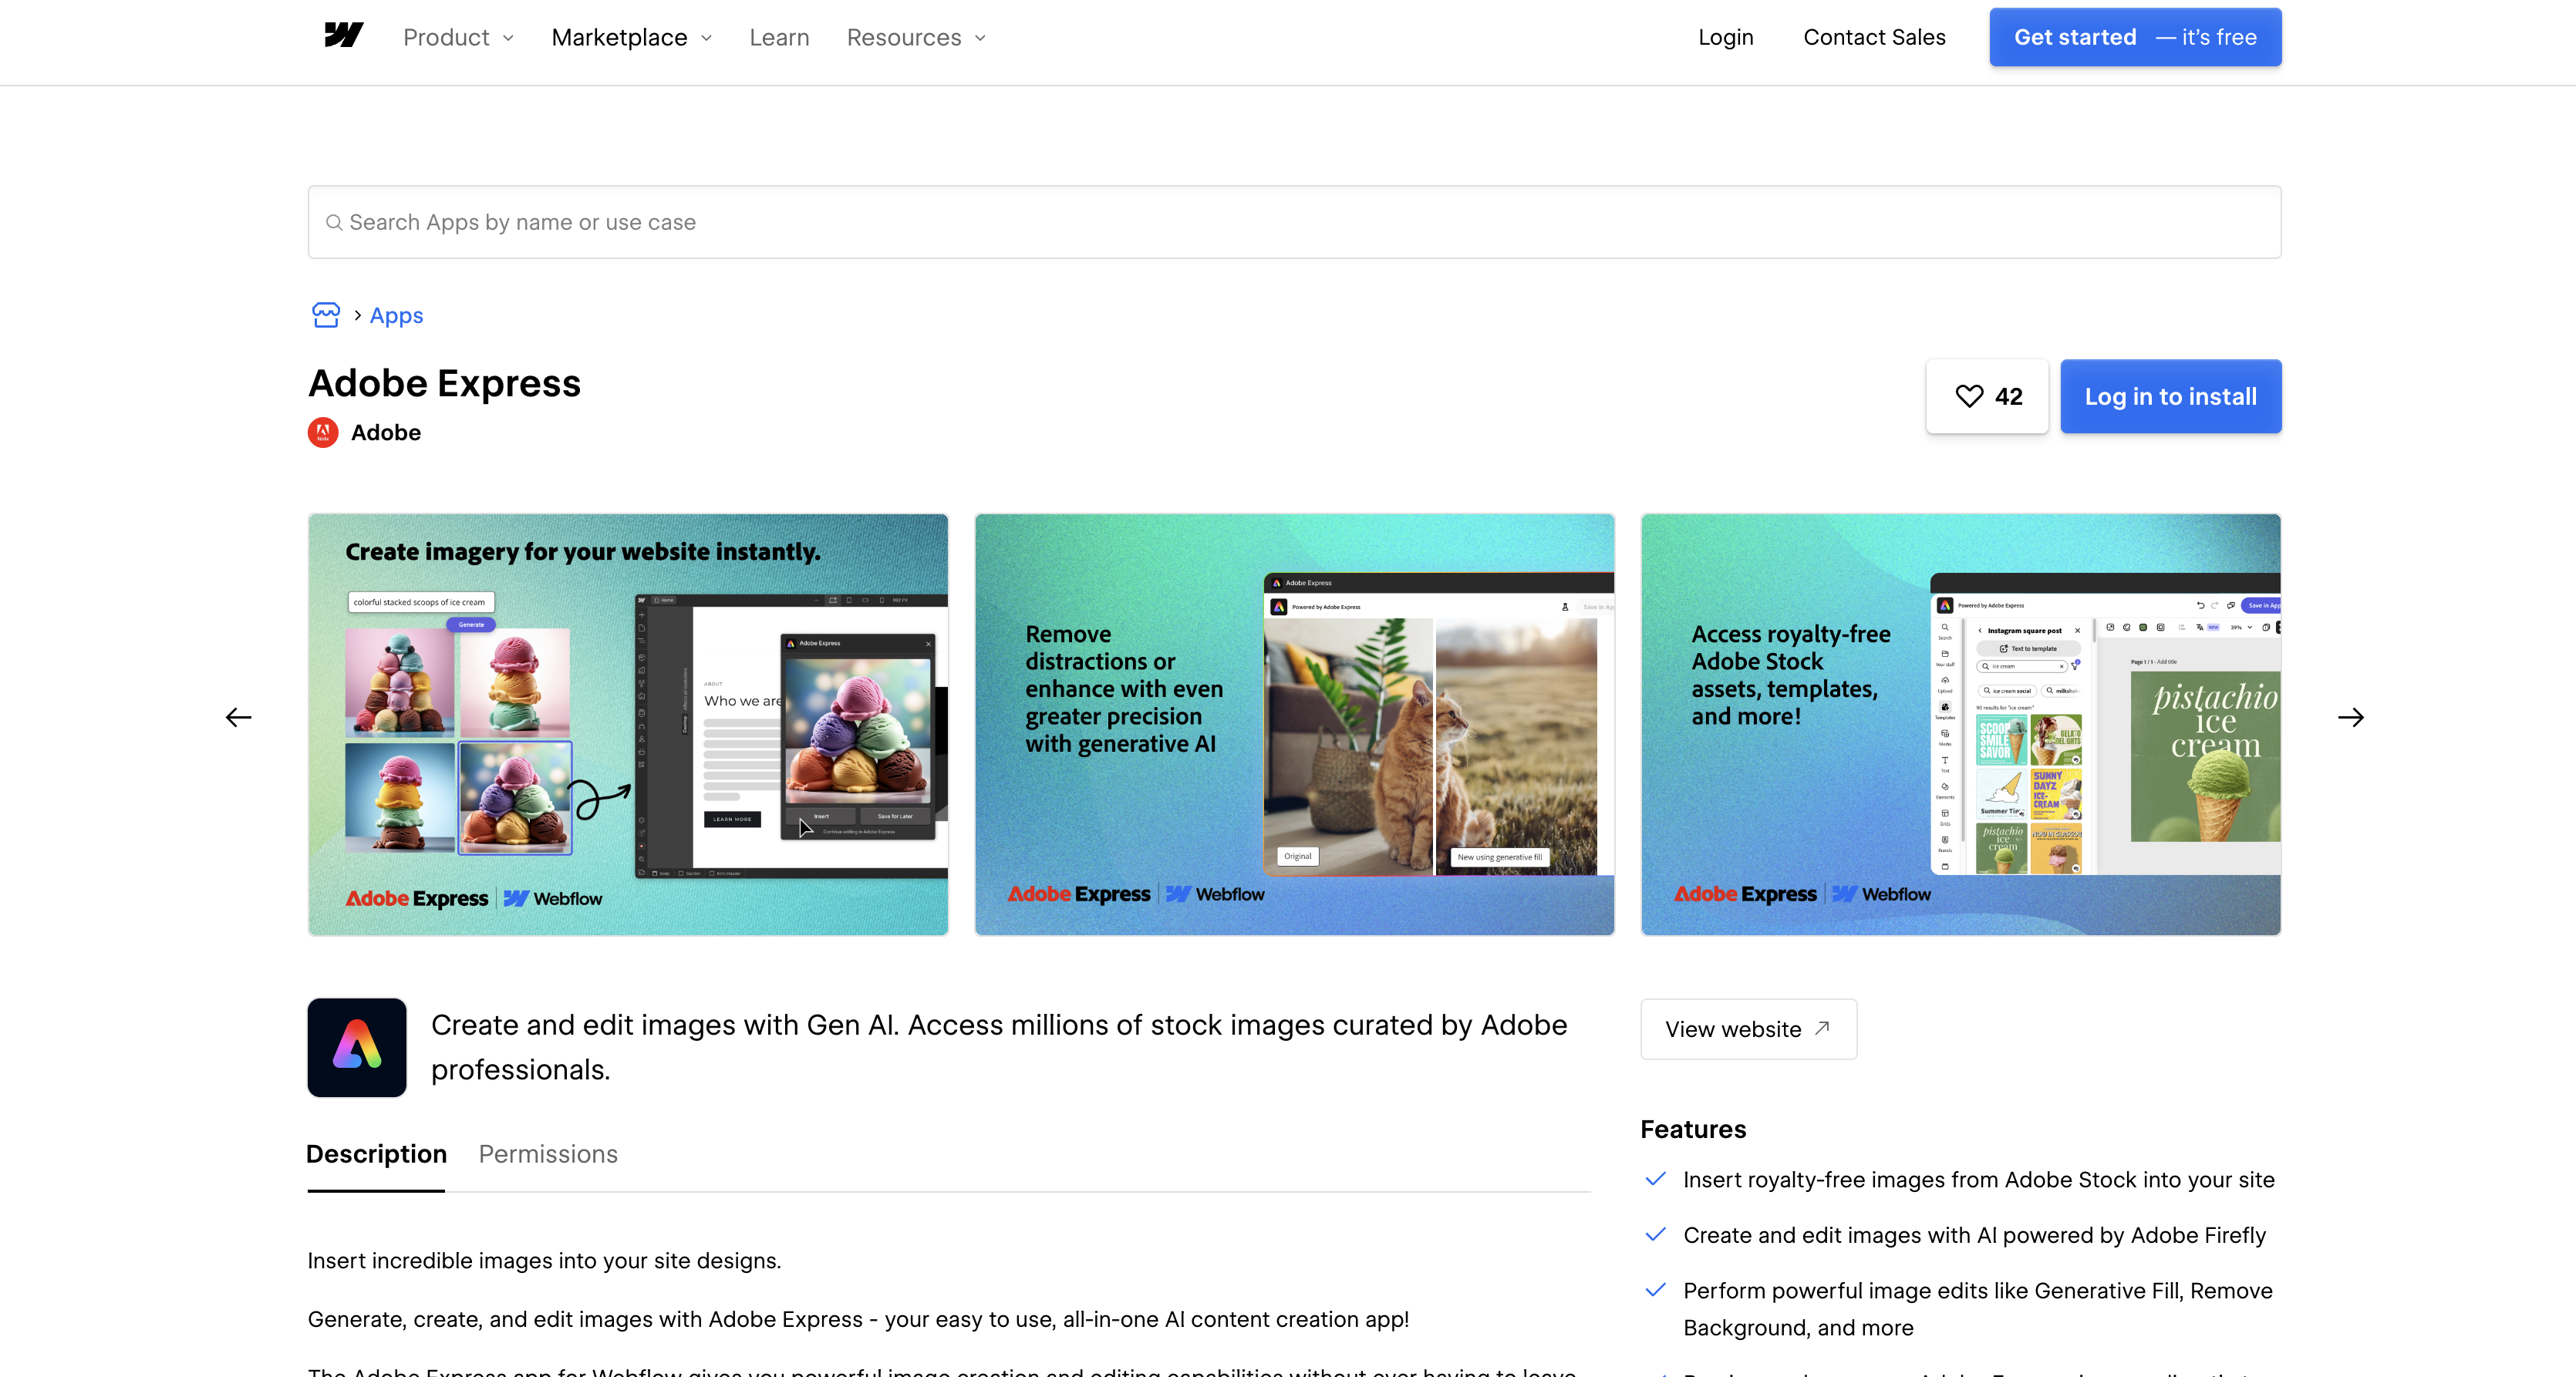
Install the Adobe Express app
The Adobe Express app on the Webflow Marketplace is the fastest method and requires no code. Adobe publishes the listing, and it carries the "Approved by Webflow" badge, which the listing itself defines as Webflow having reviewed the app rather than endorsing or certifying it. It runs inside Webflow, so you never switch tools mid-build. You need a free Adobe account, not a paid Webflow plan. Non-designers get the most from this method, since edits like resizing and background removal happen inside Webflow.
To set up the integration:
- Open the Adobe Express listing on the Webflow Marketplace and click Add to site.
- Select the Workspaces or sites to add the app to, then click Authorize app.
- In Webflow, open the Apps panel, hover over Adobe Express, and click Launch.
- Sign in or create an Adobe account inside the app to access its full feature set.
Once installed, the app covers four jobs:
- Adobe Stock inserts: Search the royalty-free Adobe Stock library and drop a photo or illustration straight into the site you are building.
- Firefly generation: Describe the image you want and generate it with Adobe Firefly without opening a second tab.
- Targeted image edits: Run edits such as Generative Fill and Remove Background against an image already sitting in your design.
- Direct save to Webflow: Preview the result and save it into your site instead of downloading the file and re-uploading it.
Remove Image Background, Resize Image, and the format converters all sit on the free Adobe Express plan, per Adobe's Express plan comparison, which lists 250 generative credits per user per month on Premium against daily generation limits on the free plan. Brand kits, the larger Adobe Stock and Adobe Fonts libraries, and Remove Video Background are the Premium side of that table. If you already have finished designs, the export and embed methods below work without the app.
Export designs or embed them with the Code Embed element
Adobe Express designs also move into Webflow through plain file exports or published embed codes. Exports work for static images you want in the Assets panel or in Webflow CMS image fields. The Code Embed element handles full Adobe Express webpages you want rendered inside a Webflow page. Both paths need only copy, paste, and upload.
Upload exported images to the Assets panel
Export finished designs from Adobe Express as PNG, JPG, or SVG using the format conversion tools. Then upload them manually. This path fits one-off assets like logos, icons, and hero images.
To move an exported image into Webflow:
- In Adobe Express, download your design as PNG, JPG, or SVG.
- In Webflow, open the Assets panel from the left toolbar or press J.
- Click the cloud upload icon and select your files.
The Assets panel accepts PNG, JPEG, JPG, GIF, SVG, WebP, and AVIF images up to 4 MB each, and it takes no video files at all. Webflow's Video element accepts only YouTube and Vimeo links, so an MP4 export from Adobe Express has to go in as a background video, which takes webm, mp4, mov, and ogg files under 30 MB.
Embed a published design with Code Embed
Adobe Express designs published to the web generate an HTML embed code you can paste into a Webflow page. This method suits interactive or multi-page Adobe Express content rendered inline. You need a Core, Growth, Agency, or Freelancer Workspace plan, or an active Site plan.
To embed a published design:
- In Adobe Express, go to Share > Publish to web, configure your options, and click Create link.
- Select Embed to copy the HTML code, per the publish webpages guide.
- In Webflow, add a Code Embed element to your page, paste the code, and publish.
Each Code Embed element holds up to 50,000 characters and runs HTML, CSS, and JavaScript, but no server-side languages like Perl, PHP, Python, or Ruby. Adobe's webpage design guide caps Adobe Express video placed in a webpage at five minutes, and anything longer shows only its first five minutes, so keep embedded video short.
Build with the Webflow and Adobe Express APIs
Developers can chain Adobe's Firefly Services APIs with the Webflow Data API. That pipeline generates imagery and publishes it into the CMS automatically. This path suits bulk workloads the Marketplace app doesn't cover, like producing hero images for hundreds of collection items. You'll need server-side development and OAuth server-to-server credentials on the Adobe side. Before writing that yourself, look at Adobe's Run-Workflow MCP, a hosted MCP server that exposes Firefly Creative Production workflows such as background removal and image generation to Claude Code, Claude Desktop, and Cursor, so an agent can drive the Adobe half while your code owns the Webflow half.
The relevant APIs:
- The Firefly Image Generation API handles text-to-image generation at
https://firefly-api.adobe.io/v3/images/generate - The Adobe Express API generates document variations from documents whose elements are tagged in Adobe Express, and it is still in beta behind an access request
- The Photoshop API handles background removal at
https://image.adobe.io/v2/remove-background - Webflow's Data API handles asset uploads, CMS collections, and site publishing at
https://api.webflow.com/v2 - Webflow webhooks send real-time events like
collection_item_createdto your server
Adobe's Express and Firefly Services APIs hand back a job you poll for status, and Adobe's API documentation lists no asset-lifecycle webhook for asset creation or update. The trigger for pushing new artwork into Webflow therefore has to come from your side, as a poll, a scheduled job, or a Webflow webhook.
Generate Firefly images and save them to Webflow
This pipeline generates an image server-side and publishes it as a live CMS item. Each step is individually documented by Adobe or Webflow; the chaining is your application's job.
To implement the pipeline:
- Authenticate with
POST https://ims-na1.adobelogin.com/ims/token/v3usinggrant_type=client_credentials, per the Firefly credentials guide. Tokens expire after 24 hours. - Generate an image with
POST https://firefly-api.adobe.io/v3/images/generateand sendAuthorization: Bearer <access_token>andx-api-keyheaders. - Register the asset with
POST https://api.webflow.com/v2/sites/{site_id}/assets. The request needs afileNameunder 100 characters and an MD5fileHash, and it returns anuploadUrlplusuploadDetails, per the asset upload docs. - POST the image binary to the returned
uploadUrlon Amazon S3 using theuploadDetailsform fields. - Create a published item with
POST https://api.webflow.com/v2/collections/{collection_id}/items/live, per the live item reference.
Keep the client_secret and access tokens on your server and never call Adobe endpoints from the browser. The 4 MB image limit from the Assets panel applies to CMS image fields too.
Embed the Adobe Express editor with the Embed SDK
The Adobe Express Embed SDK loads the full editor, modules, or one-click quick actions in an iframe on pages you control. On a Webflow site, you load it through page-level custom code; see head and body tags. Adobe's docs now treat v4 as the current SDK and keep the v3 reference only for migration, so build against v4.
To add the SDK to a Webflow page:
- Create a project in the Adobe Developer Console and get an API key, per the quickstart. The allowed-domains field accepts up to five domains, so add your Webflow site's domain.
- Load the v4 script from
https://cc-embed.adobe.com/sdk/v4/CCEverywhere.jsin Page settings > Custom code, before the</body>tag. - Initialize once per page with your
CLIENT_IDandAPP_NAMEto get theCCEverywhereobject, then calleditor.create()or a quick action likeremoveBackground(), per the initialize reference.
Access to the Embed SDK now runs through a business approval process, which Adobe says prioritizes enterprise and strategic partner integrations, and integrations approved before that change stay active until December 2027. Published assets come back to your code as Base64 strings you upload through the Data API yourself. Treat the SDK as the heavyweight option and start with the Marketplace app.
What you can build with the Adobe Express Webflow integration
Integrating Adobe Express with Webflow lets you produce, edit, and generate site imagery inside your build workflow without exporting, re-uploading, or waiting on a design queue.
- On-brand page hero imagery: Build a landing page where every hero and card image is generated or background-removed in the app, then saved straight to the Assets panel. IMB Bank worked this way on a business banking page, producing visuals for accounts, loans, and payroll from reference images.
- Placeholder concepts for stakeholder approval: Generate conceptual images from text prompts to stand in for final art during landing page reviews. Oyster, a global HR company on Webflow Enterprise, used this to speed up concept approvals on a tight launch timeline.
- Blog and CMS imagery in context: Use Generative Fill to add a background to a transparent product shot and show the product in context. Then save the result into a blog post's hero image field.
- Bulk product image pipelines: Chain the Photoshop remove-background endpoint with Firefly generation and expand. Then publish the results across CMS items with the Webflow Data API. Adobe documents that exact chain in its Firefly Services tutorial on creating product images at scale.
The API path is the one that scales past a handful of images, and it uses the same Webflow Cloud patterns we document elsewhere. See how to build an image generator on a Webflow site for a worked example end to end.
Frequently asked questions
Yes, and Adobe publishes it: the Marketplace listing's author workspace is Adobe, and Webflow announced the app on September 25, 2024. It carries the "Approved by Webflow" badge, which the listing defines as Webflow having reviewed the app, not endorsed or certified it. To start, open the listing, click Add to site, and authorize it for your Workspaces or sites.
The app runs on a free Adobe account and needs no paid Webflow plan. Remove Image Background, Resize Image, and the format converters are all on the free Adobe Express plan; brand kits, the larger Adobe Stock and Adobe Fonts libraries, and the monthly generative credit allowance sit on Premium. The Code Embed method separately requires a Core, Growth, Agency, or Freelancer Workspace plan, or an active Site plan.
PNG, JPG, and SVG exports upload directly to the Assets panel, with a 4 MB cap per image. Video is the exception: the Assets panel takes no video files, Webflow's Video element accepts only YouTube and Vimeo links, and the background video component accepts webm, mp4, mov, and ogg files under 30 MB.
No. The Adobe Stock Standard License prohibits using a Work in "any electronic template or design template application." The Express Product Specific Terms also block incorporating Limited License assets into template files for sale. Template-for-sale use cases require an Extended License. Adobe's audience-size restriction does not apply to works displayed on websites.
Less than most apps. The listing registers a Designer Extension and nothing else, it declares no OAuth scopes, and its install URL requests none, so the app works inside the canvas rather than against your site data through the API. It installs at Workspace level, so revoking the authorization removes it from every site in that Workspace.
Description
Create, edit, and AI-generate images inside Webflow with the Adobe Express app, or connect the Firefly and Webflow Data APIs to automate image production into the CMS.
This integration page is provided for informational and convenience purposes only.

LottieFiles for Webflow
Search and recolor Lottie animations inside Webflow, then insert them straight onto the canvas.

IconScout
Connect IconScout, a design asset marketplace, with Webflow to add SVG icons, vector illustrations, 3D graphics, and Lottie animations to pages through drag-and-drop, code embeds, or API-driven CMS population.

Free images
Connect iStock with Webflow to search, license, and place stock photos on your pages without leaving the canvas.

Drawer Design
Connect Drawer Design with Webflow to place ready-made Lottie animations on your pages, with no-code embedding through the native Lottie element and scripted delivery through custom code or the [Webflow Data API](https://developers.webflow.com/data/reference/rest-introduction).

Charttt
Embed image charts into Webflow sites, emails, blog posts, and anywhere else.

Assemble
Easily produce custom video content for your products
Related integrations
Get started for free
Try Webflow for as long as you like with our free Starter plan. Purchase a paid Site plan to publish, host, and unlock additional features.
