






Custom attributes go on one element at a time in the Element settings panel. ARIA roles and analytics data attributes get typed by hand, and the same keystrokes repeat across dozens of elements as a project grows. Nothing in Webflow saves an attribute set so you can reapply it on the next build.
xAttribute closes that gap. It puts attribute management for a whole site into one panel and suggests attribute names and values as you type. Reusable templates cover the sets you apply on every project, with export and import so the same conventions carry across sites. Teams that want code-level control can go further with xAtom, the JavaScript framework from the same maintainers, which turns Webflow elements into interactive components.
Agencies and multi-project teams get the most out of template export and import, because it keeps attribute conventions identical across client sites. Accessibility work is the other clear fit, since ARIA labels and states are exactly the sort of attribute set that gets forgotten on the twelfth element. Product and marketing teams use the same panel for analytics event attributes and for the data attributes behind client-side filtering.
How to integrate xAttribute with Webflow
What is xAttribute? xAttribute is a free Webflow Marketplace app for managing HTML custom attributes from a single panel. It adds autocomplete for attribute names and values, plus templates for the attribute sets you reuse, which you can export and import between projects. The app comes from the xAtom team, which also maintains a JavaScript framework for custom code on Webflow sites.
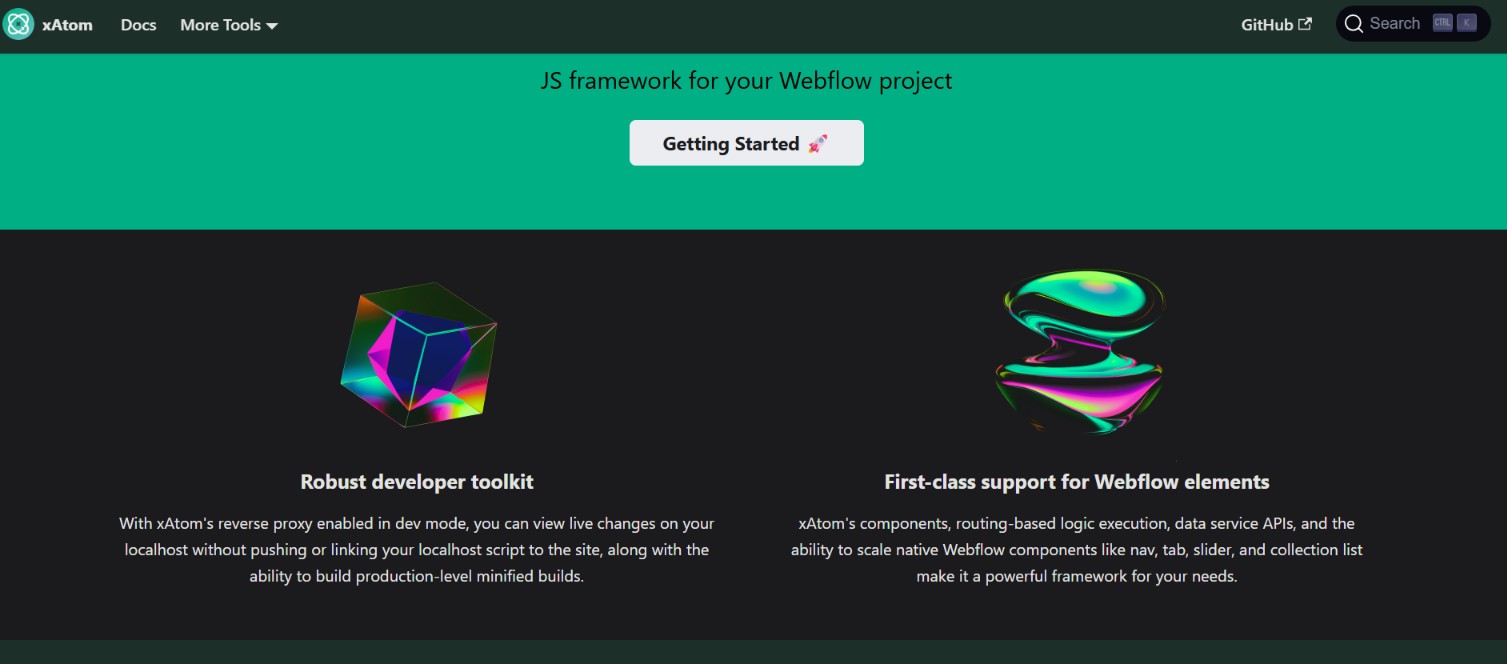
Teams reach for this combination when a site depends on attributes at runtime. A filterable Collection List may need a data attribute on every item. An accessible nav carries ARIA state on each trigger, and an xAtom build adds framework attributes such as xa-script to control which scripts run during local development. Doing all of that by hand slows the build and invites typos that only surface in production.
You can set up the xAttribute and Webflow integration through three paths, and they layer rather than compete. The xAttribute app manages attributes and templates inside Webflow with no code. Native custom attributes and Code Embed elements cover one-off attributes and the scripts that read them. The xAtom framework with the Webflow Data API gives full control over form handling and Webflow CMS rendering, at the cost of a build step and developer time. Most implementations pair the app with one of the code paths, depending on how much the site leans on attributes at runtime.
Install the xAttribute app
The app is the no-code path and the right starting point for anyone building in Webflow rather than in a terminal. It centralizes work that otherwise happens element by element in the Element settings panel. The Marketplace listing is free and carries the Approved by Webflow review label, which means we checked it for site development quality without endorsing or certifying it.
To install it:
- Open the Apps panel in Webflow and search for xAttribute.
- Install the app and authorize it for your site.
- Open the app and select the elements whose attributes you want to manage.
Once it is running, the panel gives you:
- Centralized attribute view: Every custom attribute you manage sits in one list, so you can audit naming instead of clicking through elements to find what you set last month.
- Name and value autocomplete: The app suggests attribute names and values as you type, which cuts typos on long strings that fail silently in production.
- Reusable templates: Attribute sets you apply often save as templates and land on an element in a single action rather than four keystrokes.
- Template export and import: Templates move between projects as files, which is how agencies keep one attribute convention across every client site.
An accessibility attributes autocomplete is listed as in development on the Marketplace page. The app manages attributes and nothing else, so pair it with one of the code paths below to make those attributes actually do something.
Add attributes and scripts with native Webflow features
You can add custom attributes and custom code with no app at all, which is what you want for a one-off attribute or for the script that reads whatever the app wrote. Both are built into Webflow and both carry plan requirements, covered below.
Add custom attributes in the Element settings panel
Every element accepts name and value pairs. This is where an attribute like xa-script goes when you set it manually rather than through the app.
To add one:
- Select the element on the canvas.
- Open the Element settings panel and find Custom attributes.
- Click the plus icon.
- Enter a name, for example
xa-script, and a value, for exampletrue.
Custom attributes accept CMS field bindings and component property bindings, with one restriction worth settling before you plan a build: CMS data only binds to an attribute on a Collection page or inside a Collection List, and nowhere else. The custom attributes guide covers how both binding types behave.
Add scripts with Code Embed and site custom code
An attribute does nothing until a script reads it. Scripts live in site-level or page-level custom code in head and body tags, and an inline script can also sit in a Code Embed element you drag in from the Add panel. All of those accept HTML, CSS, and JavaScript only, so server-side languages such as PHP or Python will not run.
To add a script site wide:
- Go to Site settings > Custom code.
- Paste the script into the Head code or Footer code section.
- Click Save changes, then publish the site.
Each custom code section holds up to 50,000 characters, and a Code Embed element has the same cap. Custom code needs a Core, Growth, Freelancer, or Agency Workspace, or a site on an active Site plan, and none of it goes live until you publish.
Build with the xAtom framework and the Webflow APIs
xAtom pairs client-side components with Webflow's Data API for application-grade builds, and it is the heaviest of the three paths. It converts Webflow elements into components, intercepts native form submissions, gates routes by auth state, and re-filters Collection Lists without a page load. Setup needs Node.js v14.17.0 or later, a package manager, and enough TypeScript to be comfortable, so treat this as a developer path.
Settle one thing before you build on the auth pieces: xAtom's route gating tracks auth state in the browser and does not issue accounts. Webflow's own Memberships and User Accounts feature was sunset on January 29, 2026, along with its APIs, so any tutorial that pairs xAtom routing with Webflow-hosted logins is out of date. Put an identity provider such as Memberstack behind the route gating instead.
For a developer build, keep two sets of docs open:
- xAtom components: The xAtom API reference documents WFComponent, WFDynamicList, and the form and CMS components you will reach for most often.
- Routing and auth: WFRoute and WFAuth handle protected routes and auth middleware, entirely on the client side.
- Webflow Data API: The Webflow Data API serves CMS reads and writes, form submissions, and asset operations at
https://api.webflow.com/v2. - Webhooks: Registered webhooks push Webflow events out to your systems, which is how an external store stays in sync without polling on a timer.
xAtom itself is client-side JavaScript and exposes no server endpoints of its own, so anything that has to run on a server goes through the Data API.
Develop locally with the reverse proxy
xAtom's dev server proxies your published Webflow site to localhost, so you can test custom code without publishing it first.
To set up local development:
- Run
npx create-xatom-app my-siteto scaffold the project. - Set
webflowSubdomaininxatom.jsonto your Webflow staging subdomain. - Run
npm run startto launch the reverse proxy, which listens on port3020by default. - Add
xa-script="true"to any published<script>tag so it stays suppressed while you work locally. - Run
npm run buildto bundle production output into/dist/, then reference that file from your site's custom code.
The configuration reference documents the rest of the xatom.json schema, including source, dist, and the scriptAttribute key that renames xa-script if it clashes with something you already use.
Filter and paginate Collection Lists with WFCMSList
The WFCMSList component loads, filters, sorts, and paginates a Collection List with no redirect and no refresh.
To implement it:
- Install the package with
npm install @xatom/cmslist. - Initialize it with
new WFCMSList(".cms", { ... })and set options such asnumberOfItemPerPage. - Call
setFilterSortConfig(config)to apply your own filter and sort functions.
Two defaults matter here. autoLoadAllItems is true, so xAtom pulls every paginated CMS item before it applies client-side filters, which reads fine at a few hundred items and drags at a few thousand. resetIX2 is also true, so Webflow Interactions re-fire on re-rendered items instead of going dead after the first filter. The WFCMSList reference lists every option and method.
Sync CMS content with the Data API and webhooks
xAtom runs in the browser and exposes no webhooks of its own, so CMS sync between Webflow and an external system runs through Data API v2.
To build a sync:
- Authenticate with a bearer token. CMS writes need the CMS write scope, and registering a webhook needs
sites:write. - Create staged CMS items with
POST /v2/collections/{collection_id}/items/bulk, which takes up to 100 items per request, and update them withPATCH /v2/collections/{collection_id}/items, which has the same 100 item ceiling. - Register a webhook with
POST /v2/sites/{site_id}/webhooksto receive events such ascollection_item_changed.
Bulk updates only touch the primary locale unless you pass cmsLocaleId in the payload, and that omission is the usual reason a sync reports success while a localized site shows nothing new. The webhook events reference documents all four CMS item events: collection_item_created, collection_item_changed, collection_item_deleted, and collection_item_unpublished.
What you can build with the xAttribute Webflow integration
With attributes managed centrally, behavior runs across a whole site from one convention instead of from per-element edits. These are the patterns we see most often on Webflow sites built this way:
- Accessible navigation: ARIA labels and states go on every nav trigger from one panel, so screen reader and keyboard behavior stays consistent instead of drifting element by element.
- Analytics event tracking: Data attributes on buttons, links, and forms fire custom events into Google Analytics, which gives marketing click-level data without a developer editing each element.
- Live content filtering: Custom attributes feed a client-side library such as Isotope or MixItUp to build filterable galleries, product catalogs, or blog archives.
- Product configurators: Attributes carry a visitor's selections and price deltas, then hand that configuration to checkout, so the spec survives the jump from page to cart.
Every one of those starts as an attribute convention and ends as a script that reads it. Read how to apply custom code if you would rather manage those scripts programmatically than paste them into Site settings on every deploy.
If an agent is already part of how you build, the Webflow MCP server reads and writes site-level and page-level custom code and manages registered scripts, so the script half of this setup happens in the same conversation where you settle the attribute convention. Connect it to your Workspace and point it at the site you are working on.
Frequently asked questions
The Marketplace listing states no site plan requirement for the app itself. Scripts that act on your attributes are a different matter: custom code needs a Core, Growth, Freelancer, or Agency Workspace, or a site on an active Site plan.
xAttribute is a no-code Marketplace app for managing custom attributes visually. xAtom is a developer framework that needs Node.js v14.17.0 or later plus a build step. Both come from the same team, and they work together, since xAtom components select elements by attribute.
Yes, but only on a Collection page or inside a Collection List. CMS data will not bind to a custom attribute anywhere else. Component property bindings work more broadly, and the custom attributes documentation covers both.
Add it under Site settings > Custom code, in either the Head code or Footer code section, then publish to take it live. Page settings works the same way for a single page. Each section caps at 50,000 characters.
Yes. The Marketplace lists it at no cost, and it carries the Approved by Webflow label, which means we reviewed it for site development quality. That review is not an endorsement or a certification of the app.

Description
Manage HTML custom attributes across your Webflow site from one panel with the xAttribute app, then pair those attributes with scripts or the xAtom framework for interactive components.
This integration page is provided for informational and convenience purposes only.

FlowScript.dev

Cutcopy
Connect CutCopy with Webflow to transfer variable collections and element attributes between sites without rebuilding them manually.

Finsweet-table-of-contents
Connect Finsweet Table of Contents with Webflow to generate anchor link navigation automatically from the headings in your content.

MathJax
Connect MathJax, an open-source math display engine, with Webflow to render LaTeX equations as typeset formulas with built-in accessibility, screen reader support, and cross-browser consistency.

Awesome Table
Connect Awesome Table with Webflow to display filterable Google Sheets data on any page without building a custom backend.

Slater
Connect Slater with Webflow to write, test, and deploy custom JavaScript and CSS through a dedicated editor with staging environments, version history, and AI code generation.

Clean Styles
Clean Styles merges duplicate classes and bulk-renames styles inside Webflow, with no code and no external account.

Flowblock - Code AI
Connect Flowblock - Code AI, an AI-powered code editor, with Webflow to write and deploy custom JavaScript and CSS

Formly & Flowplay
Connect Formly and Flowplay with Webflow to enhance functionality without custom coding.
Related integrations
Get started for free
Try Webflow for as long as you like with our free Starter plan. Purchase a paid Site plan to publish, host, and unlock additional features.
