






StoreRocket
Connect StoreRocket, a store locator widget, with Webflow to add a searchable map of your locations to any page.

StoreRocket drops a searchable, geolocation-aware store locator onto any Webflow page through a single JavaScript snippet. You manage locations and widget settings from the StoreRocket dashboard, paste the snippet into a Code Embed, and skip the custom mapping code entirely.
Agencies use it on client builds, and retail chains, restaurants, healthcare providers, and brands with retail distribution use it to power "where to buy" and stockist finder pages.
How to integrate StoreRocket with Webflow
What is StoreRocket? StoreRocket is a store locator widget for websites. It handles location management, map display, search filters, geolocation, and lead capture through a hosted dashboard. StoreRocket also offers analytics that track customer search behavior and a REST API on the Business plan.
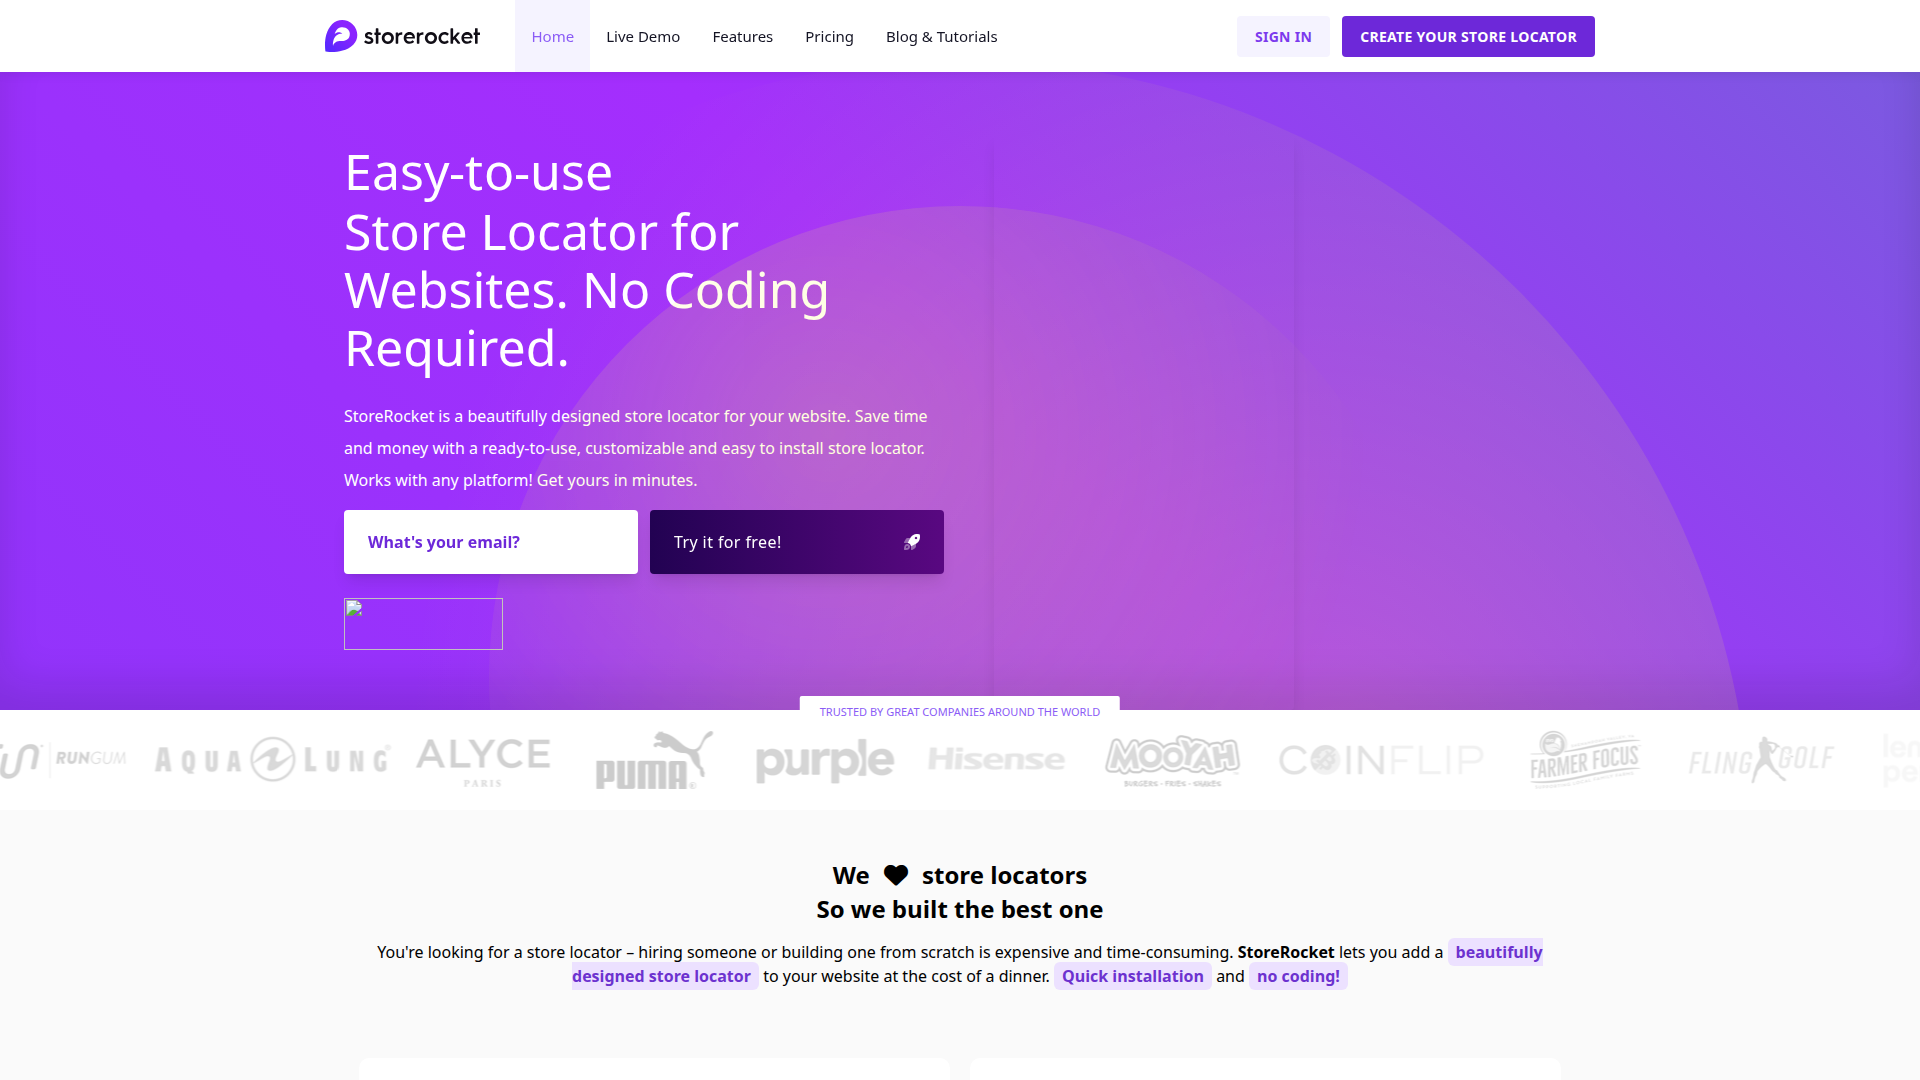
Reach for StoreRocket alongside Webflow when your site needs a customer-facing map but you don't want a developer building one from scratch. StoreRocket owns the location data and map rendering. You handle the site design, page structure, and hosting in Webflow. Update locations in the dashboard, and the changes appear on your live site without republishing.
StoreRocket and Webflow can work together at different levels. The widget embed adds the store locator to a page using a copy-paste JavaScript snippet and no custom development. Custom code placement controls whether the widget loads in a specific page section or site-wide in the head or body. CMS sync is a development path: the StoreRocket REST API and the Data API give you full control over location data in the Webflow CMS, but you'll need server-side development.
Use the widget embed for the documented step-by-step setup. Reach for the API path only when you need to sync location data to or from the Webflow CMS.
Add the StoreRocket widget with a Code Embed element
Setting up StoreRocket in Webflow uses pasted JavaScript through a Code Embed element. The integrations directory lists StoreRocket as a widget embed. Add the store locator by pasting a JavaScript snippet into a Code Embed element on the page where you want the map to appear. StoreRocket reports an average install time of about three minutes. You need at least a paid Webflow Lite plan, since Code Embed elements aren't available on the free plan.
This method covers the common page-level setup. Place the interactive map in a specific page section, then configure search radius, filters, category tags, map colors, layout, and custom CSS from the dashboard.
To set up the integration:
- Copy the widget code from the Install Widget page in the StoreRocket dashboard at
storerocket.io/app/widget/install. - In Webflow, add a Section to the target page, then drag an Embed element inside it.
- Paste the StoreRocket snippet into the element.
- Click Save & Close, then publish the site.
The widget doesn't render inside the Designer. The Code Embed element shows only a placeholder on the canvas. Preview or publish the site to confirm the map loads correctly. After setup, you manage locations, filters, hours, and styling entirely from the StoreRocket dashboard, so changes go live without touching Webflow again.
Place the widget with custom code in page or site settings
Beyond the Code Embed element, you can add custom code to the head or body of a page or the whole site. The StoreRocket guide recommends the Code Embed element because it controls the widget's visual position on the page. Use head or body placement when you want the script to load site-wide, or when you're following the recommendation to load JavaScript before the closing body tag for better performance. Each of these locations accepts up to 50,000 characters.
Add the script to a single page
Page-level placement suits sites where the locator lives on one page, like a "find a store" route. Add the script to the page's head or before the closing body tag. This keeps the code off every other page.
To add the script to one page:
- Open Page settings for the target page.
- Paste the StoreRocket script into the Inside
<head>tag section or the Before</body>tag section. - Save and publish the page.
Reference the Custom code in head and body tags guide for the exact fields. The widget still needs a target element on the page, so this works best combined with a Code Embed for the map container.
Add the script site-wide
Site-wide placement makes sense when the locator appears on several pages or in a shared footer. Add the script once in site settings, and it loads across the site. You'll need a Core, Growth, Agency, or Freelancer Workspace, or an active site plan.
To add the script site-wide:
- Go to Site settings > Custom code tab.
- Paste the StoreRocket script into the Head code or Footer code section.
- Save changes and publish the site.
Both sections cap at 50,000 characters each. If the StoreRocket snippet ever exceeds that limit, host the script externally and reference it with a <script src="..."> tag instead.
Build with the Webflow and StoreRocket APIs
The API path fits teams that want StoreRocket location data inside the Webflow CMS, so locations render as native Collection List elements alongside your designed pages. You'll need server-side development and a StoreRocket Business plan for REST API access. There's no publicly documented native no-code connector for StoreRocket-to-Webflow location sync.
This pattern uses the StoreRocket REST API for location data, with access available on the Business plan. Endpoint paths, authentication, and payload schemas aren't published publicly, so contact StoreRocket support for Business plan API details. The Data API handles CMS collections and form submissions, while webhooks trigger real-time events between systems.
Because StoreRocket's API documentation sits behind a Business plan login, the Webflow side of this pattern is the part you can build against today. Google Sheets Sync on the Business plan offers a no-code alternative, since locations updated in a connected Sheet sync automatically to StoreRocket.
Push locations into the Webflow CMS
To mirror StoreRocket locations as CMS items, have a StoreRocket event or scheduled job trigger your endpoint, then have your endpoint call the Data API. This gives you Webflow-hosted location pages backed by StoreRocket data. StoreRocket's location limits are set by plan tier: up to 100 locations on Tier 1, up to 1,000 on Tier 2, and unlimited on Tier 3. Match your plan to your location count.
To implement this:
- Get the collection schema with
GET https://api.webflow.com/v2/collections/{collection_id}to confirm field names and types. - Create items with
POST https://api.webflow.com/v2/collections/{collection_id}/items. IncludenameandsluginfieldDataplus your location fields. This needs theCMS:writescope. - For larger imports, use
POST https://api.webflow.com/v2/collections/{collection_id}/items/bulk, which accepts up to 100 items per request. Batch datasets larger than 100 into groups of 100. - Publish staged items with
POST https://api.webflow.com/v2/collections/{collection_id}/items/publish, since items default toisDraft: true.
All Data API v2 calls use an OAuth2 bearer token. To push updates the other direction, register a webhook with POST https://api.webflow.com/v2/sites/{site_id}/webhooks on triggers like collection_item_created or collection_item_changed, then call the StoreRocket API from your endpoint.
What can you build with the StoreRocket Webflow integration?
Integrating StoreRocket with Webflow lets you add a searchable, filterable store locator to any page without building map infrastructure yourself.
- Store locator page: Embed an interactive map on a "find a store" page where customers search by address and filter by product or service tag. A retail chain shows all nearby locations with open/closed status from Live Hours.
- Dealer or stockist finder: Build a "where to buy" page for a brand with retail distribution. Customers enter a zip code, and the widget returns nearby dealers with geolocation and address autocomplete.
- Lead capture on empty searches: Turn zero-result searches into leads. When no location exists near a customer, StoreRocket's built-in form collects their contact info so sales can follow up.
- CMS-backed location pages: Push StoreRocket locations into the Webflow CMS via the Data API and render each as an SEO-friendly Collection page with its own URL, content, and map.
Reach for the API integration path when you need more control over syncing location data between systems.
Frequently asked questions
Copy the widget snippet from the StoreRocket dashboard, then paste it into a Code Embed element on your page. In Webflow, add a Section, drag a Code Embed element inside it, paste the code, click Save & Close, and publish.
No. Code Embed elements require a paid Webflow site plan. StoreRocket's guide states you need at least a Lite plan to add an embed element, and Webflow's Code Embed documentation confirms embeds need a Core, Growth, Agency, or Freelancer Workspace, or an active site plan.
This is expected. The Code Embed element shows only a placeholder on the canvas and does not render live scripts. Use Preview mode or publish the site to see the map load correctly.
Yes, 50,000 characters per Code Embed element, and 50,000 characters each for the head and footer sections in both page and site settings. If the StoreRocket snippet ever exceeds that, host the script externally and reference it with a
<script src="...">tag.Yes, but it requires development. There is no publicly documented native no-code connector for StoreRocket-to-Webflow location sync, so you build a server-side integration using the StoreRocket REST API on the Business plan and Webflow's Data API.
Description
Embed a searchable store locator on your Webflow site using StoreRocket's JavaScript widget and a [Code Embed](https://help.webflow.com/hc/en-us/articles/33961332238611-Custom-code-embed) element. Manage locations, filters, and map styling from the StoreRocket dashboard.
This integration page is provided for informational and convenience purposes only.

Elfsight Google Maps widget
Connect the Elfsight Google Maps widget with Webflow to display multiple locations, info cards, and directions on any page through a pasted embed snippet.
Related integrations
Get started for free
Try Webflow for as long as you like with our free Starter plan. Purchase a paid Site plan to publish, host, and unlock additional features.
