






Storepoint Locator
Connect Storepoint Locator with Webflow to embed a searchable store locator map and sync location data from the Webflow CMS.

Webflow does not include a native store locator. Building one from scratch means wiring up a map provider, geocoding, radius search, geolocation, and filtering logic in custom code. For sites with dozens or hundreds of locations, keeping that data up to date by hand becomes its own job.
Storepoint renders the full locator from a single embed snippet on any Webflow page: search, filtering, geolocation, and directions. The Marketplace app connects a Webflow CMS Collection to the locator, so edits to a Collection item propagate automatically. Documented REST and JavaScript APIs cover custom builds beyond the widget.
Retail and CPG brands building where-to-buy pages get the most from this integration. It also fits franchise or dealer directories and agency-built locator pages for clients. Marketing teams update locations without touching code. Developers get documented APIs when the drop-in widget alone is not enough.
How to integrate Storepoint Locator with Webflow
What is Storepoint Locator? Storepoint is a store locator widget and location management platform for websites. It renders an interactive, mobile-responsive map. It offers city, zip, or postcode search, tag-based filtering, geolocation, opening hours, and one-click directions. Location data comes from a dashboard, CSV import, Google Sheets sync, or REST APIs. The map runs on either Google Maps or Mapbox.
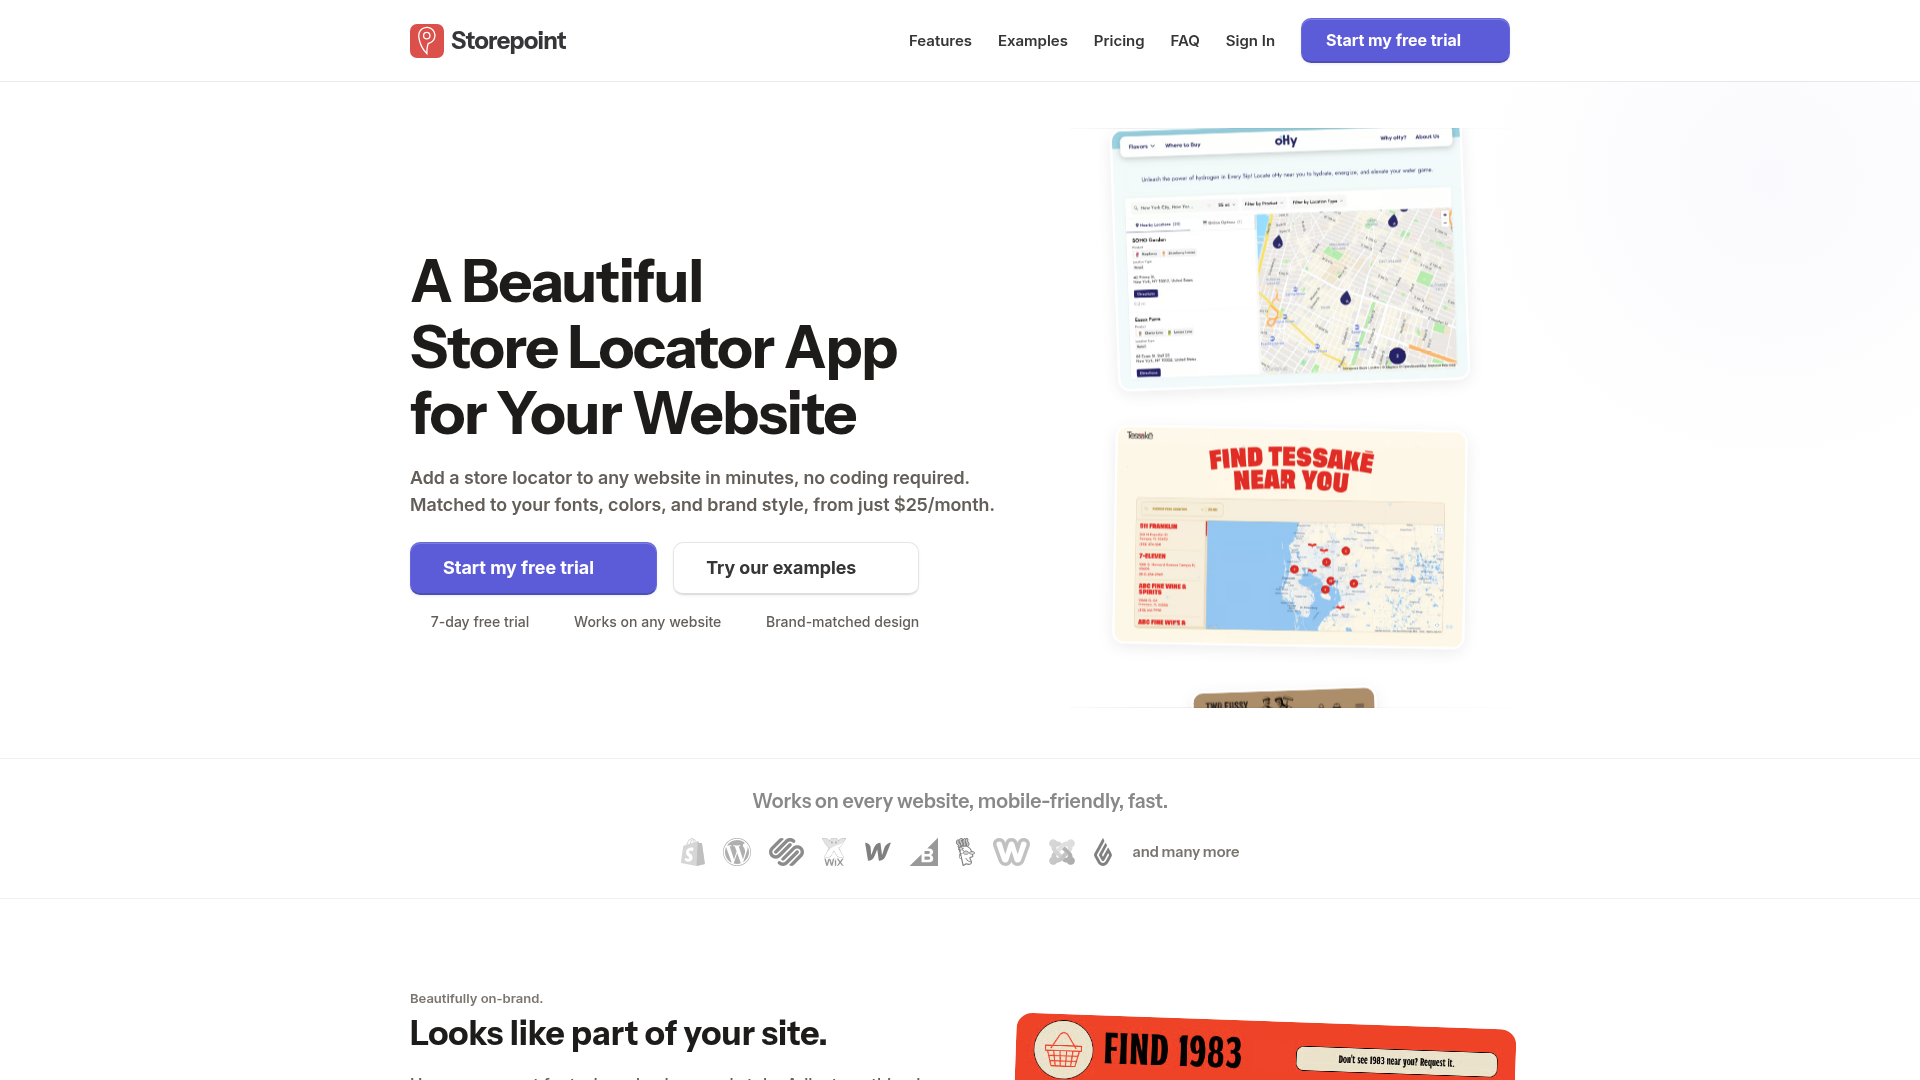
Teams pair the two when a Webflow site needs to answer "where-to-buy" or "nearest-branch" questions. Webflow handles the page design and content model. Storepoint handles map rendering and geocoded location search with filters. No one has to build a location search from scratch. The same setup powers stockist pages, franchise directories, dealer locators, and pharmacy finders.
The Storepoint Locator-Webflow integration supports three approaches:
- The Storepoint Locator app syncs Webflow CMS Collections to your locator without writing code.
- Code Embed elements place the locator widget on any page with a single snippet.
- The Webflow Data API and Storepoint APIs let you build custom location data pipelines, but require server-side development.
Most implementations combine two or more of these methods depending on how location data is managed.
Install the Storepoint Locator app
The Storepoint Locator app on the Webflow Marketplace connects a Webflow CMS Collection to your Storepoint Locator. Changes to CMS items appear instantly in the widget. Content editors manage locations the same way they manage blog posts. Storepoint built and published the app, which carries an "Approved by Webflow" badge. The Webflow CMS integration requires a Storepoint Pro or Business plan. It is not available on Storepoint Starter.
To set up the integration:
- Install the app from the Webflow Marketplace listing.
- Connect your Storepoint account on a Pro or Business plan.
- Map your Collection fields to Storepoint attributes in the integration interface.
- Publish your site. Edits to synced CMS items now automatically flow into the locator.
Once connected, the locator supports the full Storepoint feature set:
- Visitors search by zip or postal code, city, or address, and the widget can detect their location automatically.
- Filters narrow results by category, including individual products and services.
- Each location card shows opening hours, contact info, custom fields, and one-click directions.
- You can customize the styling and map markers, and publish separate language versions.
- Location data imports from a spreadsheet or Google Sheets, and built-in analytics show what visitors search for.
Plan capacity is worth checking before you commit to CMS sync. Storepoint Pro supports up to 2,000 locations. On the Webflow side, check your Site plan's CMS item limit. Webflow's May 2026 pricing update merged the former CMS and Business plans into the Premium plan, which includes 20,000 CMS items. A Pro-sized Storepoint dataset of up to 2,000 locations sits well within that cap. If you don't need CMS sync, the embed method below works on any Storepoint plan.
Embed the locator with a Code Embed element
The embed method places the full locator widget on a page by pasting one snippet, and it works on every Storepoint plan. Storepoint documents this path in its own setup guide. Custom code requires a Core, Growth, Agency, or Freelancer Workspace, or an active paid Site plan. The free Starter plan does not support it.
To embed the locator:
- In the Storepoint dashboard, click Embed in the left sidebar and copy the snippet.
- In Webflow, press A or click the + toolbar icon, then go to Components > Embed.
- Drag the Embed element onto the page and paste the Storepoint snippet.
- Click Save & Close, then publish the site.
The locator renders as a grey placeholder on the Webflow canvas. It only fully renders in Preview or on the published site. To render it during design, a site manager can turn on Site settings > Custom code > Run custom code in Preview. This behavior is documented in supporting external resources in previews. For a full-width layout, place the Embed inside a section set to 100% width (100vw), and give the Embed element a min-height of approximately 600px. The Embed element accepts up to 50,000 characters, and the Storepoint snippet is only a few lines, so the limit never comes into play.
Add the snippet with custom code in head and body tags
If the locator should load site-wide, add the snippet through custom code in head and body tags instead of a per-page Embed element. The Storepoint widget runs entirely client-side, so it is compatible with these fields.
To add the code site-wide:
- Go to Site settings > Custom code.
- Paste the snippet into the Head code or Footer code section. In JavaScript, placing the footer before the closing
</body>tag is recommended for performance. - Click Save changes and publish.
Page-level placement works the same way through Page settings, using the Inside <head> tag or Before </body> tag fields. Both fields share the same 50,000-character limit and plan requirements as the Embed element.
Use pre-filtered embed codes for product or regional pages
Storepoint generates tag-filtered embed codes that pre-apply filters before the map loads. A product page can show only stockists that carry that product, and a regional page can show only locations in that region, each from the same Storepoint account.
To use a filtered embed:
- Assign tags to your locations in the Storepoint dashboard. Tag filtering options appear only after at least one location has a tag.
- Generate the tag-filtered embed code on the dashboard Embed page.
- Paste that code into a Code Embed element on the target Webflow page.
Language-specific embed codes are generated from the same dashboard page, which is useful for multilingual Webflow sites with separate locale pages.
Build with the Webflow and Storepoint APIs
The API path is for developers who need custom location pipelines or bespoke map interfaces. It also covers sync logic the app does not handle. It requires server-side development for anything that writes data.
The available APIs cover both directions:
- The Location Query API handles read-only access to published locations, and it is safe to call from frontend code with a public token.
- The Location Management API handles creating, updating, and deleting locations, and it must run server-side only.
- The Widget JavaScript API handles browser-side widget events like
map-marker-clickand methods likesetFilters(). - The Webflow Data API handles CMS Collection items and registered custom code
- Webflow webhooks trigger real-time events when CMS items change.
Storepoint publishes no outbound webhooks, so any automated pipeline between the platforms starts on the Webflow side.
Sync Webflow CMS changes to Storepoint with webhooks
This pattern keeps Storepoint current whenever editors change location items in the Webflow CMS, without the Marketplace app. Webflow fires the events, and your middleware pushes the changes to Storepoint's Management API.
To build the pipeline:
- Register webhooks with
POST https://api.webflow.com/v2/sites/{site_id}/webhooksand set the trigger types tocollection_item_created,collection_item_changed, andcollection_item_deleted. - In your middleware, map the incoming Collection fields to Storepoint's
name,address,tags,contact,hours, andcustom_fieldspayload fields. - Call
POST https://api.storepoint.co/admin/v1/locationsto create a location,POST /admin/v1/locations/{id}for partial updates, orPOST /admin/v1/locations/{id}/deleteto remove one. Coordinates are optional; Storepoint geocodes the address automatically when they are omitted.
Keep the Storepoint private API key on your server. Storepoint's docs state it must stay out of frontend code, public repositories, and client-side applications.
Pull Storepoint locations into the Webflow CMS
The reverse direction populates Webflow CMS items from Storepoint data, which is useful for SEO-indexable location detail pages rendered natively in Webflow. The Query API must be enabled per locator before use.
To implement the sync:
- Fetch all published locations with
GET https://api.storepoint.co/public/v1/{locator_token}/locations?all=true, or filter withlat,lng,radius,search, andtags[]parameters. - Create matching items with
POST https://api.webflow.com/v2/collections/{collection_id}/items. ThefieldDataobject requiresnameandslug. - Push staged items live with
POST /v2/collections/{collection_id}/items/publish.
Once the items exist, a Collection List renders them anywhere on the site, styled entirely in Webflow.
What you can build with the Storepoint Locator Webflow integration
Integrating Storepoint Locator with Webflow lets you ship searchable location maps and directories without building the locator logic yourself.
- Restaurant and multi-location finders: Pluckers Wing Bar runs its site on Webflow, manages store locations in the CMS, and uses storepoint.co alongside custom Google Maps, as documented in its Made in Webflow showcase.
- Where-to-buy stockist pages: A CPG brand embeds the locator on a stockists page with product-tag filters, similar to Two Fussy Blokes' global stockist locator with country filters and custom logo markers.
- Dealer and franchise directories: A dealer network bulk-imports hundreds of locations from a CSV with custom fields, then publishes a territory-filtered directory that visitors browse by region.
- Healthcare and pharmacy locators: A clinic network builds a finder with service-type filters and booking links, like Scripted's pharmacy locator with treatment-type filters and a "Book Now" button.
If you need more control over custom sync pipelines or bespoke map interfaces, the API path covers those cases. To go further, explore the Webflow CMS API and build your own pipeline into the CMS.
Frequently asked questions
You need a Core, Growth, Agency, or Freelancer Workspace, or an active paid Site plan. The free Starter plan does not support custom code, which the Storepoint snippet requires. The plan requirement is documented in the Code Embed help article, which also covers the 50,000-character limit per element.
The locator renders as a grey placeholder on the canvas by design and only fully loads in Preview or on the published site. A site manager can turn on Site settings > Custom code > Run custom code in Preview to render it during design.
The CMS sync requires Storepoint Pro or Business; it is not available on Storepoint Starter. Starter accounts can still use the full embed widget with search, filters, and geolocation.
No, you paste the snippet once. Location changes, design updates, filter settings, and language changes all update automatically on the published site, per Storepoint's FAQ. To get started, copy your snippet from the Storepoint dashboard and paste it into an Embed element.
Description
Sync Webflow CMS Collections to your Storepoint store locator through the Marketplace app, or drop the locator widget onto any page with a Code Embed element.
This integration page is provided for informational and convenience purposes only.

Elfsight Google Maps widget
Connect the Elfsight Google Maps widget with Webflow to display multiple locations, info cards, and directions on any page through a pasted embed snippet.
Related integrations
Get started for free
Try Webflow for as long as you like with our free Starter plan. Purchase a paid Site plan to publish, host, and unlock additional features.
