






Stockpress
Connect Stockpress with Webflow to search and place approved brand files from your DAM inside Webflow without downloading and re-uploading them.

Connect Stockpress with Webflow to search and place approved brand files from your DAM inside Webflow without downloading and re-uploading them.
The Assets panel holds the files you upload. It cannot search them by the tags, statuses and custom metadata your brand team keeps in a digital asset management system. So a designer finds the approved file elsewhere, downloads it, uploads it in Webflow, and repeats the loop on every site. Each hop is a chance for an outdated version to go live, and closing that gap is what Stockpress does.
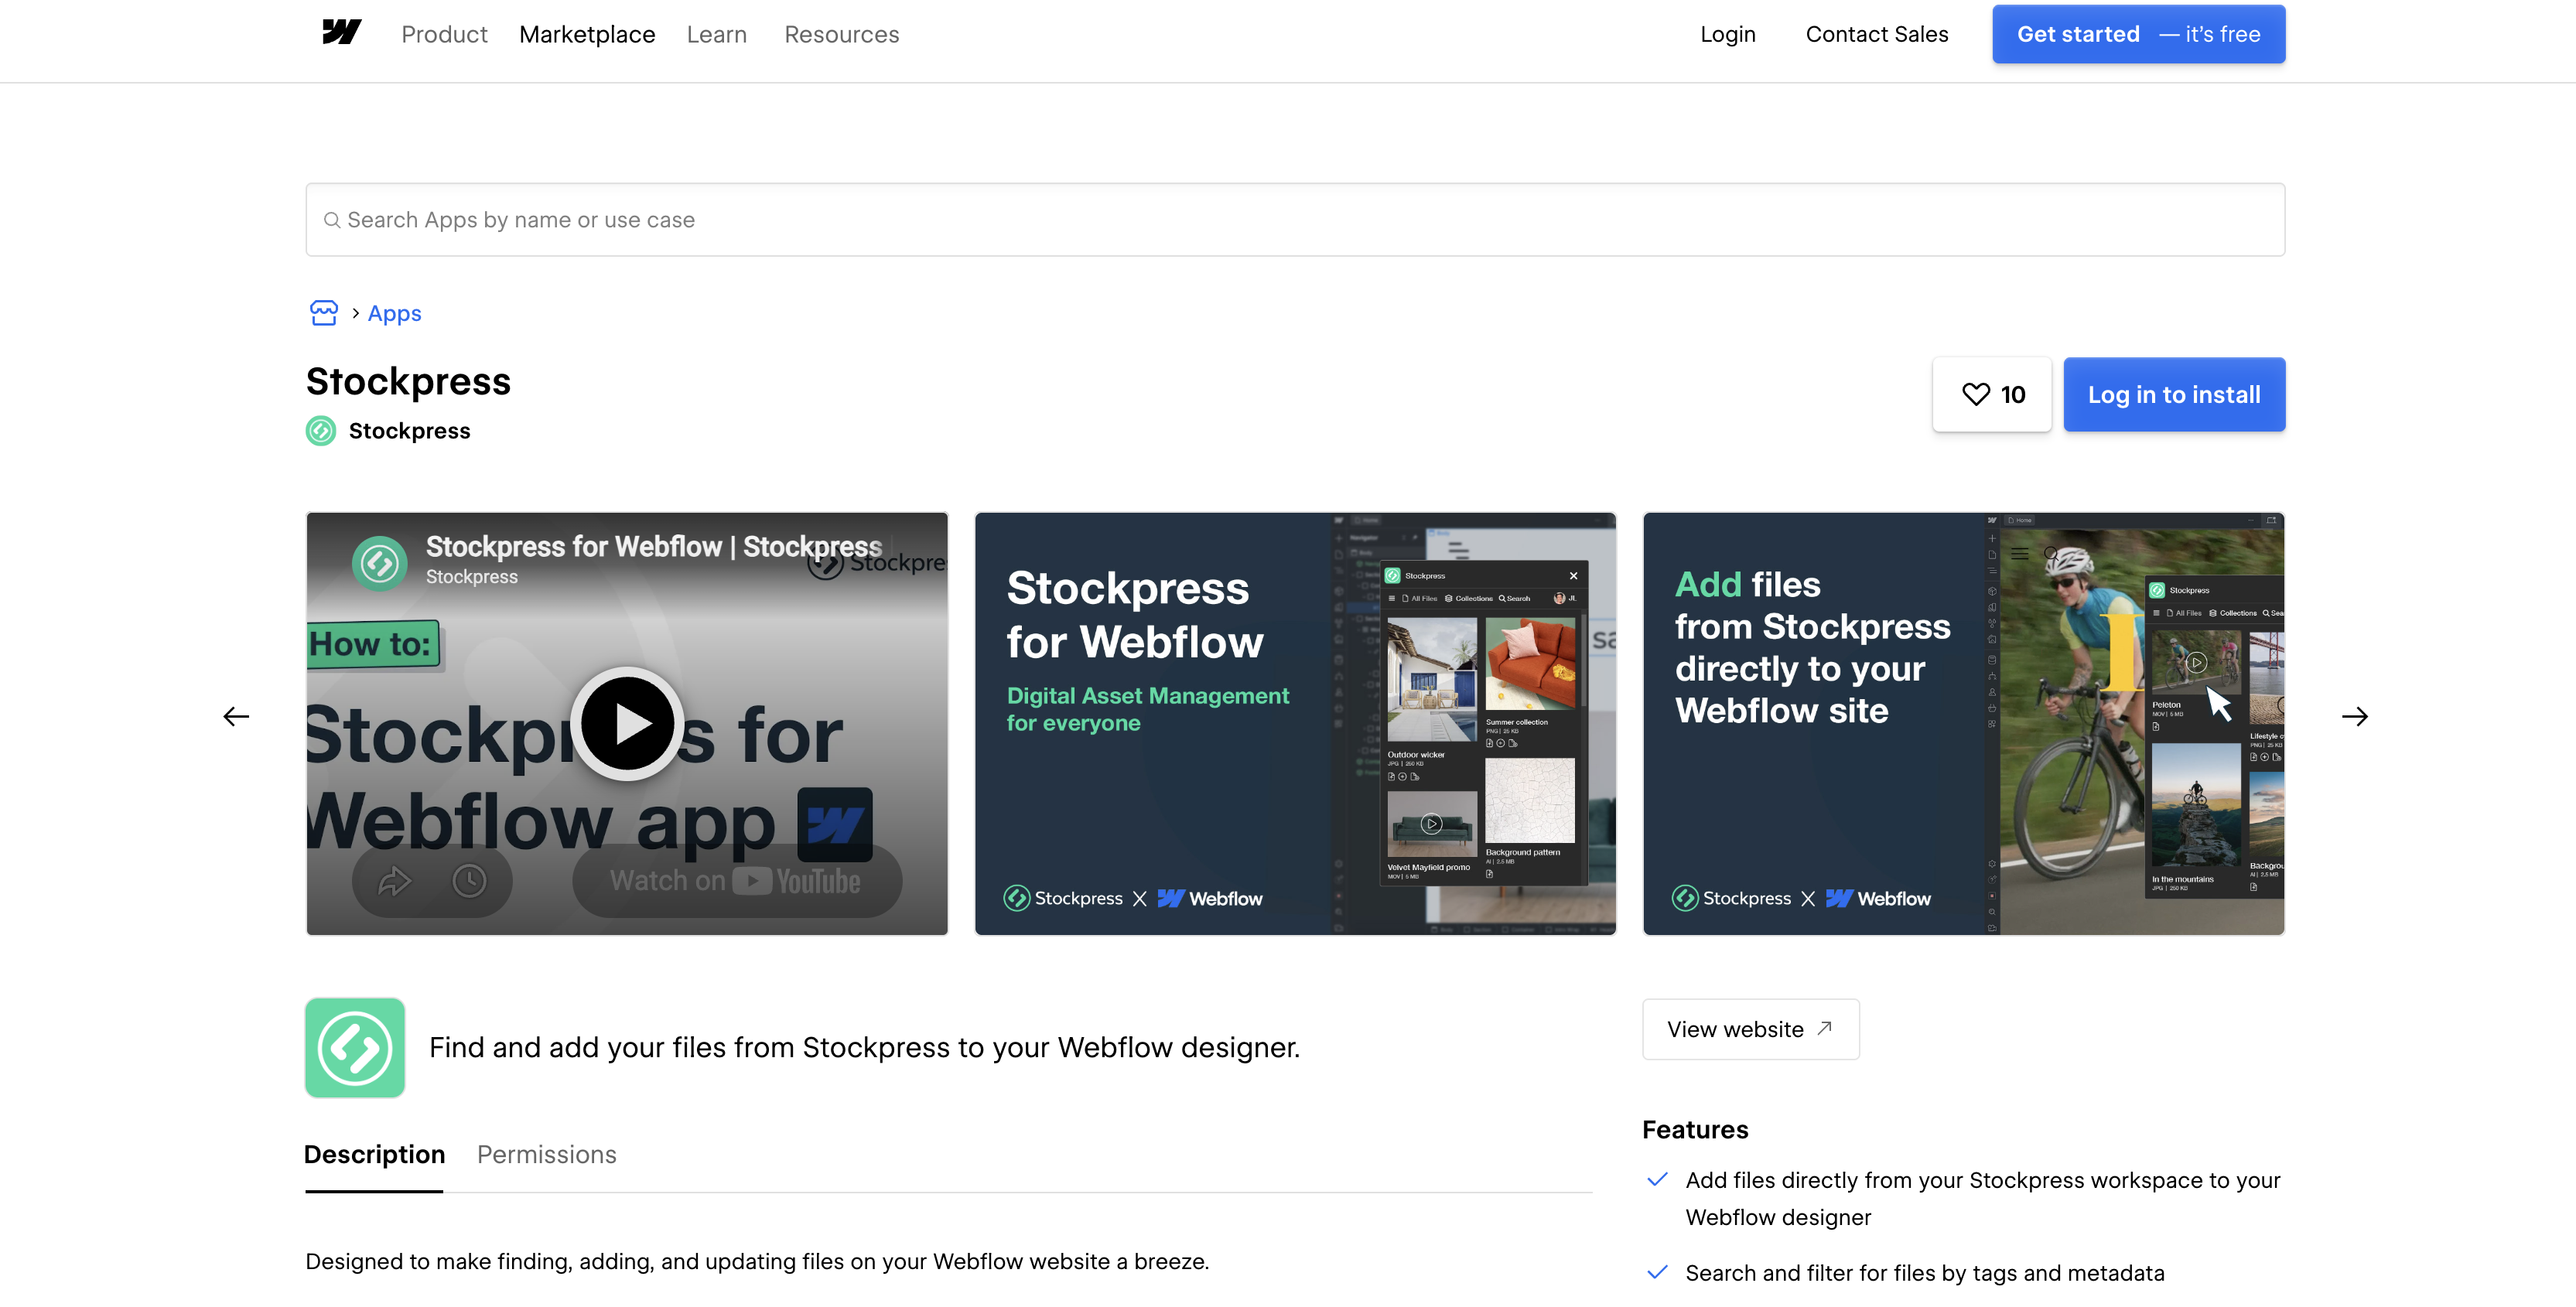
The Stockpress for Webflow app opens your Stockpress workspace inside Webflow. You browse Collections, search by keyword and tag, and add a file to Assets or straight onto the canvas, so the page shows the DAM-approved version without a download and re-upload. Public URLs and the Webflow Data API extend the same library into Webflow CMS content.
This integration suits Webflow designers who place dozens of images per build. It also fits agencies that manage many client sites and want one searchable library per client. Brand managers who need the website to match the approved library benefit, and so do in-house marketing teams shipping landing pages and campaign sites on a deadline.
How to integrate Stockpress with Webflow
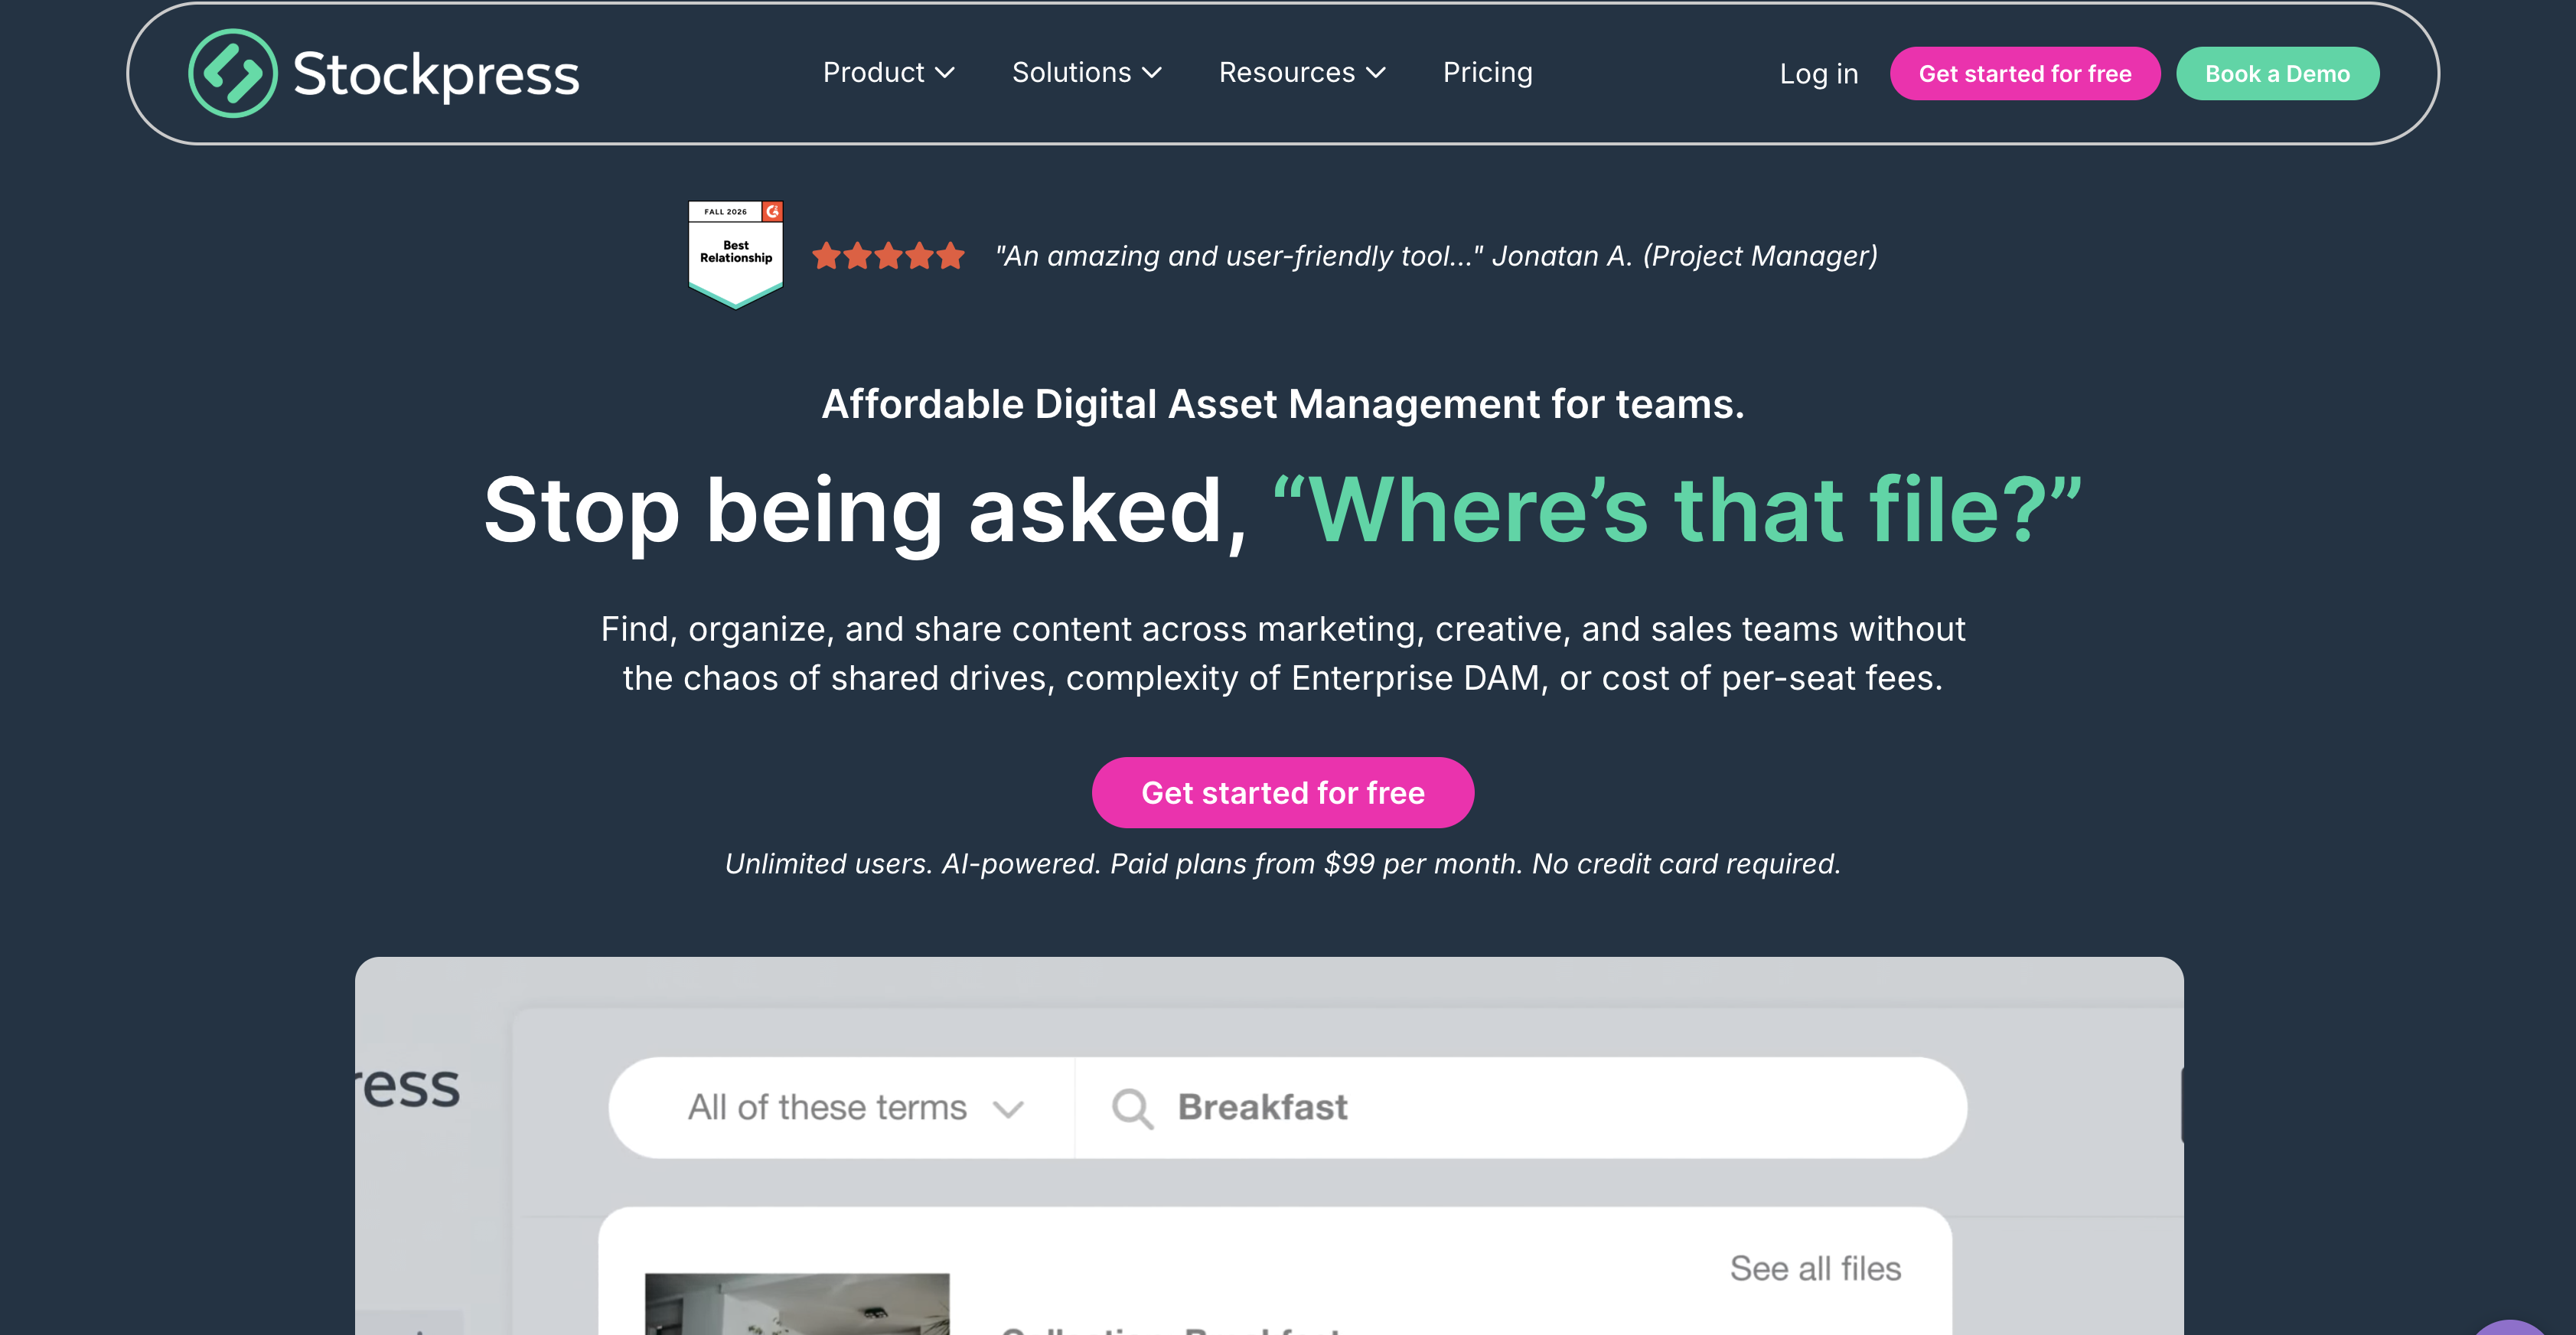
What is Stockpress? Stockpress is a cloud-based digital asset management (DAM) platform with unlimited users on every plan. It stores any file type and size, tags images with AI, and organizes files into Collections and sub-Collections. Teams share files through share links, Public URLs and hosted Content Portals.
Teams pair the two when the live site must show the same file the DAM holds as approved. A multi-site brand might have different people publishing to different sites, all pulling from one library.
You can connect them three ways. The Stockpress for Webflow app lets you browse, search and place files from your workspace without writing code. Share links, Content Portals and Public URLs let you point Webflow link elements and Code Embed elements at Stockpress-hosted files and pages. The Webflow Data API writes Stockpress Public URLs into CMS items and uploads files to Assets, but it needs server-side development.
Install the Stockpress for Webflow app
The Stockpress for Webflow app is a Designer Extension: it opens your Stockpress workspace inside Webflow so you can find a file and place it without leaving the canvas. The listing carries the "Approved by Webflow" label and an Enhanced security badge. It requests permission to read and write assets, and to read information about authorized users. Use it when your team already keeps approved files in Stockpress and wants the site to match. Neither Stockpress's Webflow guide nor the listing names a required plan on either side.
The app places files at design time only. Its Data API permissions cover assets and authorized-user details with no custom code access, and no documentation shows it adding scripts to your published site or writing to CMS fields. Stockpress accepts files of any size, but the Assets panel caps images at 4MB, documents and audio at 10MB, and ZIP files at 25MB. Uploading documents there also needs a paid Workspace or Site plan. How the app handles an oversized file is not documented, so export a web-sized version in Stockpress first.
To set up the integration:
- Open the Stockpress app listing on the Webflow Marketplace and click Add to site.
- Select the Workspaces or sites to authorize and click Authorize application. Authorizing a whole Workspace has a catch: you can then remove the app from one site only by removing it from every site in that Workspace (Marketplace overview).
- In Webflow, open the Apps panel and launch Stockpress.
- Connect your Stockpress workspace. The app matches your Webflow email automatically, or you can click use a different email address to connect another account.
- Select an image element on the canvas, find a file, and click Add to replace it. Use Upload to Webflow to send the file to Assets instead, or Upload to Webflow and Add to do both.
Once the workspace is connected, the app panel handles the everyday asset work.
- Browse: Open All files or All Collections and move through your full Collection structure without leaving Webflow.
- Search: Find files by keyword or tag, including the tags Stockpress generates with its AI tagging.
- Place or stage: Replace a selected image element directly, or send files to the Assets panel to use later when the app is closed.
- Track: Stockpress history shows which files were sent to Webflow, and the Reports feature on the Premium plan adds usage reporting.
Files sent to the Assets panel live on Webflow's CDN like any other upload, so keep Stockpress as the source of truth and re-add a file when its approved version changes.
Link and embed Stockpress files with Webflow link elements and Code Embed
Stockpress generates URLs that work outside its own interface. Webflow link elements accept URLs, while the Code Embed element accepts HTML, CSS and JavaScript. Share links open a file or Collection for anyone with the link unless you add a password or login requirement. Content Portals publish hosted brand-hub pages, and Public URLs serve a single file and, in Stockpress's words, "act like a CDN" (Creating public URLs). This is a general pattern based on Stockpress URL features and Webflow’s standard link and Code Embed capabilities, not a documented joint integration. Link elements need no server, but Code Embed needs a Core, Growth, Agency or Freelancer Workspace, or an active Site plan.
Link to share links and Content Portals from buttons and nav links
A share link gives agencies, press or distributors a page of files without a Stockpress login. Updatable Collection links keep showing new files as you add them. Advanced settings on Pro and Premium add expiration dates, passwords and an Allow downloads toggle. A Content Portal goes further and publishes a branded page built from Collections, file feeds, brand colors and custom fonts. Every Stockpress tier includes one portal, even Free, and Premium includes unlimited portals.
To link a Stockpress page from Webflow:
- In Stockpress, hover a file or Collection, click the Access & Share icon, then click Set a link to create a share link. For a portal, which needs an Admin or Manager role, open Content Portals in the sidebar, click Create Content Portal and set visibility to Public, Landing Page or Login Required.
- Copy the URL from Stockpress.
- In Webflow, select a button, text link or Navbar link, open Element settings, choose the URL option and paste it. Turn on Open in a new tab if the Webflow page should stay open.
- For CMS-driven lists, add a Link field to the Webflow CMS Collection and bind a button inside a Collection List to it.
- Publish the site.
An expiration date deactivates the share link and makes the shared files inaccessible on that date, so set expiry only on links you plan to retire.
Embed Public URL files with Code Embed
Public URLs are the Stockpress link type meant for embedding a file on an external website. They are Premium-only, available to Admins and custom roles with Edit capability, and load without a login. To render a Stockpress-hosted file without re-uploading it, drop the URL into a Code Embed element.
To embed a Public URL:
- In Stockpress, go to workspace settings, open the Files and Collections toggle, select Public URLs and toggle on Enable Public URLs.
- Click the three-dot icon on a file and choose Copy public URL.
- In Webflow, open the Add panel and add a Code Embed element to the canvas.
- Paste an
<img>or<video>tag with the Public URL as itssrc, add analtattribute, then save and close the editor. - Publish the site.
The example below shows the resulting image markup.
<img src="https://<your-stockpress-public-url>" alt="Spring lookbook hero" loading="lazy">
A Code Embed element holds up to 50,000 characters. Webflow creates responsive image variants only for images uploaded directly in Webflow, so an embedded Stockpress file serves at its stored size. Whether a Public URL stays stable after you upload a new file version is not documented, and neither are CORS headers or hotlinking policy, so test before using one for hero imagery. For a snippet you reuse on every page, Webflow's head and body code settings take it in the Footer code section under Site settings > Custom code tab, which holds 50,000 characters per section.
Build with the Webflow Data API
The Data API route suits teams that want Stockpress files in CMS Collections, or want to seed Assets from a script. Stockpress lists API access on its Premium plan, but its help centre documents no endpoints, so contact Stockpress directly about API access. Every call below goes to Webflow's API at https://api.webflow.com/v2.
Webflow webhooks send events such as collection_item_published, collection_item_changed and form_submission to your endpoint. They only flow out of Webflow, and Stockpress documents no way to receive them, so a collection_item_published event can notify your own service but cannot change a Stockpress file status.
Generate a Site token under Site settings > Apps & integrations > API access (Intro to Webflow's APIs). Tokens expire after 365 consecutive days of inactivity.
Create CMS items from Stockpress Public URLs
Through the API, CMS Image and Multi-image fields take an image from a publicly accessible URL and Webflow uploads it from there, which is where a Stockpress Public URL fits. Each image must be 4MB or under (Image field). Images added through the API get no responsive variants, so every visitor downloads the image at the size Webflow imported. A gallery Collection built this way renders in a Collection List like any other item.
To create the items:
- In Stockpress (Premium), copy the Public URL for each file you want in the Collection. Stockpress documents copying one file's URL at a time, so plan for this step to stay manual.
- Read the field slugs with
GET https://api.webflow.com/v2/collections/{collection_id}(Get collection). - Create the item with
POST https://api.webflow.com/v2/collections/{collection_id}/items(Create item). SendfieldDatawithname,slugand the image object, as in the example below, replacinghero-imagewith your field slug. - Publish with
POST https://api.webflow.com/v2/collections/{collection_id}/items/publish, or create and publish in one call withPOST https://api.webflow.com/v2/collections/{collection_id}/items/live(Create live item). - Swap a file later with
PATCH https://api.webflow.com/v2/collections/{collection_id}/items/{item_id}, sendingfieldDatawith the image field object and its newurl.
The request body for step 3 looks like this.
{
  "isDraft": false,
  "fieldData": {
    "name": "Spring lookbook hero",
    "slug": "spring-lookbook-hero",
    "hero-image": {
      "url": "https://<your-stockpress-public-url>"
    }
  }
}
The create endpoint returns 202. Its skipInvalidFiles parameter defaults to true, so an invalid file is skipped while the rest of the request goes through; set it to false to fail the whole request instead. The image object also takes an optional alt. Field validations live in Webflow only, because the API doesn't support them (managing collections).
Upload Stockpress files to Webflow Assets through the API
Upload through the Assets endpoints when Webflow should host the file on its CDN rather than hotlink Stockpress. This mirrors the app's Upload to Webflow button from a script, which suits batch jobs such as seeding a new client site's Assets folder. The file itself still comes from a manual Stockpress download, since Stockpress's help centre documents no API endpoint for listing files.
To upload an asset:
- Compute the MD5 hash of the file contents.
- Call
POST https://api.webflow.com/v2/sites/{site_id}/assetswithfileName(including the extension, under 100 characters),fileHashand an optionalparentFolder(Create asset). Create folders first withPOST https://api.webflow.com/v2/sites/{site_id}/asset_folders. - POST the binary to Amazon S3 using the returned
uploadUrlanduploadDetails. - Confirm with
GET https://api.webflow.com/v2/sites/{site_id}/assets, which acceptsfolderIdand alimitof up to 100 (List assets).
Uploaded assets are publicly available on Webflow's CDN, and pulling a file off the CDN takes a removal request (Asset privacy), so treat anything you upload as public. To push site-wide changes live afterward, call POST https://api.webflow.com/v2/sites/{site_id}/publish with customDomains or publishToWebflowSubdomain in the body (Publish site).
What you can build with Stockpress and Webflow
Each build below pairs a Stockpress feature with one of the Webflow routes covered above.
- Multi-site brand asset hub: Authorize the app for a whole Workspace so each site in it can pull logos, product shots and PDFs from one Stockpress library. A franchise brand with a national site and location microsites keeps one approved logo set across all of them.
- Agency portfolio: An agency keeps each client's assets in Restricted Collections, which only the users and teams it grants access can see, and builds case-study pages by searching that client's Collection inside Webflow.
- Product catalog gated by file status: Mark product photography with a status such as "Ready for Webflow", filter by status in Stockpress, and place only cleared images on product pages. For a CMS-driven gallery, feed a Products Collection from Public URLs through the Data API and render it in a Collection List.
- Event or campaign microsite: Build a conference recap page from session photos in one Collection, then point a download button at an updatable share link so attendees see new uploads without a rebuild.
The CMS-driven builds all start with the Data API. Learn the CMS API before you script your first gallery import.
Frequently asked questions
No plan requirement is documented on either side. Stockpress's Webflow guide names none, and the Webflow listing names no required Webflow plan. Some related features do carry tiers. Public URLs are Premium-only in Stockpress. On the Webflow side, uploading documents or audio to the Assets panel needs a paid Workspace or Site plan, and the Code Embed element needs a Core, Growth, Agency or Freelancer Workspace, or an active Site plan.
No. The app adds files to the Assets panel or replaces a selected image element, and no documentation shows it writing to Collection fields. For CMS Image fields, images "can't be pulled from the Asset panel" (Collection fields), so a file the app staged in Assets still needs a separate upload into the CMS. To fill a CMS image from Stockpress, send a Public URL to the field through the Data API, and Webflow uploads the image from that URL (field types).
Stockpress sets no upload or download size limit. Webflow's Assets panel accepts images up to 4MB, documents and audio up to 10MB, and ZIP files up to 25MB. It takes PNG, JPEG, JPG, GIF, SVG, WebP and AVIF images; PDF, DOC, DOCX, XLS, XLSX, PPT, PPTX, TXT, CSV, ODT, ODS, ODP and ZIP documents; MP3 and OGG audio; and Lottie JSON, dotLottie and Rive animation files. A CMS File field also accepts BMP images and MD files, with a 4MB cap on images and 10MB on documents. Every paid Stockpress plan can export a file to another format and download it at a custom size (format export), which is the practical way to get a print-resolution master under Webflow's cap.
Not automatically. Inside Stockpress, a new version replaces the file wherever it appears. "If your file is in multiple Collections or was part of a share link, the most recent version will also be updated there." (Adding new file versions). A file the app sent to Webflow Assets is a copy on the Webflow CDN, and no documentation says that copy changes when the Stockpress version does. Whether a Public URL keeps serving the newest version is also undocumented. To refresh an image, re-add it from the app, or for CMS items call
PATCHwith the new URL (Update item) and publish.Not according to its documentation or its permissions. The app runs inside Webflow while you design, and the only access it requests is to read and write assets and to read information about authorized users, with no custom code permission. Stockpress's Webflow guide describes browsing, searching, placing files on the canvas and uploading them to Assets, nothing that runs on the live site. To show a Stockpress-hosted file on a published page without uploading it to Webflow, paste its Public URL into a Code Embed element instead.
Description
Browse, search and place Stockpress files inside Webflow with the Stockpress for Webflow app, then extend the setup with Public URLs and the Webflow Data API for CMS content.
This integration page is provided for informational and convenience purposes only.

Chainlift Color
Connect Chainlift Color with Webflow to generate accessible Material 3 dynamic color themes with pre-configured utility classes and color variables.

Adobe Express
Generate images with Adobe Firefly, edit them, and save them to your site without leaving the page build.

bynder
Connect Bynder with Webflow to search and place brand-approved assets from your DAM directly onto your site.
Asset Bae
Connect Asset Bae with Webflow to bulk-edit image filenames and alt text, with AI-generated alt text for accessibility compliance.

Frontify
Connect Frontify with Webflow to browse and embed brand-approved assets, then sync them directly into your site.
Virtual Tours
Connect Virtual Tours to your Webflow site and display interactive 360° tours on any page.

SVGFlow
Connect SVGFlow with Webflow to edit SVG icon colors, sizes, and stroke widths directly on the design canvas without external tools.
Creattie
Connect Creattie's Lottie animation library with Webflow to add lightweight animations that load faster than videos while maintaining visual quality.

Vidzflow
Related integrations
Get started for free
Try Webflow for as long as you like with our free Starter plan. Purchase a paid Site plan to publish, host, and unlock additional features.
