






reCAPTCHA
Add Google reCAPTCHA v2 to Webflow forms natively, or extend to invisible and v3 implementations using Basin Forms, Code Embed elements, or direct API integration.

Spam submissions are a real operational problem. They pollute your CRM, waste sales time chasing fake leads, and erode confidence in your form data. Webflow's native reCAPTCHA v2 checkbox stops most bot traffic with zero custom code.
This guide covers all four paths: native setup for teams that want to move fast, Basin Forms for invisible and v3 implementations without writing code, Code Embeds for custom JavaScript control, and the reCAPTCHA Enterprise API for server-side validation pipelines.
How to add reCAPTCHA to Webflow
What is reCAPTCHA? reCAPTCHA is Google's bot-detection service. It distinguishes human users from automated bots by analyzing interaction patterns, presenting challenges, or scoring behavior in the background — depending on the version you use.

Webflow natively supports reCAPTCHA v2 (the "I'm not a robot" checkbox) through site settings — no custom code required. For invisible verification and v3 risk scoring, you can use the Basin Forms app, write custom JavaScript with a Code Embed element, or build a server-side validation pipeline using the reCAPTCHA Enterprise API and Webflow webhooks.
These are independent methods. Most implementations combine the native setup with one custom path for specific forms.
Use native reCAPTCHA features
Webflow includes built-in reCAPTCHA v2 support through site settings. To enable it, generate API keys from the Google reCAPTCHA Admin Console, navigate to your site's Site settings > Apps & Integrations, and enter your site key and secret key. Then drag the reCAPTCHA element from the Add panel into each form on your site.
One important constraint: when you enable reCAPTCHA validation in site settings, Webflow enforces it across all forms on your site. Any form that doesn't include a reCAPTCHA element will fail to submit. Add the element to every form before enabling the setting.
The native integration covers three core behaviors:
- The checkbox widget displays the standard "I'm not a robot" challenge before form submission.
- Validation blocks bot submissions before they reach your form notifications or CRM.
- A dark theme variant is available by adding a data-theme="dark" custom attribute to the reCAPTCHA element.
Note that native reCAPTCHA only works when Webflow handles form submissions. If your form uses a custom action to route submissions to a third-party service, the native integration won't fire — use the Code Embed or Basin Forms methods instead.
Use the Basin Forms app
Basin Forms is a Webflow app that takes over form handling and adds multi-provider CAPTCHA support. It's the right option when you need reCAPTCHA v3's invisible scoring, hCaptcha, or Cloudflare Turnstile — none of which Webflow supports natively.
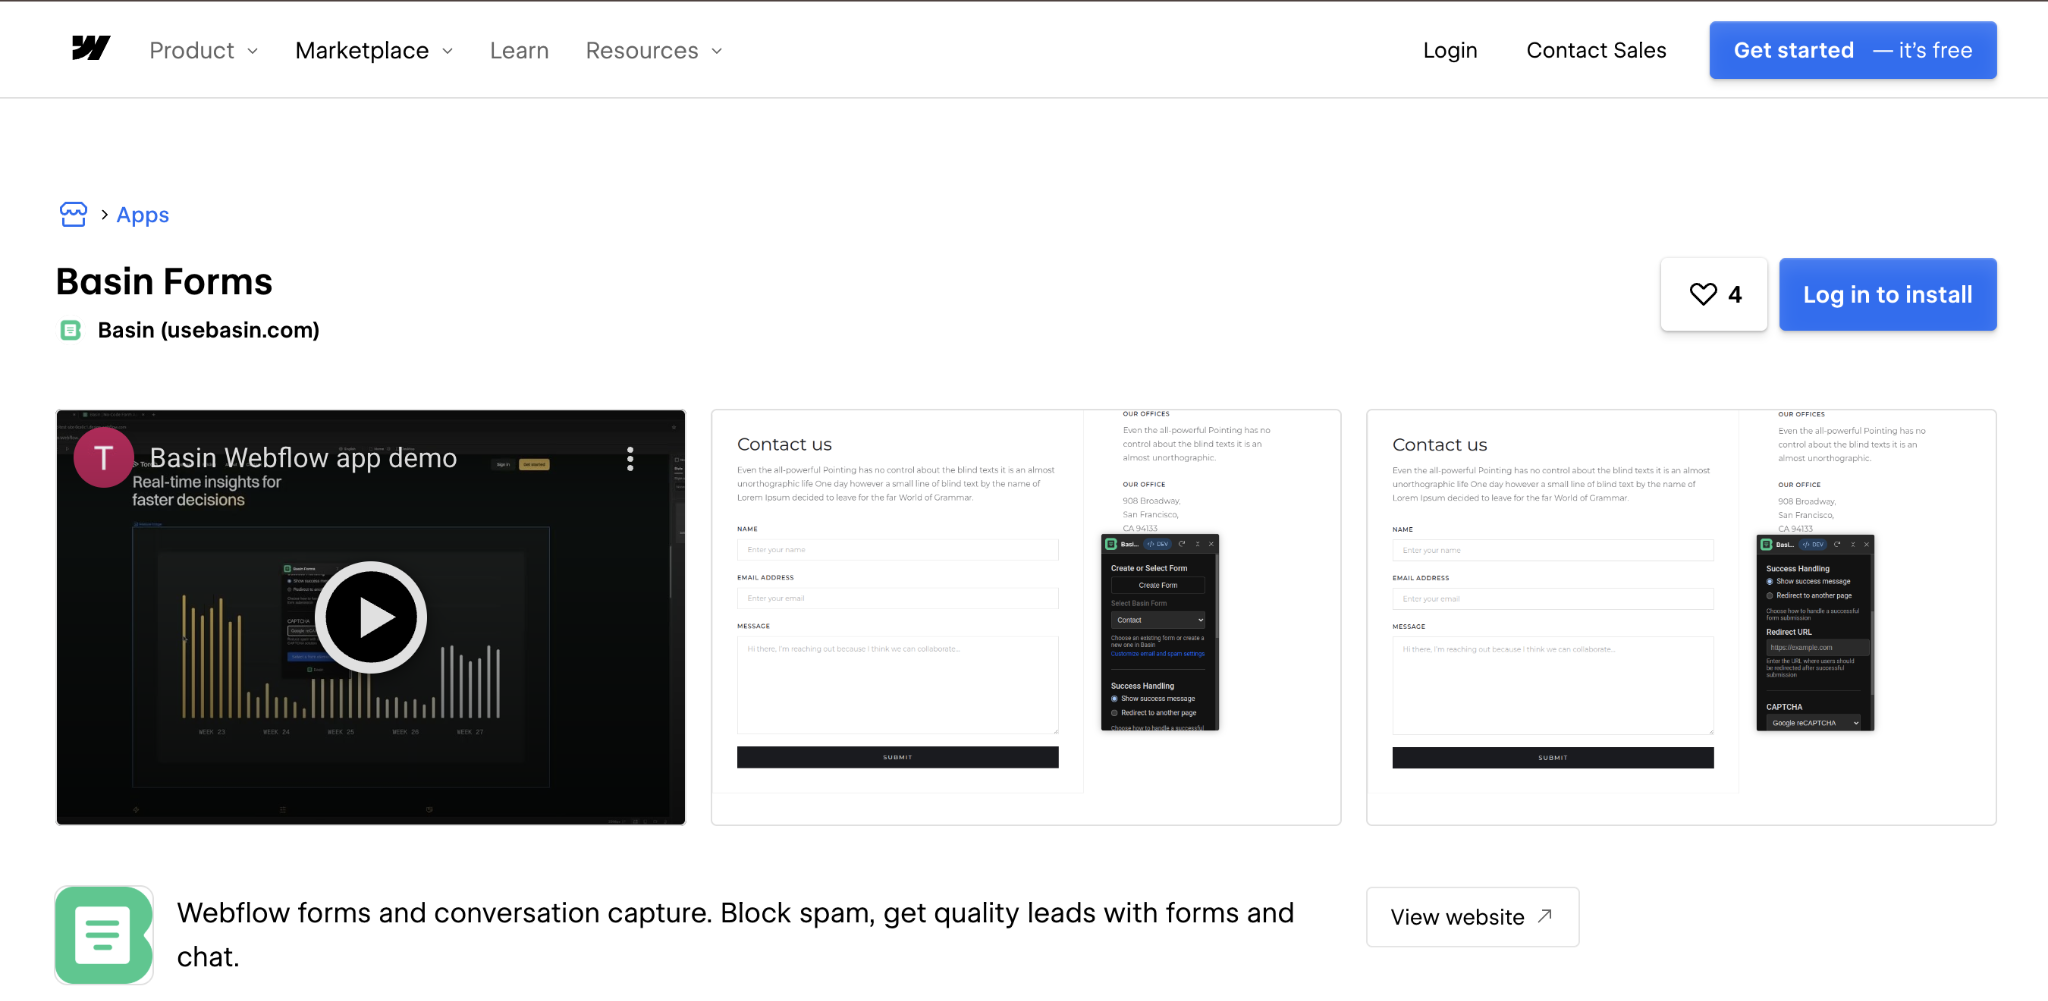
Install the app from the Webflow Apps Marketplace, connect your forms to a Basin endpoint, and configure your CAPTCHA provider in the Basin dashboard. The app automatically sets form action URLs and handles success/error states without disrupting your Webflow form design.
Basin's spam protection layer includes the following:
- reCAPTCHA v3 (invisible, behavior-based scoring with no user challenge)
- hCaptcha (an alternative to reCAPTCHA with its own accessibility and privacy trade-offs)
- Cloudflare Turnstile (privacy-focused, no visual challenge required)
- Lead quality scoring to help prioritize high-value submissions
Basin is compatible with forms that use custom actions, which the native reCAPTCHA integration is not.
Use Code Embeds for custom implementations
For implementations beyond Webflow's native reCAPTCHA element, use a Code Embed element inside your form to add custom HTML and JavaScript. This approach covers invisible reCAPTCHA v2 (no checkbox) and reCAPTCHA v3 risk scoring.
This method requires a backend verification endpoint. Client-side tokens must be validated server-side before you process any submission data.
Invisible reCAPTCHA v2
Invisible reCAPTCHA v2 analyzes user behavior in the background. Users see a small badge instead of a checkbox, and verification is triggered automatically when they click submit. If Google detects suspicious activity, it may still show a visual challenge as a fallback.
To add invisible reCAPTCHA v2:
First, add the reCAPTCHA API script to your site's head code in Site settings > Custom code:
<script src="https://www.google.com/recaptcha/api.js" async defer></script>
Then, add a Code Embed element inside your form with the reCAPTCHA widget and a submit button:
<div class="g-recaptcha"
data-sitekey="YOUR_SITE_KEY"
data-size="invisible"
data-callback="onSubmit">
</div>
<button type="button" id="submit-btn">Submit</button>
Next, add a script in Site settings > Custom code that triggers execution on submission:
<script>
document.getElementById('submit-btn').addEventListener('click', function() {
grecaptcha.execute();
});
function onSubmit(token) {
document.querySelector('form').submit();
}
</script>
On your backend, send the g-recaptcha-response token to https://www.google.com/recaptcha/api/siteverify with your secret key to validate the submission.
reCAPTCHA v3
reCAPTCHA v3 runs entirely in the background, assigning a risk score between 0.0 (likely bot) and 1.0 (likely human) based on user behavior patterns. Users never see a challenge unless you implement fallback logic for low-score submissions.
To implement, load the reCAPTCHA library in Site settings > Custom code in the head:
<script src="https://www.google.com/recaptcha/api.js?render=YOUR_SITE_KEY"></script>
Next, add the token retrieval script to the footer (so it loads after your forms):
<script>
document.querySelector('form').addEventListener('submit', function(e) {
e.preventDefault();
grecaptcha.ready(function() {
grecaptcha.execute('YOUR_SITE_KEY', {action: 'submit'}).then(function(token) {
var input = document.createElement('input');
input.type = 'hidden';
input.name = 'g-recaptcha-response';
input.value = token;
e.target.appendChild(input);
e.target.submit();
});
});
});
</script>
On your backend, send g-recaptcha-response to Google's siteverify endpoint, parse the score, and implement your threshold logic. For example, pass scores above 0.7 require additional verification for 0.3–0.7, and block scores below 0.3.
Build with the reCAPTCHA Enterprise API
The reCAPTCHA Enterprise API adds granular risk assessment, account-level behavioral signals, and reason codes for fine-tuning security policies. Integrating it with the Webflow Data API and webhooks lets you build a fully automated submission validation pipeline.
This path requires a backend server and developer resources. It is not a no-code option.
Requirements before you start:
- A reCAPTCHA Enterprise account (pricing varies by request volume)
- A backend server (AWS Lambda, Netlify Functions, or similar)
- Server-side programming experience
- Webflow API authentication setup
If any of these are new territory, start with the Code Embed path first and treat the Enterprise API as a later upgrade.
Implement server-side validation
Server-side validation means verifying reCAPTCHA tokens on your backend before processing submission data. This prevents attackers from bypassing security by disabling JavaScript or submitting tokens directly.
To set this up, add a Code Embed to your form with the reCAPTCHA v3 implementation from the section above. Configure your form's custom action URL to point to your verification endpoint instead of Webflow's default handler.
Your validation pipeline covers three steps:
- Generate tokens client-side using grecaptcha.enterprise.execute() for each user action.
- Send tokens to the projects.assessments.create endpoint for risk analysis.
- Implement threshold logic based on the returned score — allow high scores (above 0.7), challenge medium scores (0.3–0.7), or block low scores (below 0.3).
The assessment endpoint also returns reason codes for signals like automation detection, credential stuffing, and account takeover patterns.
Configure webhook automation
You can route form submissions through a validation middleware layer using Webflow webhooks and reCAPTCHA server-side checks. The pattern works as follows: form submissions trigger a webhook to your server, your server extracts and validates the reCAPTCHA token, and clean submissions get routed to your CRM or email system.
To set this up:
- Configure form webhooks using the Webflow Data API: POST /sites/{site_id}/webhooks
- Parse the g-recaptcha-response field from the webhook payload in your handler.
- Validate the token against the siteverify endpoint, then route valid submissions downstream.
This pattern supports selective verification. For example, applying stricter scoring thresholds to account signup forms than to newsletter signups.
Build multi-layer security
reCAPTCHA covers bot detection well, but combining it with additional controls covers more attack vectors — distributed submission attacks, compromised accounts, and advanced persistent bots that can pass standard CAPTCHA.
To add layers on top of reCAPTCHA:
- Track submission frequency per IP using assessment metadata and block above a defined threshold
- Use the account defender API to detect compromised accounts submitting through valid human sessions
- Trigger additional verification steps (such as email confirmation) for submissions that fall below your score threshold
Not every site needs all three layers. Start with score thresholds and add IP tracking or account defender only if you're seeing attacks that basic scoring doesn't catch.
What can you build with reCAPTCHA Webflow integration?
Adding reCAPTCHA to a Webflow site goes beyond basic spam filtering. The choice of implementation method shapes what's actually possible — from a simple checkbox on a contact form to automated, risk-adjusted onboarding flows.
Here are a few examples of what you can build:
- Secure contact forms: Add reCAPTCHA v2 natively to protect business inquiry forms, filtering bot traffic before it reaches your CRM or email notifications.
- Lead generation forms with cleaner data: Use Basin Forms with reCAPTCHA v3 to score and filter submissions invisibly, so your marketing team works from a list of verified human leads.
- Risk-adjusted signup flows: Add invisible reCAPTCHA v2 or v3 to registration forms, then use the risk score to trigger additional steps, such as email verification, only for low-scoring submissions, keeping the flow frictionless for most users.
- Protected comment sections or user forums: Embed invisible reCAPTCHA to filter bot posts in real time, blocking spam automatically without presenting a challenge to legitimate users.
To get started with the native implementation, follow Webflow's reCAPTCHA setup guide. For invisible and v3 approaches, see the Basin Forms app listing or the Google reCAPTCHA developer documentation.
Frequently asked questions
The most common cause is using v3 keys with Webflow's v2-only native support. Verify you selected "reCAPTCHA v2" and "I'm not a robot Checkbox" when generating keys in Google's admin console. Also ensure you've both enabled reCAPTCHA in Site Settings and added the element to each form.
Yes, though it requires a workaround. Add the standard reCAPTCHA element, then apply custom attributes (data-size: invisible) to hide the checkbox. For true invisible implementation, you'll need to use custom code and the reCAPTCHA JavaScript API.
Yes, but it requires manual implementation. Add reCAPTCHA scripts to your exported HTML and implement server-side validation using Google's siteverify API. The token validation must happen on your backend server, not in client-side code.
Description
Connect reCAPTCHA with Webflow to protect forms from spam and bot submissions. Webflow supports reCAPTCHA v2 natively; v3 and invisible implementations require Basin Forms or custom code.
This integration page is provided for informational and convenience purposes only.

Kick Scraper
Kick Scraper set out to block bots on Webflow sites, but its vendor domain and app listing are both gone. Here is what still works.
Related integrations
Get started for free
Try Webflow for as long as you like with our free Starter plan. Purchase a paid Site plan to publish, host, and unlock additional features.
