






Owwlish
Connect Owwlish with Webflow to sell and deliver gated video courses on your own pages.

Your Webflow site handles course landing pages, a Webflow CMS catalog, forms, and hosting. User Accounts, the native way to gate pages behind a member login, ended on January 29, 2026. Since then, Webflow has had no native way to give each learner a login and keep lessons behind it.
Owwlish adds gated video lessons, quizzes, and learner login to pages you design. A base script and a Code Embed element put its course player on any Webflow page. Learners get Owwlish accounts, not Webflow ones: they sign up, log in through an emailed link or code, watch protected HD video, and take quizzes on your domain. Payments run through the Stripe account you connect to Owwlish, and Zapier passes enrollment data between Webflow forms, Ecommerce orders, and Owwlish.
This setup suits solo course creators and educators who already market on a Webflow site. It keeps the course on the same domain. Coaches and consultants can use it to sell courses through their own connected Stripe account. Agencies can use it for branded client training portals, and workshop sellers can use it for time-limited paid challenges.
How to integrate Owwlish with Webflow
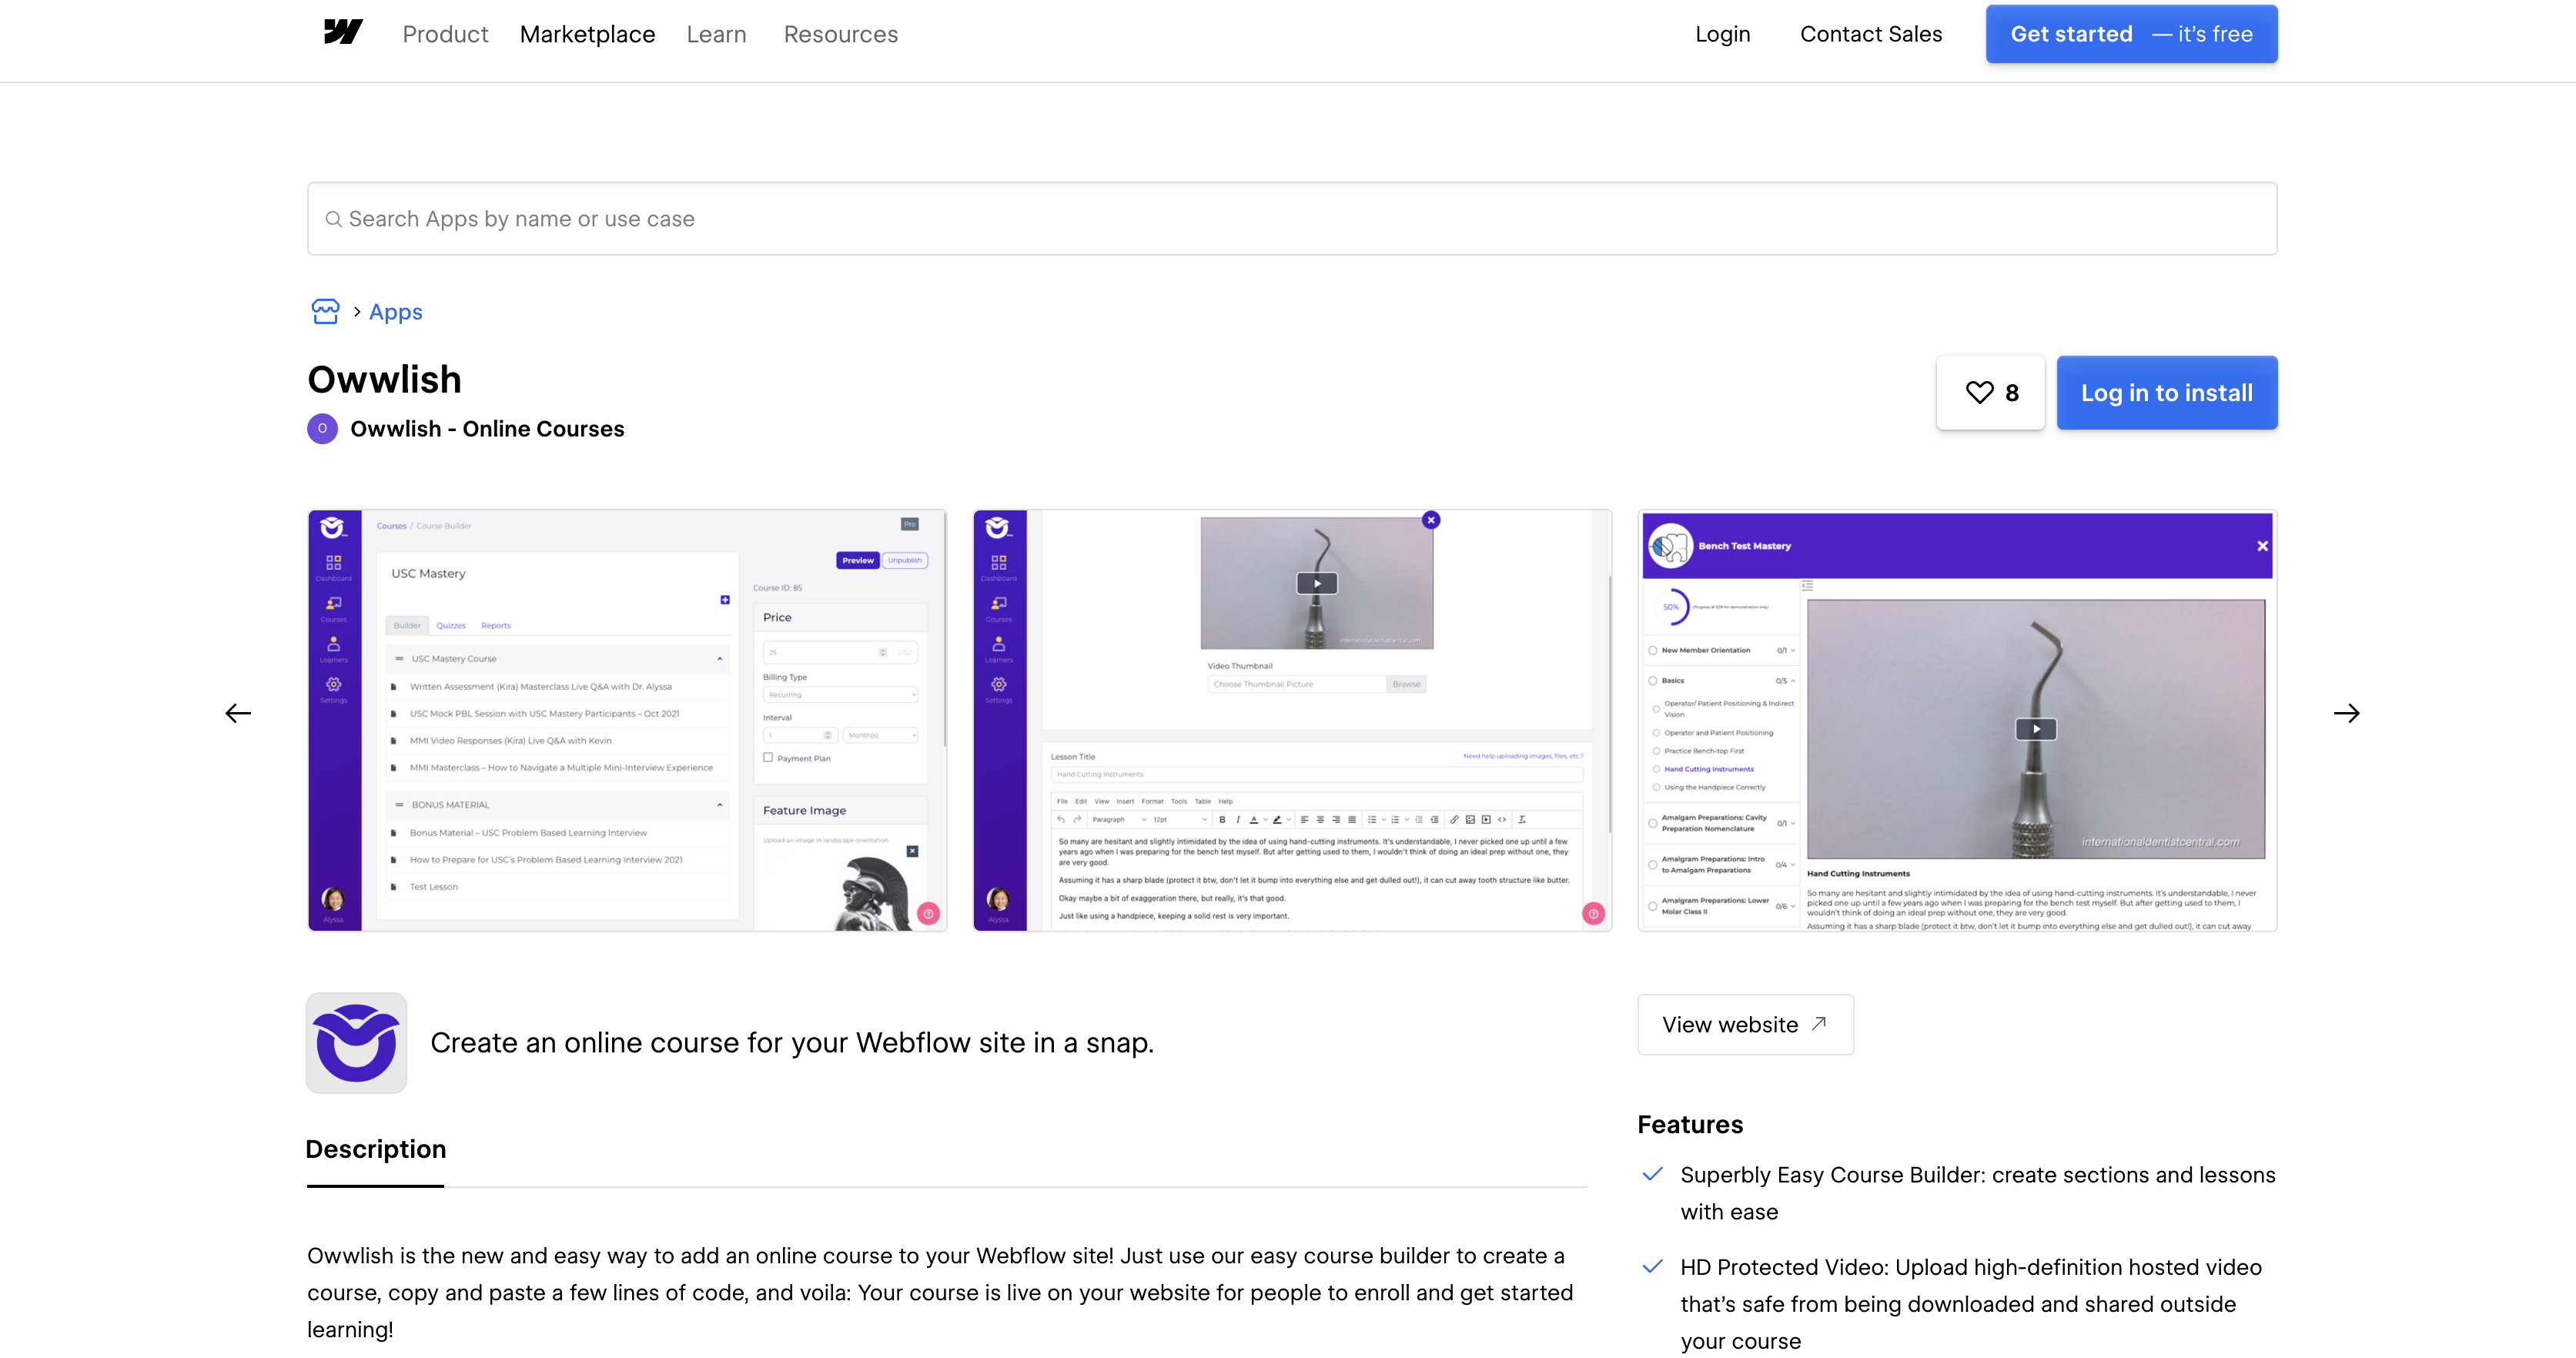
What is Owwlish? Owwlish is a learning management system that embeds courses on an existing website and keeps them on that site's domain. You build modules, lessons, hosted HD video, and quizzes in its course builder, then paste its scripts into your site. It takes course payments through Stripe in over 135 currencies and tracks learner activity.

Teams pair the two when the marketing site, blog, and course need one domain and one design system. Your Webflow pages carry the sales copy, the catalog, and the checkout entry points, and Owwlish carries the gated lessons behind them. Course edits happen in the Owwlish dashboard and show on the published page with no code change.
The Owwlish-Webflow integration supports four approaches:
- The Owwlish app listing on the Marketplace points you to the Owwlish dashboard. There you register your site and generate two scripts without writing code.
- Custom code and Code Embed elements let you place the base script before the closing body tag with Webflow's custom code fields, then render the course player on any page.
- Zapier connects Webflow form submissions and Ecommerce orders to Owwlish enrollment, and Owwlish events to CMS items.
- The Webflow Data API and webhooks give you full control over enrollment validation and CMS records, but require server-side development and reach Owwlish through Zapier.
You can combine two or more of these methods depending on the complexity of the setup.
Install the Owwlish app
The Owwlish app listing on the Marketplace carries the Approved by Webflow label and leads to the Owwlish dashboard, where setup happens. The app does not add code to your site, so you paste its scripts yourself. You register each Webflow site in Owwlish, which issues a Client ID and two scripts. The Code Embed method uses the scripts this step generates.
You need an Owwlish account and your Webflow site URL before you begin.
To set up the integration:
- Install the Owwlish app from the Marketplace, or sign up at owwlish.com, and create your first course.
- In Owwlish, go to Settings > Integrate and click the Webflow button.
- Enter a nickname and your Webflow site URL, then click Create.
- Under Connected Sites, click the top row under Client ID and copy the Step 1 base script and the Step 2 course script.
- Add your staging address, such as yourproject.webflow.io, to Connected Sites alongside the production domain.
The embed adds these capabilities:
- A course builder with unlimited modules and lessons on every Owwlish plan
- Protected HD video, plus external video from YouTube, Vimeo, Wistia, or Amazon S3
- Quizzes with per-learner completion status and scores
- Enrollment and playback on your own domain, with no separate subdomain
- Learner tracking with activity monitoring and progress reports
Course and learner limits differ by Owwlish plan, so compare them against your launch plans before you connect a site.
Add the Owwlish scripts with custom code and a Code Embed element
The two scripts go in two different places. The base script loads the Owwlish client once per site, and the course script renders one course inside a page element. Webflow's site-wide Footer code field loads it on every page, while Owwlish's Webflow guide places it in page settings. Pick one, then test the course on your staging domain before publishing. You need a Core, Growth, Agency or Freelancer Workspace, or an active Site plan, to use either.
Place the base script before the closing body tag
Site-wide placement loads the Owwlish client on every page with one paste. That is the simplest route when you plan to run more than one course page.
To add the base script site-wide:
- Open Site settings and go to the Custom code tab.
- Paste the Step 1 script into Footer code and click Save changes.
- Publish the site so the code goes live.
For a single course page, use page settings instead. Hover over the page in the Pages panel and click the Page settings icon. Paste the script into the Before </body> tag field and save.
Place the course script in a Code Embed element
The course script renders the player, lesson list, and learner login for one course wherever the element sits. Place it inside a Container so the course sits centered with margins.
To add the course page:
- In the Pages panel, create a new page and name it after the course.
- From the Add panel, drag a Container onto the canvas.
- Add a Code Embed element inside the container, paste the Step 2 script, and click Save and Close.
- Set the page URL, preview, and publish.
Custom code shows in preview and comment modes but runs live only after publishing, and it does not execute in expand canvas view. Each custom code field and each Code Embed element holds up to 50,000 characters. Configure custom CSS in Owwlish's customization settings; Webflow classes do not control those styles.
Connect Webflow and Owwlish with Zapier
Zapier is the automation connector Owwlish documents, and Zapier keeps a combined Owwlish + Webflow page. Owwlish announced the integration on February 8, 2024. The Owwlish side exposes two instant triggers, Lesson Completed and New Learner Enrollment, and two actions, Enroll Learner and Unenroll Learner.
Zapier publishes no prebuilt Owwlish + Webflow templates, so you assemble Zaps from these pairings:
- Webflow New Form Submission → Owwlish Enroll Learner, for a free signup or application form on a landing page
- Webflow New Order → Owwlish Enroll Learner, for a course sold through Webflow Ecommerce
- Owwlish New Learner Enrollment → Webflow Create Item or Create Live Item, to log each enrollment in a CMS Collection
- Owwlish Lesson Completed → Webflow Update Item, to track progress on that CMS record
- Webflow cancellation form submission → Owwlish Unenroll Learner, with email and Course ID mapped from the form
Enroll Learner creates the learner record if needed and requires Learner Email, First Name, and Last Name. Unenroll Learner requires an email and a Course ID. You connect Owwlish to Zapier by authorizing it from a sign-in popup in the Zap editor. For validation or deduplication, send enrollment requests through a server before Zapier.
Build with the Webflow Data API and webhooks
Owwlish's help center documents no public REST API or outbound webhooks, so programmatic enrollment runs through Zapier's Owwlish actions. Use the Webflow Data API v2 at https://api.webflow.com/v2 to validate form data and deduplicate learners before sending enrollment requests through Zapier's Owwlish connector. The API also keeps CMS records in step with enrollment events. You need a bearer token with the right scopes, a hosted endpoint, and a Zapier account.
- Zapier's Owwlish app handles enrollment and unenrollment
- The Webflow Data API handles CMS collections and form submissions
- Webflow webhooks trigger real-time events for form submissions, CMS item changes, and site publishes
Generate a site token under Site settings > Apps & integrations > API access for the CMS and forms endpoints. Only site administrators can create one, and it expires after 365 consecutive days of inactivity. Register webhooks through the API with a site token or a Data Client App token, or create them in Site settings, where dashboard-created webhooks skip the signature-validation headers.
What you can build with the Owwlish Webflow integration
Integrating Owwlish with Webflow lets you sell and deliver gated courses on your own domain without a separate course subdomain or a custom-built membership system.
- Membership course site: A Webflow landing page shows a Free Preview lesson to visitors who have not enrolled, then routes buyers to Stripe-hosted checkout with Apple Pay and Google Pay. Enrolled learners return to the same page for the full lesson list, lesson comments, and quizzes.
- Client training portal: An agency builds a branded onboarding hub with one page per topic, each holding an embedded Owwlish module with tutorials and quizzes. Owwlish lists Certificates of Completion as built and being tested.
- Paid workshop with expiring access: A 30-day challenge sells from a Webflow sales page, and course access expiration set as a number of days in Owwlish closes the lessons when the challenge ends.
- Digital product bundle on Webflow Ecommerce: A Collection List of products presents video trainings and quiz packs sold through Webflow Ecommerce, and a Zap from each New Order enrolls the buyer in Owwlish.
Webflow Ecommerce checkout and Owwlish's Stripe checkout are separate, so pick one per course and let Zapier bridge Ecommerce orders into enrollment. For member areas beyond the course itself, build a Memberstack membership on the same site.
Frequently asked questions
Yes. The Code Embed element and the site and page custom code fields both need a paid Core, Growth, Agency, or Freelancer Workspace, or an active Site plan. Publishing on a custom domain also needs a paid Site plan, as the Choose a Site plan article explains. Owwlish plans also cap how many sites can show your courses, so check its pricing page before connecting staging and production domains.
Put the Owwlish base script in the site-wide Footer code field in Site settings, or in the Before </body> tag field of a single course page, which is where Owwlish's own Webflow guide puts it. Test your chosen placement on staging. Page-level code appears after site-wide code in the rendered page.
Owwlish checks the page URL against the Connected Sites list, and a staging domain that is not on the list fails that check. In Owwlish, open Settings > Connected Sites, add a comma after the existing URL, and paste the staging URL after it. The URL Mismatch error article walks through that edit. Keep both the production domain and the webflow.io address on the list so previews and the live site both render the course.
Owwlish does. Learners get Owwlish accounts, not Webflow ones, because Webflow ended native User Accounts and their APIs and webhooks in the User Accounts sunset on January 29, 2026. Since Owwlish's April 17, 2026 release, new signups get an emailed magic link by default, with a password option if they choose it. Owwlish's help center also describes emailed one-time login codes, and learners stay signed in for 30 days or more. You manage learner profiles in the Owwlish dashboard.
Yes, through Zapier. Pair Webflow's New Form Submission trigger with Owwlish's Enroll Learner action, and map the form's email and name fields to Learner Email, Learner First Name, and Learner Last Name, which the action requires. Zapier lists no ready-made template for this pair, so you build the Zap yourself.
Description
Embed Owwlish courses on any Webflow page with a base script and a Code Embed element. Use Zapier to enroll learners from Webflow form submissions and Ecommerce orders, and log enrollments as CMS items.
This integration page is provided for informational and convenience purposes only.

Softr
Connect Softr, a no-code app builder for portals, dashboards, and internal tools, with Webflow to layer authenticated apps on top of a public marketing site.

Moodle
Connect Moodle, an open-source learning management system, with Webflow to sync course catalogs to CMS collections, automate student enrollment from form submissions, and display completion credentials on marketing pages.

Whop
Connect Whop, a platform for selling digital products and memberships, with Webflow to add checkout, subscription billing, and product delivery to any page without building a custom commerce backend.

Thinkific
Pair a Webflow marketing site with Thinkific's course delivery and student management.

LearnDash
Connect LearnDash with Webflow to run your marketing site and course catalog in Webflow while LearnDash handles enrollment, quizzes, and student progress on WordPress.

Circle
Connect Circle, an all-in-one community platform, with Webflow to embed discussion spaces and courses on pages, sync member data to CMS collections, and build community-driven experiences under one branded domain.

Patreon
Connect Patreon with Webflow to add membership widgets, sync patron data to your CMS, and build tier-based content access on your site.

Supabase
Connect Supabase, an open-source backend platform, with Webflow to add PostgreSQL database storage, user authentication, file uploads, and real-time subscriptions to any page.

Outseta
Connect Outseta, an all-in-one membership platform, with Webflow to add subscription billing, user authentication, content gating, and CRM management without a backend developer.
Related integrations
Get started for free
Try Webflow for as long as you like with our free Starter plan. Purchase a paid Site plan to publish, host, and unlock additional features.
