






Octopus.do
Plan and approve your site architecture in Octopus.do before you build the first page in Webflow.

Site architecture in Webflow gets decided inside the build. Pages and folders take shape as you create them, and so do CMS structures. When a client rejects the structure halfway through, the rework lands on pages that are already finished. Sitemap planning and client sign-off need to happen somewhere else, before the first page exists.
Octopus.do fills that planning gap. Teams map the full site, attach wireframes, draft page content, and collect client sign-off before opening Webflow. Getting the result into Webflow is a handoff rather than a live connection: you export the approved structure and rebuild it, and the shortest route now is handing that export to an agent connected to the Webflow MCP server.
Web agencies are the strongest fit, since a sitemap doubles as a client-approval artifact. Freelancers and in-house design teams run the same workflow to settle structure with stakeholders early. Content strategists and SEO specialists get the most out of the export side, because Octopus.do carries per-page copy and meta tags out along with the structure.
How to integrate Octopus.do with Webflow
What is Octopus.do? Octopus.do is a visual sitemap builder for planning website structure and content, with a lo-fi wireframe library attached. It can build a project by crawling an existing URL, from a template, or from an AI prompt. Exports cover PNG, PDF, CSV, TXT, XML, Excel, Word, sitemap.xml, Figma, and WordPress.
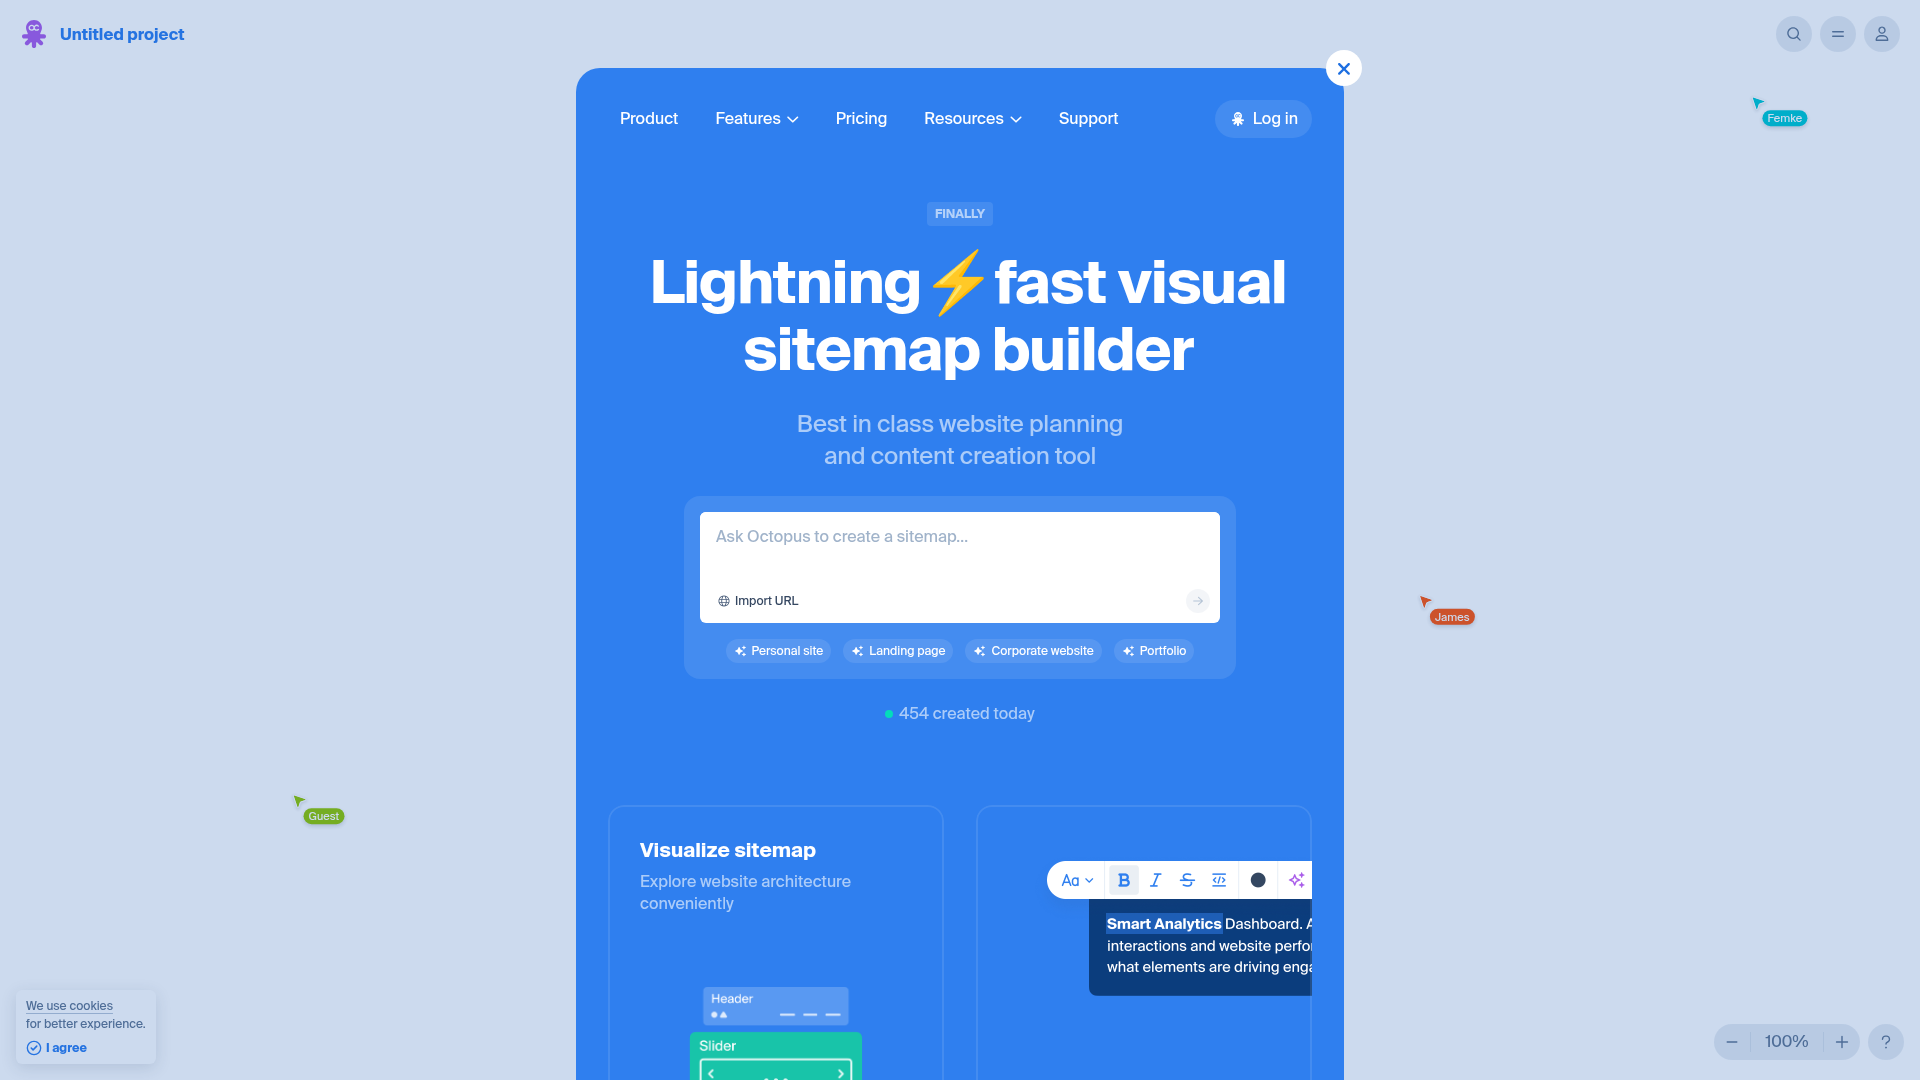
Be clear on what this pairing is before you plan around it. Octopus.do withdrew its Webflow Marketplace app on July 8, 2025, and none of its current export targets write into a Webflow site. Parts of the Octopus.do marketing site still name Webflow as an export destination, but the changelog is the accurate source. The workflow is plan in Octopus.do, then rebuild in Webflow, and the only question worth asking is how much of the plan you can carry across automatically.
Teams still pair the two tools during discovery, because the economics are good. You settle architecture and content organization while the client is reviewing a sitemap rather than finished pages, which is a far cheaper place to change your mind.
Four routes carry an Octopus.do plan into a Webflow build:
- Webflow MCP server: An agent reads your exported plan, creates the matching pages in Webflow, and fills their SEO metadata from the same file.
- File exports: Excel and CSV files carry the page tree out of Octopus.do together with drafted copy and meta tags, which gives you a build checklist.
- View-only embed: A Code Embed element places a read-only Octopus.do sitemap on a Webflow page for stakeholders to reference during the build.
- Webflow Data API: A script turns the same export into pages and CMS items under your own control, which normally means involving a developer.
Most projects treat the export as the single source of truth and pick the route by how much of the plan has to land without manual typing.
Create the pages with the Webflow MCP server
The MCP server is the shortest path from an approved Octopus.do sitemap to real Webflow pages. It connects an AI agent to your Webflow site, and the agent can create pages, bulk-update page settings, control sitemap inclusion, and write meta titles, descriptions, and Open Graph tags across those pages. It also creates collections and CMS items, which matters when the Octopus.do plan already contains drafted blog or service copy.
To go from plan to pages:
- Export the approved sitemap from Octopus.do as Excel or CSV.
- Connect the MCP server in your AI client. Webflow documents installs for Claude Code, Claude Desktop, Cursor, Windsurf, and Postman.
- Point the agent at the export file and ask it to create the pages, keeping the parent and child hierarchy from the sitemap.
- Ask it to fill each page's title, description, and Open Graph fields from the matching export columns.
The agent works inside your existing Webflow permissions and roles, and every change it makes is recorded in the site activity log, so an agency can hand this task to a junior without widening anyone's access. Per-site Agent Instructions let you set rules the agent has to follow on that site. The boundary is worth stating plainly: the MCP server cannot build Webflow interactions, and visual design stays manual work.
Move structure and content with file exports
Octopus.do exports the plan without HTML or CSS, so nothing arrives in Webflow as design. The Excel export covers sitemap pages and blocks, text content, and meta tags in a single .xlsx file. PNG, PDF, CSV, TXT, XML, and Excel exports need a paid Octopus.do plan, while sitemap.xml generation and the embed work on every plan including Free. The page tree and the sitemap.xml are the two things that actually reach a Webflow site.
Recreate the page tree in Webflow
Use the export as the build checklist. CSV is enough when you only need the structure, and the Excel file is the one to pull when you also want the drafted copy and meta tags.
To scaffold the approved structure by hand:
- Export the sitemap as CSV or Excel from Octopus.do.
- Create the matching pages in the Pages panel.
- Mirror deep hierarchy with nested page folders.
- Copy titles and meta tags from the export into each page's settings.
Styling and interactions stay manual after scaffolding, and so does CMS configuration. The withdrawn Marketplace app never automated those either, so its removal cost less than the changelog entry suggests.
Upload a custom sitemap.xml
Octopus.do generates a sitemap.xml from the visual sitemap on any plan, and Webflow accepts a custom file in place of its auto-generated one.
To use an Octopus.do sitemap.xml:
- Generate the sitemap.xml from your Octopus.do project.
- In Webflow, open Site settings, go to the SEO tab, and set Auto-generate sitemap to No.
- Paste the Octopus.do file into the Custom sitemap.xml field and save.
- Publish the site, then submit the sitemap to search engines. Our sitemap guide covers the hreflang caveat for localized sites.
This file only tells search engines what exists. It creates and modifies nothing on the site itself.
Embed a view-only sitemap with Code Embed
The Octopus.do embed publishes a read-only version of your project that you can place on another site, and it works on every Octopus.do plan including Free. Dropping it into a Webflow page gives clients a live reference to the architecture they signed off on. On the Webflow side you need a paid Site plan or a paid Workspace plan, because the free Starter plan does not support custom code.
To set up the embed:
- In Octopus.do, generate the embed code for your project.
- In Webflow, open the Add panel, select Advanced, and drag a Code Embed element onto the canvas.
- Paste the embed code into the element and save.
- Publish the site so the custom code goes live.
The element accepts HTML, with CSS in <style> tags and JavaScript in <script> tags; server-side languages such as PHP and Python are not supported. Each element holds up to 50,000 characters, the same ceiling that applies to site-wide and page-level custom code in head and body tags. An embed shows the plan and creates nothing, so if what you want is a browsable sitemap page generated from the site's real pages, the Visual Sitemap app is the tool for that instead.
Build with the Webflow Data API
Octopus.do publishes no public API and documents no webhooks, so every automation runs from the Webflow side and starts with a manual export. A developer parses that file and pushes it in with Webflow Data API v2 calls against https://api.webflow.com, authenticated with a Bearer token from a site token generated in site settings under Apps & integrations > API access.
The Pages endpoints read and update page metadata, and the Collections endpoints list a site's collections, with a separate get-collection call returning the field schema. Webflow webhooks fire events such as collection_item_created and site_publish, but only outbound from Webflow, so nothing on the Octopus.do side can trigger them.
Sync page metadata from a sitemap export
This path suits teams whose Webflow pages already exist and who only need the planned titles and meta tags filled in. You need a token with pages:read and pages:write scopes, and page names have to match the export.
- Call
GET https://api.webflow.com/v2/sites/{site_id}/pagesto retrieve page IDs. The endpoint paginates withlimit, capped at 100, andoffset. - Match Webflow page names against the page names in the exported CSV or Excel file.
- For each match, call
PUT https://api.webflow.com/v2/pages/{page_id}to update the SEO and Open Graph fields.
Run the first pass against a staged copy of the site, because a near-miss on a page name will quietly write the plan onto the wrong page.
Populate the CMS from a content export
Turn copy drafted in Octopus.do into Webflow CMS items in bulk. You need a token with cms:read and cms:write scopes, plus an existing Collection whose fields you can map export columns onto.
- Call
GET https://api.webflow.com/v2/sites/{site_id}/collectionsto find the target collection ID. - Call
GET https://api.webflow.com/v2/collections/{collection_id}for the field schema, then map export columns to field slugs. - Batch the export rows into groups of 100 and post them to the bulk create endpoint, which creates staged drafts.
- Call
POST https://api.webflow.com/v2/collections/{collection_id}/items/publishto publish the staged items.
Items created this way stay unpublished until you publish them, so you get a review pass before any of the planned copy reaches the live site.
What you can build with the Octopus.do Webflow integration
Pairing the two tools settles architecture and content before development starts, so client revisions land on a sitemap instead of on pages you have already styled.
The combination supports a few concrete workflows:
- Client sign-off before any pages exist: Share a project link that anyone can open without an Octopus.do account, then set access rights to comment-only so stakeholders leave feedback without editing the plan.
- Embedded project documentation: Build a client portal page in Webflow and drop the view-only embed into it, so stakeholders see the current architecture without leaving your site.
- Agent-built page scaffold: Hand the Excel export to an agent connected to the MCP server and have it create the page tree and write every meta title and description in one pass.
- Migration planning with sitemap cross-referencing: Crawl the existing site into Octopus.do, restructure it visually, then check the new tree against the old one before you redirect anything. The crawler covers 300 pages on the free plan and 3,000 on paid plans, per Octopus.do pricing.
Reach for the API route when file imports do not give you enough control over how planned content maps onto pages and CMS items, and start with our Webflow CMS API guide if that is the direction you are heading. For a replatform rather than a new build, follow our website migration guidance alongside the plan. If the sitemap is already approved and you simply want the pages to exist, connect the MCP server and let the agent do the scaffolding.
Frequently asked questions
No. Octopus.do withdrew its Webflow Marketplace app on July 8, 2025, as recorded in its official changelog. The replacement Publish feature hosts the result on Octopus.do rather than exporting into Webflow, so it is not a Webflow handoff.
Yes. Octopus.do generates a sitemap.xml on every plan, including Free. In Webflow, turn off Auto-generate sitemap in Site settings under the SEO tab, paste the file into the Custom sitemap.xml field, and publish. It tells search engines what exists; it does not create pages.
No. Octopus.do documents one CMS export, a WordPress export in beta that uses the WXR format, and nothing equivalent for Webflow. To move planned copy across, export CSV, reformat the columns to match your Collection fields, then use CSV import, which accepts files up to 4MB.
You need a paid Site plan or a paid Workspace plan. That requirement covers all custom code, including the Code Embed element, so the free Starter plan will not run the embed. The Octopus.do embed itself works on every Octopus.do plan, including Free.
Yes. Connect the Webflow MCP server to your AI client and give the agent the Octopus.do export. It creates the pages and writes their SEO metadata, works inside your existing Webflow permissions, and stops short of interactions and visual design.
Description
Plan site architecture in Octopus.do, then rebuild it in Webflow. Embed a view-only sitemap with a Code Embed element, or hand the exported page and SEO data to an agent on the Webflow MCP server. There is no Octopus.do app in the Webflow Marketplace.
This integration page is provided for informational and convenience purposes only.

AutoLink
Connect AutoLink AI with Webflow to automate internal linking across your site.

Ordinal
Connect Ordinal with Webflow to schedule CMS collection items and their social promotion from one calendar.

BlogSEO AI
Connect BlogSEO AI, an AI content platform that generates and publishes SEO articles, with Webflow to auto-publish keyword-targeted posts directly to the CMS.
Goaffpro Affiliate Marketing
Connect Goaffpro with Webflow to track affiliate sales, manage commissions, and build custom branded affiliate portals on your site.

Hypotenuse AI
Connect Hypotenuse AI with Webflow to publish AI-drafted blog articles directly into a CMS Collection.

Ranktune (Formerly Krastie AI)
Connect Ranktune (formerly Krastie AI) to Webflow to publish approved articles into Webflow CMS Collections and track AI referrals with a site script.

Hipa.ai
Hipa.ai's Webflow app is still listed, but the vendor rebuilt hipa.ai as a different business. Here is how to check your site and what to run instead.

LandingRabbit
Draft landing pages in LandingRabbit from notes and decks, then create and publish them on your Webflow site with the Webflow MCP server.
Text Wizard AI
Connect Text Wizard AI by Modulify with Webflow to add AI-powered text processing capabilities directly in the Webflow Designer through a marketplace app.
Related integrations
Get started for free
Try Webflow for as long as you like with our free Starter plan. Purchase a paid Site plan to publish, host, and unlock additional features.
