






MightyForms
Connect MightyForms, a no-code form builder with conditional logic and payments, with Webflow to embed advanced forms on any page using a Code Embed element.

Conditional fields, Stripe and PayPal payments, PDF receipts, and abandoned submission recovery: MightyForms brings the form logic that Webflow's native builder leaves out. Build forms in a drag-and-drop editor, then embed the published form on any Webflow page with a single HTML snippet, keeping your design intact.
This integration fits designers needing logic beyond the native builder, agencies delivering client sites with payments or multi-step intake, and marketers running lead capture with abandoned form recovery. It also suits teams collecting event registrations, subscription sign-ups, or job applications directly on a page.
How to integrate MightyForms with Webflow
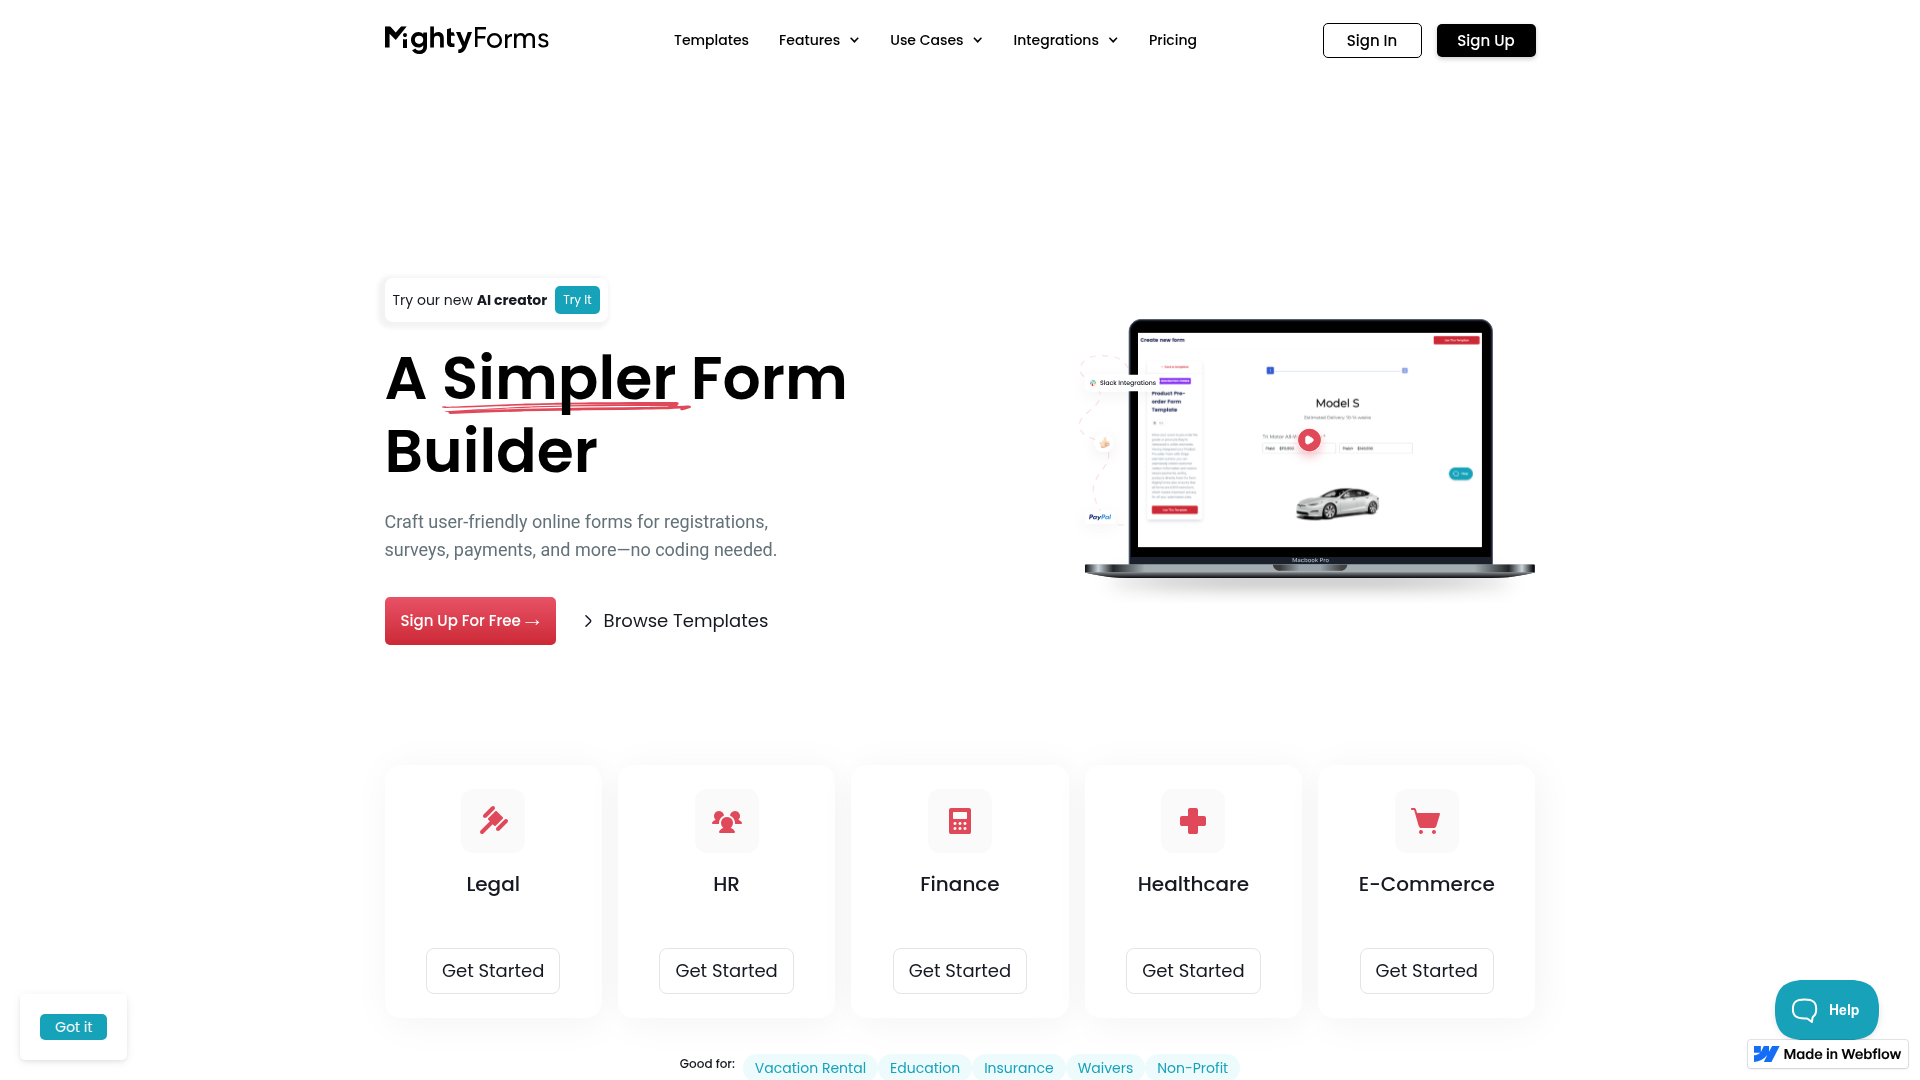
What is MightyForms? MightyForms is a no-code online form builder that creates forms for registrations, surveys, payments, and lead generation. It includes conditional logic, Stripe and PayPal payment collection, PDF generation, e-signatures, and abandoned form recovery. You build forms in a drag-and-drop editor and publish them as embeddable HTML.
Teams reach for MightyForms and Webflow together when a project needs more than a contact form. A vacation rental site might need multi-step booking with payment. An event page might need ticket sales through Stripe with submissions synced to a Webflow CMS collection. In each case, design the page in the Designer and embed a form built in MightyForms.
Choose the integration method based on what you need to move between tools:
- The MightyForms embed code handles form display on any page without writing custom form logic.
- Zapier connects MightyForms submissions to your Webflow CMS through custom Zaps.
- The Webflow Data API and MightyForms webhooks give you full control over form data and CMS sync, but require server-side development.
Most implementations combine two or more of these methods depending on the complexity of the setup.
Embed MightyForms forms with a Code Embed element
For every form you publish, MightyForms provides a short embed code that you drop into a Code Embed element. This is the only integration path with official documentation on both sides, and it requires no API access or automation setup. Configure form logic and notifications inside MightyForms, including payments and integrations, before embedding. The MightyForms embed guide covers the full flow.
To set up the integration:
- In your MightyForms dashboard, publish your form and copy the embed code.
- In the Designer, add a Div block, then drag an Embed element into it.
- Paste the embed code into the Code Embed element and click Save & Close.
- Publish your site. The form renders only on the live site, not while editing.
Once embedded, the form connects your page to the hosted MightyForms form and supports:
- Conditional logic that shows, hides, or skips fields based on responses
- Stripe and PayPal payments for one-time charges and subscriptions, with donation forms supported too
- PDF generation for fillable documents such as quotes or receipts
- Abandoned form recovery through email and SMS resume links
The Code Embed element requires a Core, Growth, Agency, or Freelancer Workspace, or an active Site plan. Free sites cannot use it, so you need a paid plan to embed MightyForms at all.
Embed a form inside a rich text element
You can also place a form inside a rich text block instead of a standalone Code Embed element. This works when you want a form to sit within longer page content, like a blog post or a documentation page.
To embed in rich text:
- Hover your cursor over the spot in the rich text element where the form should appear.
- Click the plus sign, then click the custom code button.
- Paste the MightyForms embed code and save.
This keeps the form inline with surrounding copy while still rendering only on the published site.
Embed a pop-up form
MightyForms supports a pop-up variant that opens the form in a modal from a button. Customize the button text, color, font, and style inside MightyForms, so you don't need any code changes on your page beyond pasting the snippet.
To publish a pop-up form:
- Select Popup in the MightyForms publish settings.
- Customize the button appearance, then copy the embed code.
- Paste the code into a Code Embed element on your page. See the pop-up form guide for details.
Pop-ups work well for lead capture or newsletter sign-ups that should not take up permanent space on the page.
Connect with Zapier
Zapier provides a direct connection between MightyForms and Webflow through custom Zaps. Use this method when you want form submissions to create or update items in your CMS without writing code. Zapier hosts a dedicated MightyForms and Webflow integration page, though no pre-built templates exist, so you build the Zap yourself. This suits teams that want form responses to appear as CMS items powering a Collection List on the site.
Zapier can create CMS items from MightyForms New Submission triggers or update CMS items when a MightyForms Abandoned Form trigger fires. On the Webflow side, triggers also include New Form Submission and order events such as New Order or Updated Order.
The Starter plan holds up to 1,000 submissions per month and the Business plan holds up to 25,000, so plan your collection capacity around expected submission volume.
Build with the Webflow and MightyForms APIs
For full programmatic control, work directly with the Webflow Data API and MightyForms webhooks. This path requires server-side development and fits engineering teams building custom sync logic. MightyForms sends outbound submission data to any endpoint.
The Data API can read native form submissions, manage webhooks, and write CMS items; MightyForms submission data reaches your server through MightyForms webhooks. MightyForms publishes no public API reference, so programmatic control lives on the Webflow side, with MightyForms contributing outbound webhooks only.
For API builds, MightyForms webhooks send submission data to any destination URL you configure in the form's Integrations settings. The Data API handles CMS collections and form submissions, and webhooks trigger real-time events using the form_submission type.
Because the MightyForms webhook payload schema is undocumented, discover it empirically before building against it.
Sync MightyForms submissions to Webflow CMS
A common build routes MightyForms submissions into a CMS collection through a server endpoint. MightyForms fires a webhook on submission, your server receives it, then calls the CMS API to create an item.
To implement this:
- In MightyForms, paste your server endpoint URL into the form's Integrations settings and select the fields to include. Point a webhook at a request inspection tool first to capture the payload structure.
- On your server, receive the POST and map the fields to your collection schema, where
nameandslugare required. - Call
POST https://api.webflow.com/v2/collections/{collection_id}/itemswith a Bearer token in theAuthorizationheader and theCMS:writescope. Use/items/liveto publish immediately.
Verify webhook authenticity using the x-webflow-timestamp and x-webflow-signature headers when you consume events in the other direction.
What can you build with the MightyForms Webflow integration?
Integrating MightyForms with Webflow lets you add advanced form logic and payments to your pages without hitting the native form limits.
- Payment forms: Embed a Stripe-connected form for ticket sales or donations. An event page can collect registrations and process one-time or recurring payments inside a single embedded form.
- Multi-step lead capture: Build a conditional intake form that routes prospects to the right department based on answers, then recovers abandoned entries with email and SMS resume links.
- Job application portals: Embed a form that accepts file uploads for resumes and generates a PDF of each application. Candidate data can feed into a CMS collection through Zapier.
- Booking and scheduling: Publish a scheduling form connected to Zoom so a professional services site can book appointments directly from a page.
If you need more control over CMS sync or custom data routing, the API integration path covers those cases with full flexibility.
Frequently asked questions
Publish your form in MightyForms, copy the embed code, then paste it into a Webflow Code Embed element. In Webflow, drag an Embed element onto your page, paste the code, save, and publish the site. You can place the form directly on the page or inside a rich text element by clicking the plus sign, then the custom code button.
Yes. The Code Embed element requires a Core, Growth, Agency, or Freelancer Workspace, or an active Site plan. Free Webflow accounts cannot use the Code Embed element, so you need to upgrade before embedding any MightyForms form.
No. The form renders only on the live published site. While editing, you see a placeholder where the form will appear. This is standard behavior for any Code Embed element, as documented in the MightyForms embed guide. Publish your site to preview the working form.
Yes, through MightyForms rather than Webflow. Add Custom CSS in the MightyForms form builder under the Design tab, then Advanced Settings, to change font and color, plus spacing. Style the form in MightyForms because it embeds as an iframe. Webflow-side CSS stays outside the form elements.
Use Zapier for a no-code path or the Webflow Data API for a custom build. In Zapier, set the MightyForms New Submission trigger to a Webflow Create Item action to add each respondent to a collection. For programmatic control, receive a MightyForms webhook on your server and call
POST /v2/collections/{collection_id}/items. Start with the Zapier MightyForms and Webflow page to build your first Zap.
Description
MightyForms is a no-code form builder with conditional logic and payments. Embed it on a Webflow page for Stripe checkout, multi-step intake, and PDF receipts.
This integration page is provided for informational and convenience purposes only.

Arengu
Visually build user flows with custom actions with your API or favourite apps.

Airtable forms
Two builds hide behind "Airtable forms": an Airtable-hosted form you embed in a page, and a Webflow form whose submissions land in an Airtable base. This page covers both, the tradeoffs between them, and the API path for teams that need conditional routing.
123FormBuilder
Connect 123FormBuilder, a drag-and-drop form builder, with Webflow to embed payment forms, multi-step workflows, conditional logic, and HIPAA-compliant intake on any page.
Related integrations
Get started for free
Try Webflow for as long as you like with our free Starter plan. Purchase a paid Site plan to publish, host, and unlock additional features.
