

Lottieflow by Finsweet
Connect Lottieflow by Finsweet with Webflow to add free, color-customizable Lottie animations to any page using the native Lottie element and Interactions panel.
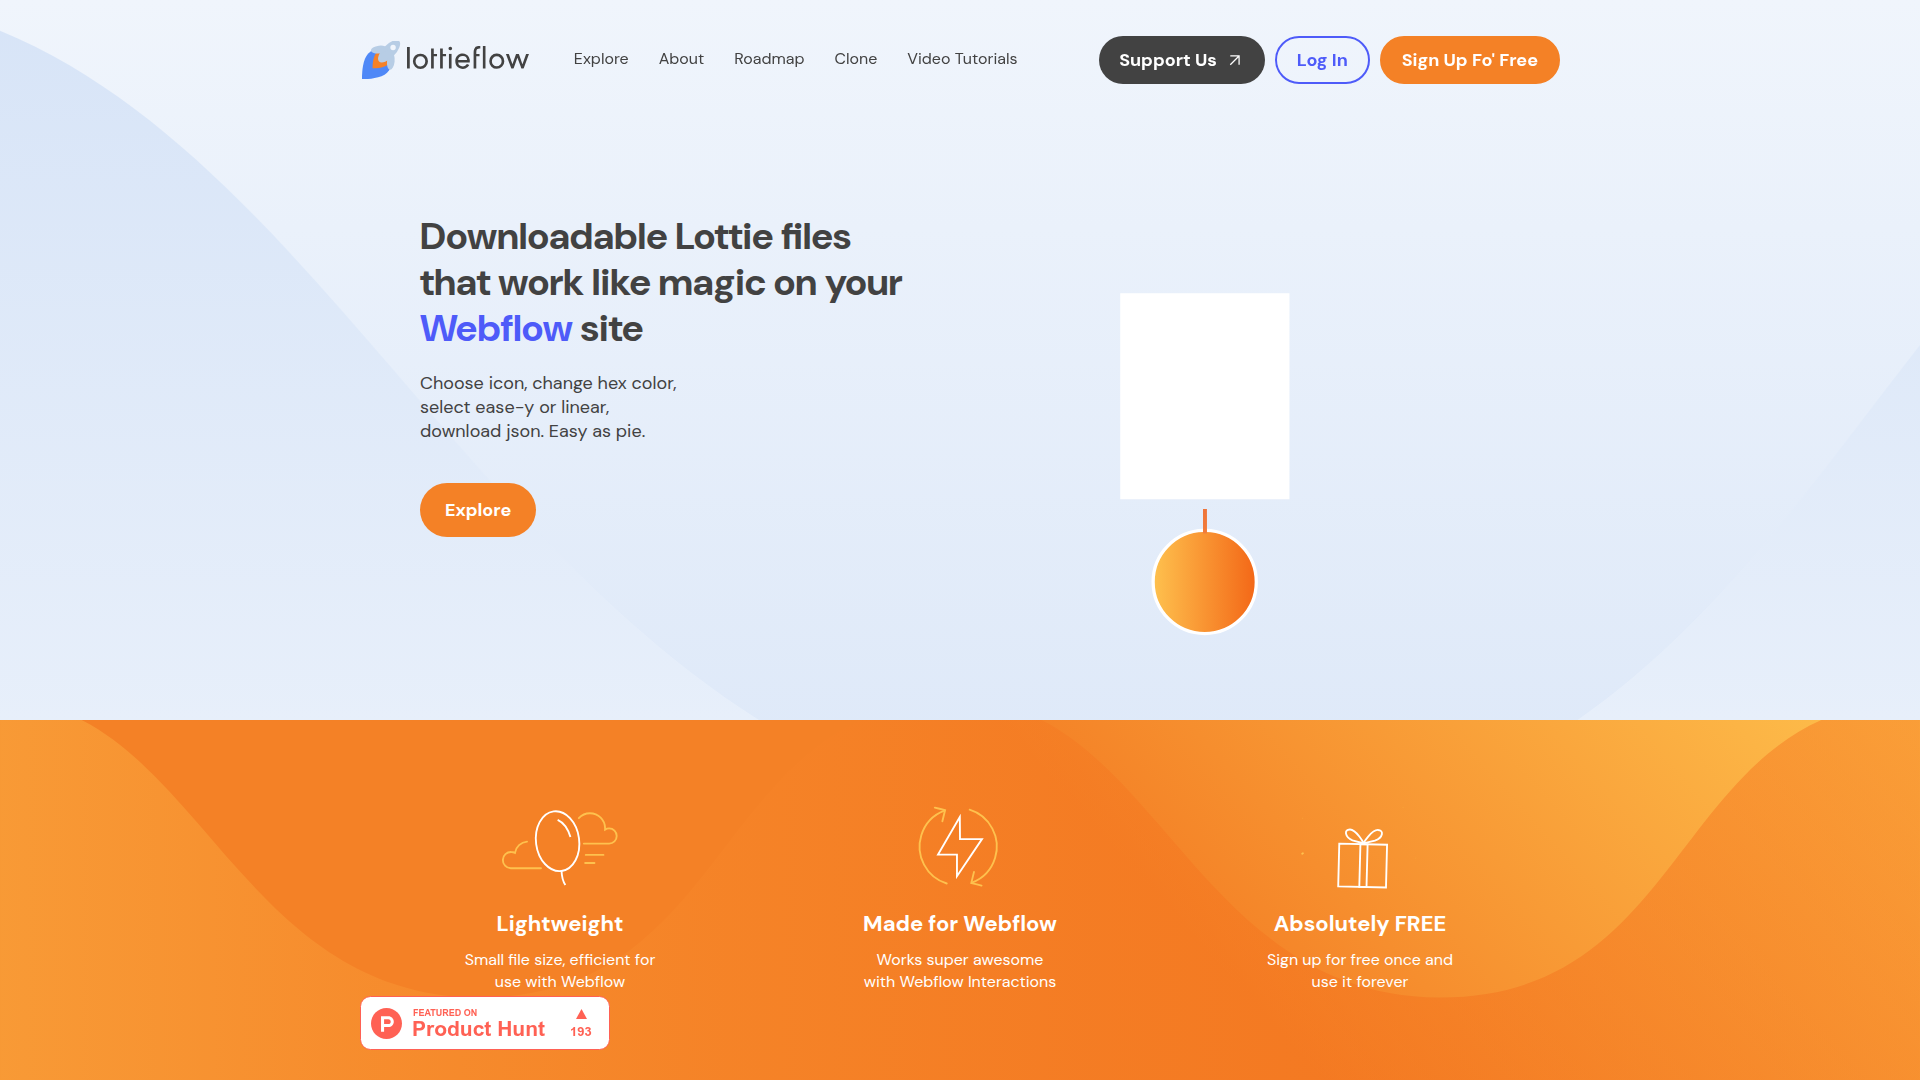
Lottieflow by Finsweet is a free, browser-based library of Lottie animation files built for common Webflow UI patterns like hamburger menus, scroll prompts, form success states, and more.
Browse 21 categories, customize the hex color and easing, and download a .json file that drops straight into the Assets panel.
From there, the Interactions panel controls playback through scroll, click, hover, and page-load triggers with no custom code, no After Effects, no Bodymovin plugin. If you know your way around Interactions but don't do motion design, it's a practical shortcut to production-ready animations.
How to integrate Lottieflow by Finsweet with Webflow
What is Lottieflow by Finsweet? Lottieflow is a free, organized library of downloadable Lottie animation files in 21 UI-specific categories like navigation menus, loading spinners, scroll prompts, and form success states. Color-customize each animation and configure easing before download, producing a .json file ready for the native Lottie element. Lottieflow is a standalone website for downloading animation files.
Reach for Lottieflow alongside Webflow when you need animated UI elements like hamburger menus, scroll indicators, or CTAs but don't have the motion design resources to create Lottie files from scratch. The combination gives you a visual path from animation sourcing through published interaction, with trigger logic handled in the Interactions panel.
You can integrate Lottieflow with Webflow in 2 ways:
- Downloading and embedding with the native Lottie element handles the standard workflow for adding animations to any page without writing code.
- Using a Code Embed for CMS-driven animations is a separate workaround for the CMS binding limitation. It sits outside the native Lottie workflow, requires HTML, and may need additional player setup beyond a single embed tag.
Most implementations use the native Lottie element. Reach for the Code Embed method only when you need unique animations per CMS item.
Download and embed with the native Lottie element
Download a .json file from Lottieflow's website, upload it to your Assets panel, place a Lottie element on the canvas, and wire up triggers in the Interactions panel. This covers most use cases, from animated icons to scroll-triggered sequences. You need a free Lottieflow account to download files—sign up at finsweet.com/lottieflow.
To get your animation file from Lottieflow:
- Go to finsweet.com/lottieflow and sign up for a free account.
- Browse animations by category or click Explore All to see the full library.
- Select an animation, then customize it with the hex color picker and choose an easing type. Ease-y bakes easing curves into the file. Linear applies no easing, so you control curves in the Interactions panel.
- Click Download to save the
.jsonfile to your computer.
Now move the file into Webflow.
To add the animation to your Webflow site:
- Open the Assets panel in the left toolbar and click the cloud upload icon. Select your
.jsonfile. - Open the Add panel and go to Media. Drag a Lottie animation element onto the canvas.
- In the element settings panel, click Replace Lottie sequence and select your uploaded file from Assets.
- Open the Interactions panel to add a trigger. Choose Mouse click (tap), Scroll into view, Page load, or Mouse hover.
- Select Lottie playback for simple trigger-based control, or Lottie action for custom start/end frames, easing, and duration.
Once the file is connected, you control playback behavior inside Webflow.
A few things to know about playback behavior. By default, Lottie animations play on page load. Animations below the fold won't be visible unless you set them to loop or control playback with a scroll trigger.
Settings in the Interactions panel override settings in the element settings panel, so configure Interactions last. If you chose the Ease-y download option, set easing to Linear in the Interactions panel to preserve the baked-in curves.
Lottieflow files are small (typical examples range from 3 KB to 4 KB), well under the recommended target of 1 MB per animation for good performance. The native Lottie element supports both SVG and Canvas render modes, looping, reverse playback, and frame-by-frame control through the element settings panel.
Embed Lottieflow animations in CMS pages with Code Embed
The native Lottie element can't bind to CMS URL fields. If you need a unique Lottie animation on each CMS item page—say, a different icon per service or product—use a Code Embed with dynamic field binding. This approach exits the visual Interactions workflow and requires basic HTML.
Set up CMS-driven Lottie animations
Lottieflow outputs .json files only. For CMS-driven pages, this approach uses custom code to render externally hosted animation files from a CMS URL field instead of the native Lottie element. Lottieflow provides the file; custom code handles the CMS binding. You need a CMS Collection with a URL field for the animation source.
To set up CMS-bound Lottie animations:
- Upload your Lottieflow
.jsonfiles to an external host or CDN and copy the public URL for each file. - In your CMS Collection, add a URL field (for example, "Lottie Animation URL") and paste the corresponding animation URL into each item.
- On your CMS template page or inside a Collection List, add a Code Embed element where you want the animation to appear.
- Inside the Code Embed, add the following HTML and bind the
srcattribute to your CMS URL field:
<dotlottie-wc src="[CMS URL field]" autoplay loop></dotlottie-wc>
- Replace
[CMS URL field]with the dynamic CMS field reference from the Code Embed's field selector.
After setup, each CMS item can reference its own animation file.
This method uses attribute-based playback controls (autoplay, loop) rather than the visual Interactions panel. It's an advanced embed-based workaround outside the native Lottie element workflow and may require more setup than the single HTML tag suggests.
You lose access to scroll-triggered and click-triggered interactions through the Interactions panel, but you gain the ability to display different animations per CMS item. For a more detailed implementation walkthrough, see the community discussion on Lottie files in CMS items.
What can you build with the Lottieflow by Finsweet Webflow integration?
Integrating Lottieflow lets you add color-matched Lottie animations to UI elements across your site without learning After Effects or writing custom code.
- Animated hamburger menu icons: Download a Menu Nav animation from Lottieflow, set it to your brand color, and trigger the hamburger-to-X transition on click using the Interactions panel. The mobile navigation toggle plays and reverses with each tap.
- Scroll-triggered page indicators: Use Scroll Down and Scroll Top animations as visual prompts that play when sections enter the viewport. Pair a scroll-down arrow at the top of a landing page with a back-to-top icon that appears after the user scrolls past the fold, both controlled through scroll-into-view triggers.
- Animated form success states: Replace a static "Thank you" message with a Lottieflow Success animation that plays on form submission. Finsweet's tutorial walks through connecting a success icon to the "On form submit" trigger for a completion animation that fires after the user submits.
- Interactive video play buttons: Place a Play animation from Lottieflow over a video thumbnail and set it to loop or trigger on hover. The animation draws attention to the video with just 3 KB of file weight, making it a lightweight alternative to GIF overlays on media-heavy pages.
Frequently asked questions
Lottieflow works by letting you download a
.jsonfile from finsweet.com/lottieflow and upload it to your Assets panel. All playback and interaction behavior runs through Webflow's native Lottie element. There is no CDN link, no<script>tag, and no HTML attributes to configure.Ease-y bakes easing curves into the animation file itself. When you use an Ease-y file in the Interactions panel, set Webflow's easing to Linear so the built-in curves are preserved. Linear downloads contain no baked easing, giving you full control to apply your own easing in the Interactions panel.
You can use different animations on each CMS item page with a Code Embed element that references a dynamic CMS URL field. The native Lottie element cannot bind to CMS URL fields. This is a Webflow platform limitation that applies to all Lottie files, not just those from Lottieflow, and it sits outside the standard visual Lottie workflow.
Lottieflow outputs
.jsonfiles only. If you want the smaller file sizes that the dotLottie format offers, you need to convert the downloaded JSON separately using a tool like LottieFiles' conversion utility. Lottieflow's files are already small (documented examples are 3 to 4 KB), so conversion may not be necessary for typical UI animations.Start by confirming these items in order. Verify the
.jsonfile was uploaded through the Assets panel and linked through the Replace Lottie sequence button in the element settings. Then check that you added a trigger in the Interactions panel, since animations below the fold will not play without one. Also remember that Interactions panel settings override element settings panel settings. If you configured playback in both places, the Interactions panel takes priority. The Webflow Lottie animation guide covers each of these configuration steps in detail.
Description
Download pre-built Lottie animation files from Lottieflow, customize colors and easing, then embed them in Webflow using the native Lottie element and Interactions triggers with zero custom code.
This integration page is provided for informational and convenience purposes only.

Asset Bae
Connect Asset Bae with Webflow to bulk-edit image filenames and alt text, with AI-generated alt text for accessibility compliance.
Frontify
Connect Frontify with Webflow to search, browse, and insert assets directly in your site without switching platforms.
Virtual Tours
Connect Virtual Tours to your Webflow site and display interactive 360° tours on any page.
SVGFlow
Connect SVGFlow with Webflow to edit SVG icon colors, sizes, and stroke widths directly on the design canvas without external tools.
Creattie
Connect Creattie's Lottie animation library with Webflow to add lightweight animations that load faster than videos while maintaining visual quality.
Vidzflow
Connect Vidzflow with Webflow to host videos with custom branding, track engagement analytics, and add conversion-focused CTAs without coding.
gFLUO
Connect gFLUO, a GSAP animation tool built for Webflow, with your site to add scroll-triggered text animations through custom attributes with no JavaScript required.
Iconik
Connect Iconik, a cloud-based media asset management platform, with Webflow through custom API integration to sync video libraries and asset metadata to CMS collections.
Spline
Connect Spline with Webflow to add interactive experiences to your website.
Related integrations
Get started for free
Try Webflow for as long as you like with our free Starter plan. Purchase a paid Site plan to publish, host, and unlock additional features.
