






LandingRabbit
Draft landing pages in LandingRabbit from notes and decks, then create and publish them on your Webflow site with the Webflow MCP server.

Campaign pages pile up faster than a design queue can clear them. Each ad group wants a page of its own, each target account wants a variant, and each job role wants copy written for it. Webflow gives you the control to build every one of them properly, but it does not write the first draft, and the raw material usually sits in call notes and slide decks nobody has time to lay out.
LandingRabbit writes that draft. It reads the notes, decks, and specs you already keep, applies the brand styling it has stored for you, and hands back a finished page. Getting that page onto a Webflow site is a content operation rather than a connector install: you export the content, or you point an AI client at both products and have it write the page into Webflow directly.
The pairing suits marketing teams and agencies running high volume page programs while the main site stays on Webflow. B2B SaaS ad pages and account specific pages built from a single discovery call are the usual reasons people look at it.
How to integrate LandingRabbit with Webflow
What is LandingRabbit? LandingRabbit is an AI website builder pointed at lead generation. It turns a page idea, a keyword, meeting notes, a slide deck, or a product spec into a complete page, applies your stored brand styling, and publishes to its own hosting under a custom domain. Pages can also leave as PNG, PDF, HTML, JSON, or Markdown files.
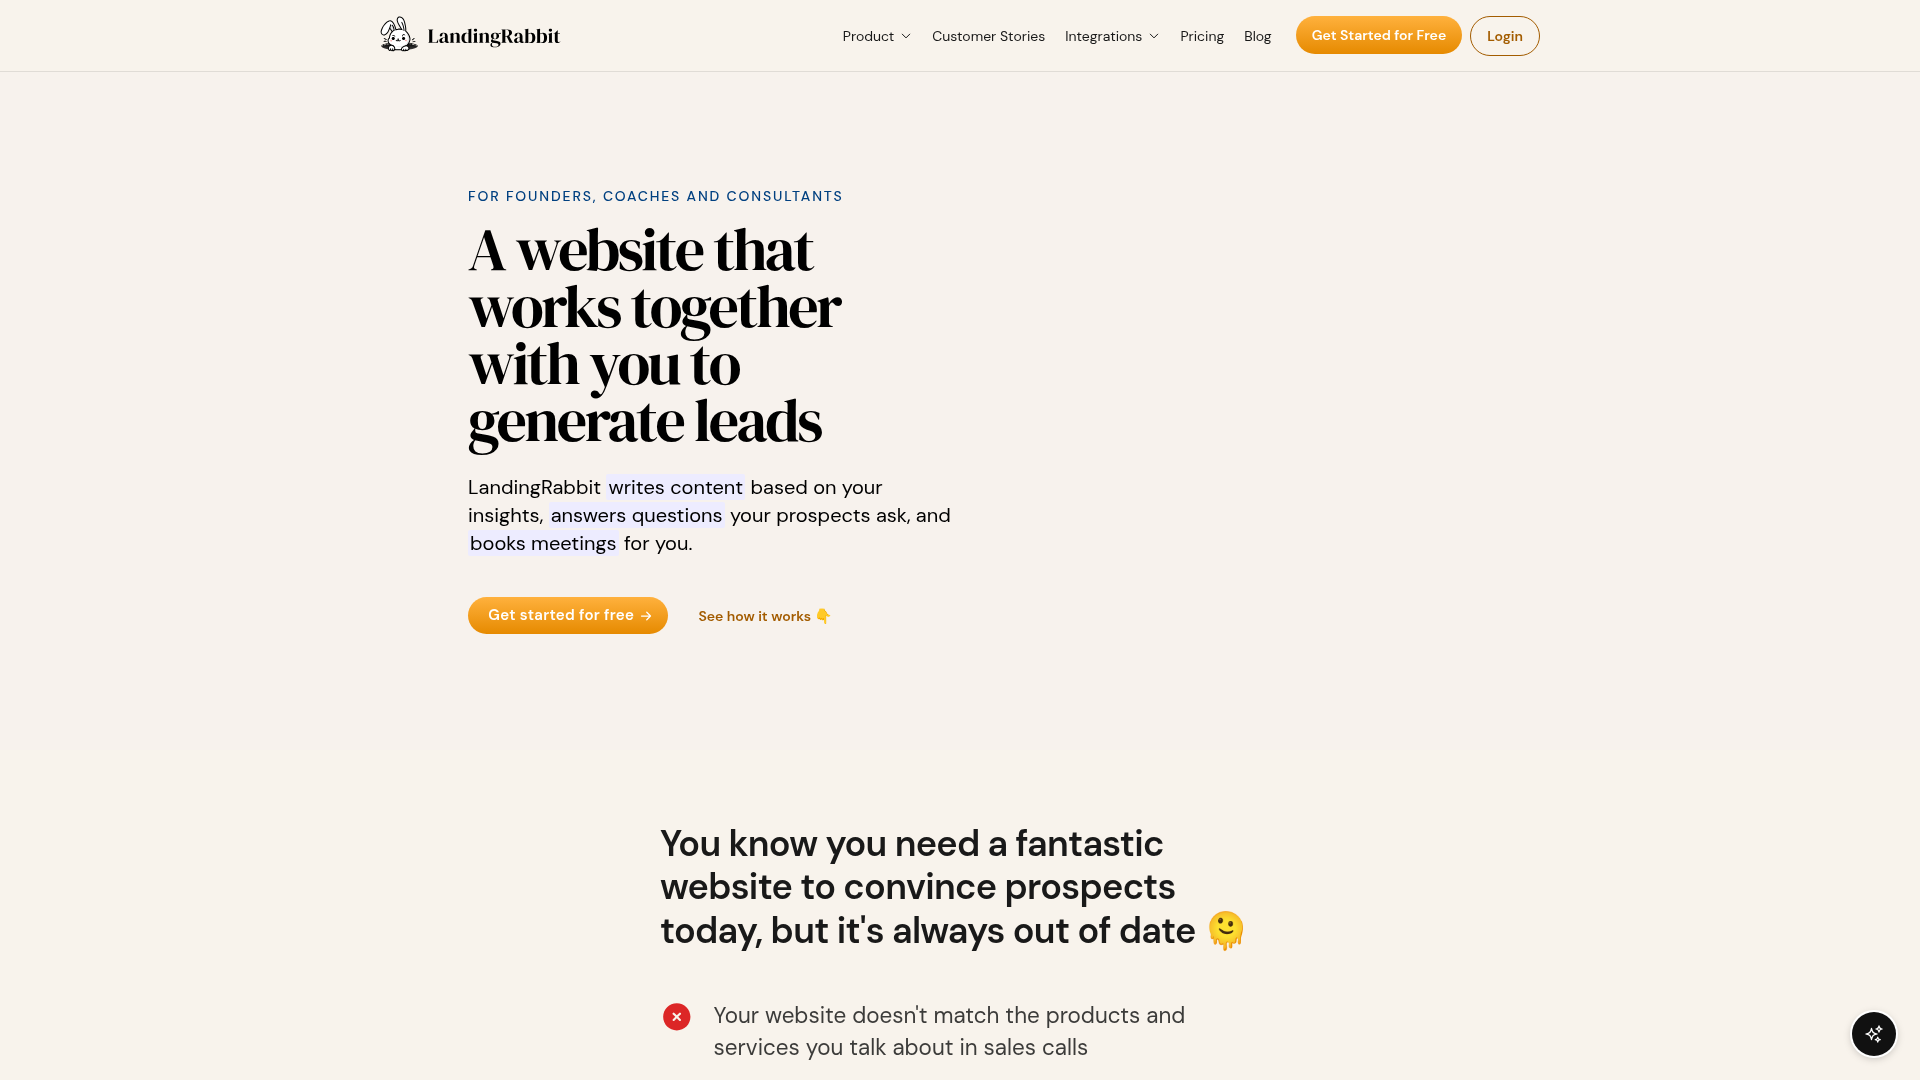
Teams reach for this combination when Webflow is the front door and page demand outruns the design queue. LandingRabbit produces the draft, and Webflow stays the place the page ships from.
Settle one thing first. The Webflow Marketplace lists no LandingRabbit app. An earlier listing accepted a LandingRabbit preview URL and imported the page into your site, and it has since been removed. LandingRabbit's own site no longer references Webflow anywhere, and the integrations it publishes today are AI clients rather than site builders. Any walkthrough telling you to search the Apps panel for LandingRabbit describes a path that stopped working.
Three routes remain. LandingRabbit's MCP server lets an AI client write and publish LandingRabbit pages from a chat window. The Webflow MCP server and Data API create the matching Webflow page, CMS item, and metadata. The HTML export in a Code Embed element covers the narrow case where you want one LandingRabbit built section inside a Webflow page you already have. Most teams run the first two together and never reach for the third.
Draft pages with LandingRabbit's MCP server
LandingRabbit's only programmatic surface is a pair of MCP endpoints, and that is where the product's own roadmap has gone. It publishes no REST API and no webhook system. Point an MCP capable client at the endpoint, authorize a workspace, and the client can create pages, edit copy and styles, set meta titles and descriptions, publish or unpublish, list drafts, and export the lot as a CSV file.
Use https://api.landingrabbit.com/v1/mcp for a general MCP client and https://api.landingrabbit.com/v1/chatgpt-app/mcp for the ChatGPT app. The Claude Desktop connector setup walks through the authorization window, and the Claude Code plugin install covers the terminal route.
- Open your MCP client's connector settings and add a custom connector named LandingRabbit.
- Paste the endpoint that matches your client and connect.
- Sign in to LandingRabbit in the window that opens, then pick the workspace the client may write to.
- Ask the client for a page, pasting in the call notes or deck you want it built from.
- Open the preview link it returns, finish the page in LandingRabbit's editor, and publish.
LandingRabbit also ships a Slack app that takes an API key and answers /landingrabbit in any channel. Webflow's own Slack integration runs on the Webflow MCP server, so a single channel can reach both the draft and the site it will land on.
Create the Webflow page with MCP and the Data API
Once the copy exists, the Webflow side is an ordinary content job, and the Webflow MCP server is the quickest way to do it from the same chat window that drafted the page. Install it in Claude Code with claude mcp add --transport http webflow https://mcp.webflow.com/mcp, then authorize the sites it may touch. The Claude Code install guide covers the OAuth step, and our Claude integration page goes deeper on that client.
The server's documented capabilities reach well past page creation:
- Design and build: Create responsive sections, elements, classes, and components, and read or write site level and page level custom code.
- Manage: Create pages and CMS collections, update meta titles, descriptions, and Open Graph tags, and control which pages enter the sitemap.
- Analyze: Pull sessions, top pages, traffic sources, engagement events, and average time on page for the variants you shipped.
- Govern: Apply per site agent instructions, keep every agent inside your existing roles and permissions, and read the site activity log.
Two documented limits matter for this workflow: the server cannot create Webflow interactions, and it cannot create new localized CMS items, so a multilingual page program still needs manual work. Each authorization also covers one workspace. When you would rather run the same operations from your own backend, the Webflow API exposes the same objects, including Webflow CMS collections.
Update page metadata with the Pages API
After a batch of pages lands, set SEO and Open Graph fields programmatically instead of opening each one. This pays off when a dozen variants share a single metadata pattern.
- Call
GET https://api.webflow.com/v2/sites/{site_id}/pagesto list every page and read itspage_id, which needs thepages:readscope. - Call
PUT https://api.webflow.com/v2/pages/{page_id}with the new SEO and Open Graph fields, which needspages:write. - Call
POST https://api.webflow.com/v2/sites/{site_id}/publishto push the result live, which needssites:write.
The page metadata reference documents the full request body.
Capture leads with a form_submission webhook
LandingRabbit's form builder keeps submissions in its own Forms tab and lets a workspace silently block domains, which means a rejected lead leaves no trace in your CRM. Rebuilding the form as a Webflow native form keeps that data in your stack, and a webhook streams each submission onward.
- Register the webhook with
POST https://api.webflow.com/v2/sites/{site_id}/webhooksand the body{ "triggerType": "form_submission", "url": "https://your-endpoint.com" }, which needssites:writeto register andforms:readfor delivery. - Verify each delivery from the
x-webflow-timestampandx-webflow-signatureheaders using HMAC SHA-256, a keyed hash proving the request came from Webflow, and reject anything older than 5 minutes. - Return HTTP
200, because failed deliveries get retried.
The optional filter parameter narrows delivery to one named form and works only on form_submission triggers, per the webhook creation reference. Webflow's webhook signature guide shows the verification code and the replay window.
Place exported LandingRabbit HTML in a Code Embed element
Reach for this only when you want one LandingRabbit built section inside a Webflow page that already exists. LandingRabbit exports a page as HTML alongside PDF, PNG, JSON, and Markdown, and says the HTML file can be hosted anywhere on the web. It publishes no embed snippet for third party sites, so lifting a section out is manual work against undocumented markup.
- Export the finished page as HTML from LandingRabbit.
- Pull out only the HTML, CSS, and JavaScript the section you want actually needs.
- In Webflow, open the Add panel and drag a Code Embed element onto the page.
- Paste the extracted markup and select Save and close.
- Publish the site, then check the section against the LandingRabbit original.
A Code Embed element runs HTML, CSS, and JavaScript only, so server side languages such as PHP and Python will not execute there, and a full exported page is a poor fit for a single embed. Using one needs a paid Site plan or a paid Workspace plan. Scripts meant to load across the whole site belong in the custom code fields for head and body tags under Site settings instead.
What you can build with the LandingRabbit Webflow integration
Pairing the two lets you generate campaign pages from material you already have and publish them on your Webflow domain without laying out each one by hand.
- Google Ads campaign pages: Draft one page per ad group from the campaign brief, then have an agent write it into Webflow so the copy matches the ad that sent the click.
- Account specific sales pages: Turn the notes from a single discovery call into a page addressed to that account, with a Webflow native form catching the reply.
- Job role and industry variants: Spin one offer into versions written for founders, RevOps leads, or agency buyers while the offer and the brand styling stay fixed.
- Webinar and event registration pages: Draft the registration page in LandingRabbit, rebuild its form in Webflow, and wire the submission webhook to your CRM.
Once those pages are live, see how to add a Claude chat to the same site so a visitor gets an answer without leaving the page.
Frequently asked questions
No. The Webflow Marketplace lists no LandingRabbit app, and LandingRabbit's own site no longer references Webflow. Older guides describing a preview URL import through the Apps panel are out of date. Move content across with an export, or by having an AI client create the page through the Webflow MCP server.
Page by page. LandingRabbit exports each page as HTML, JSON, or Markdown, and offers no bulk handoff to Webflow. For volume, feed the exported content to an AI client connected to the Webflow MCP server, which can create pages and CMS items in batches from what you give it.
Only if the page itself lives in Webflow. Pages you rebuild or generate on the Webflow side publish under your Webflow domain, such as
yourdomain.com/campaign. If you publish from LandingRabbit instead, use a separate subdomain such asgo.yourdomain.com, because a root domain already pointed at Webflow cannot serve both hosts at once. LandingRabbit's custom URL documentation covers subdomain and root domain setups, and its team handles the configuration at team@landingrabbit.com. On the Webflow side, connecting a custom domain needs a paid Site plan.Each vendor supports its own side. LandingRabbit answers at team@landingrabbit.com and covers its editor, its MCP endpoints, and its hosting. Webflow support covers your Webflow site, the Data API, and the Webflow MCP server. No joint connector links the two products, so nothing sits in the middle to escalate.
Yes. LandingRabbit exposes MCP endpoints on
api.landingrabbit.com, one for general MCP clients and one for the ChatGPT app, plus a Claude Code plugin and a Slack app. An authorized client can create pages, edit copy and styles, set metadata, and publish. That is LandingRabbit's only programmatic surface.
Description
LandingRabbit no longer ships a Webflow Marketplace app. Draft pages with its own MCP server, then have an AI client build and publish the Webflow page through the Webflow MCP server or the Data API.
This integration page is provided for informational and convenience purposes only.

AutoLink
Connect AutoLink AI with Webflow to automate internal linking across your site.

Ordinal
Connect Ordinal with Webflow to schedule CMS collection items and their social promotion from one calendar.

BlogSEO AI
Connect BlogSEO AI, an AI content platform that generates and publishes SEO articles, with Webflow to auto-publish keyword-targeted posts directly to the CMS.
Goaffpro Affiliate Marketing
Connect Goaffpro with Webflow to track affiliate sales, manage commissions, and build custom branded affiliate portals on your site.

Hypotenuse AI
Connect Hypotenuse AI with Webflow to publish AI-drafted blog articles directly into a CMS Collection.

Ranktune (Formerly Krastie AI)
Connect Ranktune (formerly Krastie AI) to Webflow to publish approved articles into Webflow CMS Collections and track AI referrals with a site script.

Hipa.ai
Hipa.ai's Webflow app is still listed, but the vendor rebuilt hipa.ai as a different business. Here is how to check your site and what to run instead.

Octopus.do
Plan and approve your site architecture in Octopus.do before you build the first page in Webflow.
Text Wizard AI
Connect Text Wizard AI by Modulify with Webflow to add AI-powered text processing capabilities directly in the Webflow Designer through a marketplace app.
Related integrations
Get started for free
Try Webflow for as long as you like with our free Starter plan. Purchase a paid Site plan to publish, host, and unlock additional features.
