

Jetboost
Connect Jetboost with Webflow to add real-time search, dynamic filtering, sorting, and favoriting to CMS Collection Lists without custom code.
Webflow's Webflow CMS lets you build content-driven sites with structured collections, but browsing large collections can quickly become tedious for visitors. Once a Collection List grows past a few dozen items, visitors have no way to find what they need without scrolling through every entry.
Jetboost connects to Webflow's CMS through an OAuth-based app and adds client-side behaviors on top of your existing Collection Lists. A single integration enables real-time search-as-you-type, multi-criteria filtering, dynamic sorting, infinite scroll pagination, item favoriting, and interactive maps. All of these features work without custom JavaScript and operate on your published CMS content.
This integration is built for Webflow designers, freelancers, and agencies who manage content-heavy sites. Job boards, resource directories, ecommerce catalogs, real estate listings, and membership portals all benefit from giving visitors control over how they browse CMS content. Teams that need these features without writing custom JavaScript will find the most value here.
How to integrate Jetboost with Webflow
What is Jetboost? Jetboost is a no-code add-on built exclusively for Webflow that extends CMS Collection Lists with search, filtering, and sorting capabilities. It organizes functionality into discrete modules called Boosters, covering search, filtering, sorting, pagination, maps, favoriting, auto-archiving, and lightbox galleries. Jetboost connects to Webflow through OAuth and indexes CMS data directly from your collections.
Teams use Jetboost alongside Webflow when their CMS-powered pages need visitor-facing functionality that Webflow does not provide natively. A directory with 500 listings needs search and filtering. An ecommerce catalog needs user-controlled sorting and wishlists. An events page needs listings that auto-archive after the event date passes. Jetboost handles all of these without requiring code changes to the Webflow project.
The Jetboost-Webflow integration centers on the Jetboost app, with an additional developer workflow available through the Webflow Data API when teams need to programmatically manage the CMS content that Jetboost indexes:
- The Jetboost app handles real-time search, filtering, sorting, pagination, maps, favoriting, auto-archiving, and lightbox galleries without writing code.
- The Webflow Data API can be used to create, update, publish, and sync the CMS collection data that Jetboost indexes, but it requires server-side development.
Most implementations rely on the Jetboost app for front-end behavior, with the Webflow Data API added only when teams need to programmatically manage the CMS content behind their Boosters.
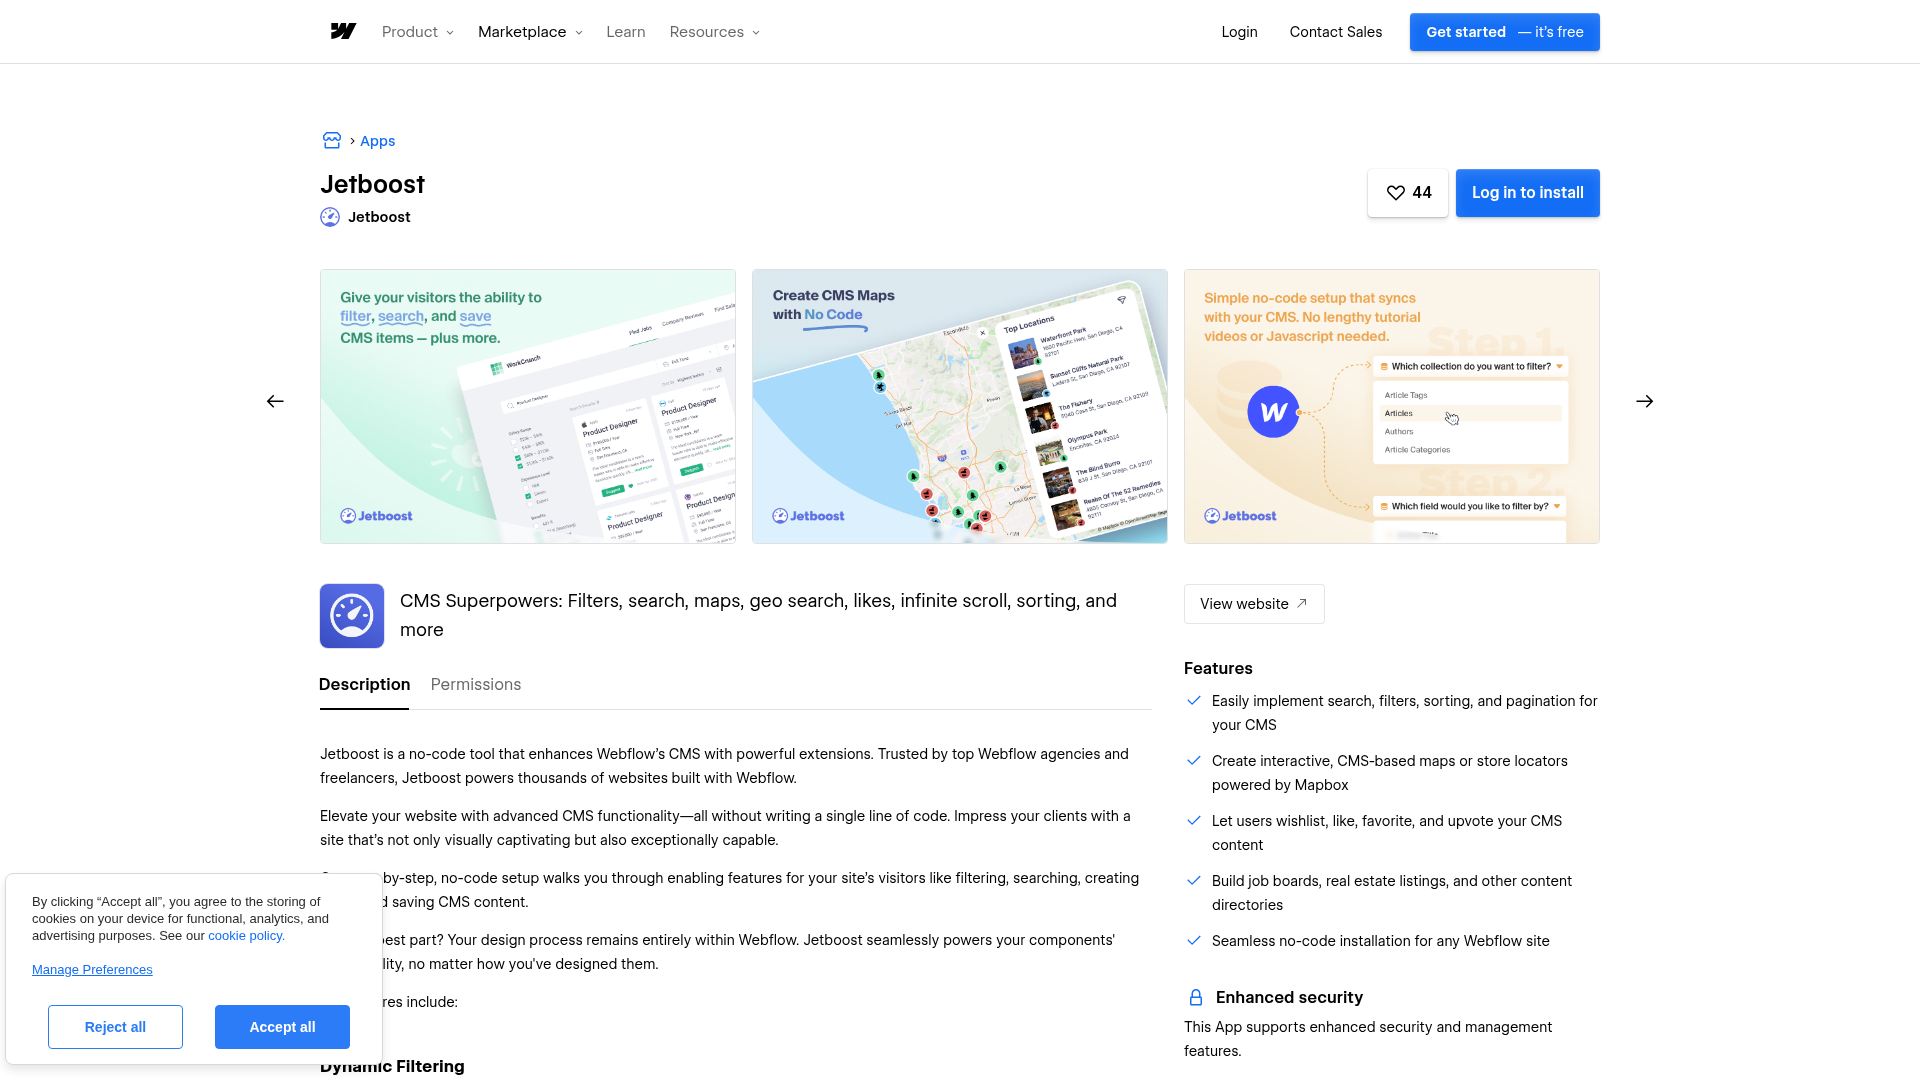
Install the Jetboost app
The Jetboost app on the Webflow Marketplace provides the primary integration path. It connects your Webflow account via OAuth, indexes your CMS data, and lets you configure Boosters from the Jetboost dashboard. The entire setup is validated step-by-step before you go live. A single subscription covers all sites within one Webflow Workspace, and you can test any feature on webflow.io staging domains at no cost. The app has over 5,000 installs and was an original launch partner for the Webflow Apps beta at Webflow Conf 2022.
The Jetboost app includes nine Booster types:
- Real-time search across CMS collections as visitors type
- Dynamic filtering with buttons, dropdowns, or select elements on any CMS field
- User-controlled sorting by alphabetical order, date, or other fields (up to 2,000 items)
- Pagination via infinite scroll, load more buttons, or page-style navigation
- Interactive Mapbox-powered maps displaying CMS items by location
- Geo search for location-based queries
- Favoriting with like, bookmark, save, and upvote behaviors that write data back to the CMS
- Auto-archiving that removes CMS items after a configurable number of days past any date field
- CMS lightbox galleries for per-item image collections
Each Booster operates independently and can be combined with others on the same Collection List.
To set up the integration:
- Sign up at jetboost.io and connect your Webflow account via OAuth. No manual API key entry is required.
- Click Add Booster in the Jetboost dashboard and select the Booster type you need.
- Name the Booster, select the target CMS Collection, choose the relevant fields, and configure any Booster-specific options.
- Copy the Jetboost
<script>tag from the dashboard. In Webflow, go to Site settings > Custom Code and paste it into the head code section. Skip this step if the script is already installed from a previous Booster. - In Webflow, select the Collection List Wrapper element for your target Collection List. Paste the generated Jetboost class name into the selector field in the Styles panel.
- Inside the Collection Item, add a Code Embed element. Paste the Jetboost embed code from the dashboard and click Save and Close. Skip this step if an embed already exists for another Booster on the same Collection Item.
- Publish the site, copy the published page URL, and paste it into the Test URL field in the Jetboost dashboard. Click Test and Continue to validate the configuration.
Each step is automatically validated by Jetboost before you can proceed to the next one. If the configuration has issues, the dashboard flags them during testing. Webflow renders up to 100 CMS items per Collection List page. Search and Filter can work beyond that limit through Jetboost's indexing, while Sorting has a separate 2,000-item cap. If you want visitors to browse additional rendered items on-page, configure the Pagination Booster and set up the Collection List accordingly.
Set up dynamic filtering
Dynamic filtering is the most common Jetboost use case. It supports option fields, reference fields, and multi-reference fields with buttons, dropdowns, or select elements as UI controls.
To configure a filter Booster:
- Select Filter as the Booster type and choose the target CMS Collection.
- Pick the CMS field to filter by and the UI control type (buttons, dropdown, or select element).
- Set the filter mode to single-select or multi-select depending on how visitors should interact.
- Optionally enable Add selected filters to URL so filtered states can be shared as direct links.
- For active filter styling, add the Jetboost-provided class name to a filter element in Webflow, apply your desired active styles, then remove the class. Webflow retains the class definition, and Jetboost applies and removes it at runtime.
Filters from different filter sets use AND logic by default. To use OR logic within a single filter, configure a multi-reference field and adjust the match strategy in the Filter Booster. Full details are in the filter help guides.
Set up real-time search
Real-time search filters Collection List items instantly as visitors type. It works across multiple CMS fields from a single search bar.
To configure a search Booster:
- Select Search as the Booster type and choose the target CMS Collection.
- Select which CMS fields are searchable. Multiple fields can feed a single search bar.
- Choose the search strategy: Exact requires exact word matches, while Flexible matches all words regardless of order or spacing.
- Optionally enable Add search query to the URL to support cross-page search and shareable pre-searched links.
One known behavior to watch for: Jetboost's search prevents Webflow's default form submit by default. If you need the form to also submit data to Webflow or a connected service, enable the Allow Form Submit Power Up toggle in the Booster settings. Alternatively, remove the Webflow form block entirely and replace the search input with a Code Embed element, following this guide.
Set up CMS maps
CMS Maps displays collection items on an interactive Mapbox-powered map. The map updates in real time when search or filter Boosters are applied to the same Collection List.
To configure a CMS Maps Booster:
- Add latitude and longitude number fields to the target CMS Collection in Webflow if they do not already exist.
- In the Jetboost dashboard, create a CMS Maps Booster and provide your Mapbox API key.
- In Webflow, select the Collection Item inside your Collection List. Go to Collection Item Settings > Custom Attributes. Click the + button, paste the Jetboost data attribute for longitude in the Name field, and select the longitude CMS field for the Value. Repeat for latitude.
- Enable optional Power Ups in the dashboard for map controls (zoom, fullscreen, geolocate), popup content on hover or click, and custom marker images.
Location data stays in the Webflow CMS. There is no need to export data to an external mapping service when content changes. The CMS Maps product page includes a live demo with regional filtering.
Set up favoriting and wishlists
The Favoriting Booster adds like, bookmark, save, and upvote behaviors to CMS items. Jetboost tracks every save action and writes the total count back to a number field in the Webflow CMS. By default, favorites are stored in the visitor's browser. Connecting a membership platform (Memberstack, MemberSpace, or Outseta) saves favorites to each logged-in user's account.
To configure a Favoriting Booster:
- Add a number field to the target CMS Collection in Webflow to store the total favorite count.
- In the Jetboost dashboard, create a Favoriting Booster, select the Collection, and choose the number field.
- Optionally select a membership platform integration for per-user storage.
- To display a favorites list (wishlist), create a separate Collection List in Webflow, add the Jetboost embed inside the Collection Item, and hide the Collection List Wrapper. The wishlist setup guide covers the full implementation.
Power Ups for Favoriting include conditional visibility (show elements only when favorites exist), total count display, and selection limits for voting or comparison scenarios.
Set up auto-archiving
Auto-archiving requires no Webflow-side configuration at all. The entire setup happens in the Jetboost dashboard.
To configure an Auto-Archive Booster:
- Create an Auto-Archive Booster and select the target CMS Collection.
- Choose the date field to evaluate (expiration date, event date, created date, or any date field).
- Set the number of days after that date when the item should be archived.
Once the archive rules are in place, Jetboost handles the cleanup automatically.
Build with the Webflow Data API
Jetboost does not expose a public API. For teams that need programmatic workflows, the relevant path is the Webflow Data API v2. Jetboost indexes CMS data from Webflow collections, so changes made through the API can appear in search, filtering, and sorting results once the content is published and indexed. On paid Jetboost plans, indexing is instant.
This approach is for development teams that need to manage CMS content at scale, such as syncing product data from an external database, importing job listings from an ATS, or bulk-updating collection fields. It requires server-side development and familiarity with REST APIs.
Available resources for API-driven workflows:
- The Webflow CMS Collections API handles creating, reading, updating, and deleting collection schemas and items
- Webflow webhooks trigger real-time notifications when CMS items are created, changed, published, or deleted
- Bearer token authentication secures all API requests with the format
Authorization: Bearer <token>
All API requests use the v2 endpoints at api.webflow.com/v2. The v1 API is deprecated.
Sync CMS items for Jetboost indexing
When external systems need to push content into Webflow collections that Jetboost indexes, the CMS Items API handles the data pipeline.
To create and publish items that Jetboost will index:
- Use
POST /collections/{collection_id}/itemsto create new CMS items with field data matching your collection schema. Include all fields that Jetboost Boosters reference (searchable text fields, filter option fields, latitude/longitude for maps). - Publish the items with
POST /collections/{collection_id}/items/publishso they appear on the live site and in Jetboost's index. - For bulk updates, use
PATCH /collections/{collection_id}/itemsto update up to 100 items per request.
To receive notifications when CMS content changes (useful for triggering downstream processes), register a webhook:
curl -X POST "https://api.webflow.com/v2/sites/{site_id}/webhooks" \
  -H "Authorization: Bearer YOUR_ACCESS_TOKEN" \
  -H "Content-Type: application/json" \
  -d '{
    "triggerType": "collection_item_published",
    "url": "https://your-endpoint.com/webhook"
  }'
Webhook events include collection_item_created, collection_item_changed, collection_item_published, collection_item_unpublished, and collection_item_deleted. Each payload includes the item ID, site ID, workspace ID, and collection ID, with additional item details included for most event types. Keep in mind that Webflow renders up to 100 CMS items per Collection List page. Search and Filter can work beyond that limit, while Sorting has its own 2,000-item maximum. If you need visitors to browse additional rendered items on-page, Pagination is the relevant Booster.
What can you build with the Jetboost Webflow integration?
Integrating Jetboost with Webflow lets you turn static CMS Collection Lists into filterable, searchable browsing experiences without writing JavaScript.
- Searchable job boards with auto-expiring listings: Build a job board where visitors filter by position type, location, and employment basis while searching across job titles and descriptions in real time. The Auto-Archive Booster automatically removes listings after a configurable number of days past the posting date. This eliminates manual CMS cleanup.
- Ecommerce product finders with wishlists: Create a product catalog where shoppers filter by category, price range, and features, then save items to a wishlist. The Favoriting Booster tracks saves and writes totals back to the CMS, giving you data on which products generate the most interest.
- Location-based resource directories: Display a directory of businesses, agencies, or services on an interactive Mapbox map that updates as visitors apply search queries and filters. CMS Maps pulls coordinates directly from Webflow CMS fields, so location data stays in one place.
- Membership-gated content hubs with personalized saves: Build a members-only resource library with category filtering and real-time search. Combine the Favoriting Booster with Memberstack, MemberSpace, or Outseta to store each member's saved items on their account, so each member sees their own saved items across sessions.
If you need more control over CMS data pipelines or external sync workflows, the API integration path covers those cases with full flexibility.
Frequently asked questions
Yes, with feature-specific limits. Webflow renders up to 100 CMS items per Collection List page, which is an important constraint for Jetboost implementations. Search and Filter can work beyond 100 items. Sorting supports up to 2,000 items. If you want visitors to browse additional rendered items on-page, use the Pagination Booster and configure your Collection List appropriately. Full details are in the real-time search product documentation.
Yes. All Boosters are designed to work together on the same Collection List simultaneously. You can combine search, filtering, sorting, and pagination on a single list without conflicts. The CMS Maps product page confirms that search, filters, and maps can all run together without custom code.
Yes. The Favoriting Booster integrates with Memberstack, MemberSpace, and Outseta. When connected to a membership platform, favorites and saved items are stored per user account instead of in the browser. This enables personalized favorites and saved searches for logged-in members.
Webflow's IX2 interactions can malfunction on CMS items loaded beyond the initial 100-item threshold. To fix this, open the Booster in the Jetboost dashboard, click Power Ups, select Fix IX/IX2 for pagination items, and toggle on the IX2 option. The interactions troubleshooting article walks through the full resolution.
Description
Jetboost adds real-time search, filtering, sorting, pagination, maps, and favoriting to Webflow CMS Collection Lists. Configure features from the Jetboost dashboard without writing JavaScript.
This integration page is provided for informational and convenience purposes only.
Elastic
Connect Elastic, a search and analytics platform built on Elasticsearch, with Webflow to add full-text, semantic, and faceted search to CMS content, product catalogs, and knowledge bases.

FluidSEO
Connect FluidSEO to Webflow Designer and automate on-page SEO tasks. Generate alt text, add schema markup without code, and bulk update meta tags via CSV.

Yahoo
Connect Yahoo with Webflow to embed financial data widgets or point Yahoo-registered domains to your site.

Swiftype
Connect Swiftype with Webflow to get autocomplete search, faceted filtering, and relevance tuning managed through dashboard controls without code deployments.

Sajari Search
Add smart, AI-powered site search to your Webflow site in minutes. Join companies such as Sennheiser, Unity, and Lockheed Martin and deliver more relevant content to your visitors.
Searchbar.org
Searchbar.org is a full featured, easy-to-install search engine, perfect for your website. Get accessibility with search predictions, providing relevant content to your readers and followers.
Google Search
Connect Google Search Console with Webflow to verify site ownership, submit sitemaps, and monitor how Google crawls and indexes your site.
Findberry
Findberry brings powerful, ad-free site search to your Webflow projects. Add professional search functionality that helps visitors quickly find products, articles, or resources across your site — without displaying third-party ads or requiring complex backend setup.
Related integrations
Get started for free
Try Webflow for as long as you like with our free Starter plan. Purchase a paid Site plan to publish, host, and unlock additional features.
