






Impulse
Connect Impulse with Webflow to add popups, bars, and widgets to your site without writing custom code.

Spin the Wheel offers, exit-intent popups, countdown bars, and cookie banners all run on JavaScript, and Webflow does not ship ready-made versions of them. For tracking consent, Webflow's consent guide points to a third-party consent management platform (CMP) app, a CMP provider connected through the APIs, or a banner you build with custom code. Each widget script also needs targeting logic and storage, and someone has to maintain it on every page.
Impulse packages more than 40 widgets in one dashboard. Popups are one part of it; the same app also adds ecommerce bars, chat buttons, galleries and sliders, and trust tools such as cookie consent and age verification. Authorizing the Impulse app from the Marketplace connects the Impulse script to your site, and you then pick a widget in the Impulse dashboard and set its display rules before publishing. Leads collected in a popup form sync to Mailchimp, MailerLite, or GetResponse without an export step.
This integration suits marketers running promotions on Webflow ecommerce sites and agencies that reuse one toolkit across client projects. Solo founders can get lead capture running without a developer. Sites that need a cookie notice or an age gate get both from the same dashboard. Creative teams can use the gallery, slider, timeline, and PDF viewer widgets on portfolio sites.
How to integrate Impulse with Webflow
Impulse is a no-code widget and popup toolkit for websites and ecommerce stores, formerly sold as Plum, and its docs and script still use the Plum name in places. Its catalog groups the widgets into ecommerce tools (announcement, free shipping and countdown timer bars, sales and exit-intent popups, size charts), gamified popups (Spin the Wheel, Scratch Card, Pick a Gift, Lottery Ball), WhatsApp, Messenger and Instagram chat, design widgets (Image Slider, Photo Gallery, Before and After, Logo Showcase), documents (PDF Viewer, PDF FlipBook), and trust tools (Cookie Consent, Age Verification, Content Protection). The product tour says each widget reports views, clicks, and conversion rates in the Impulse dashboard.
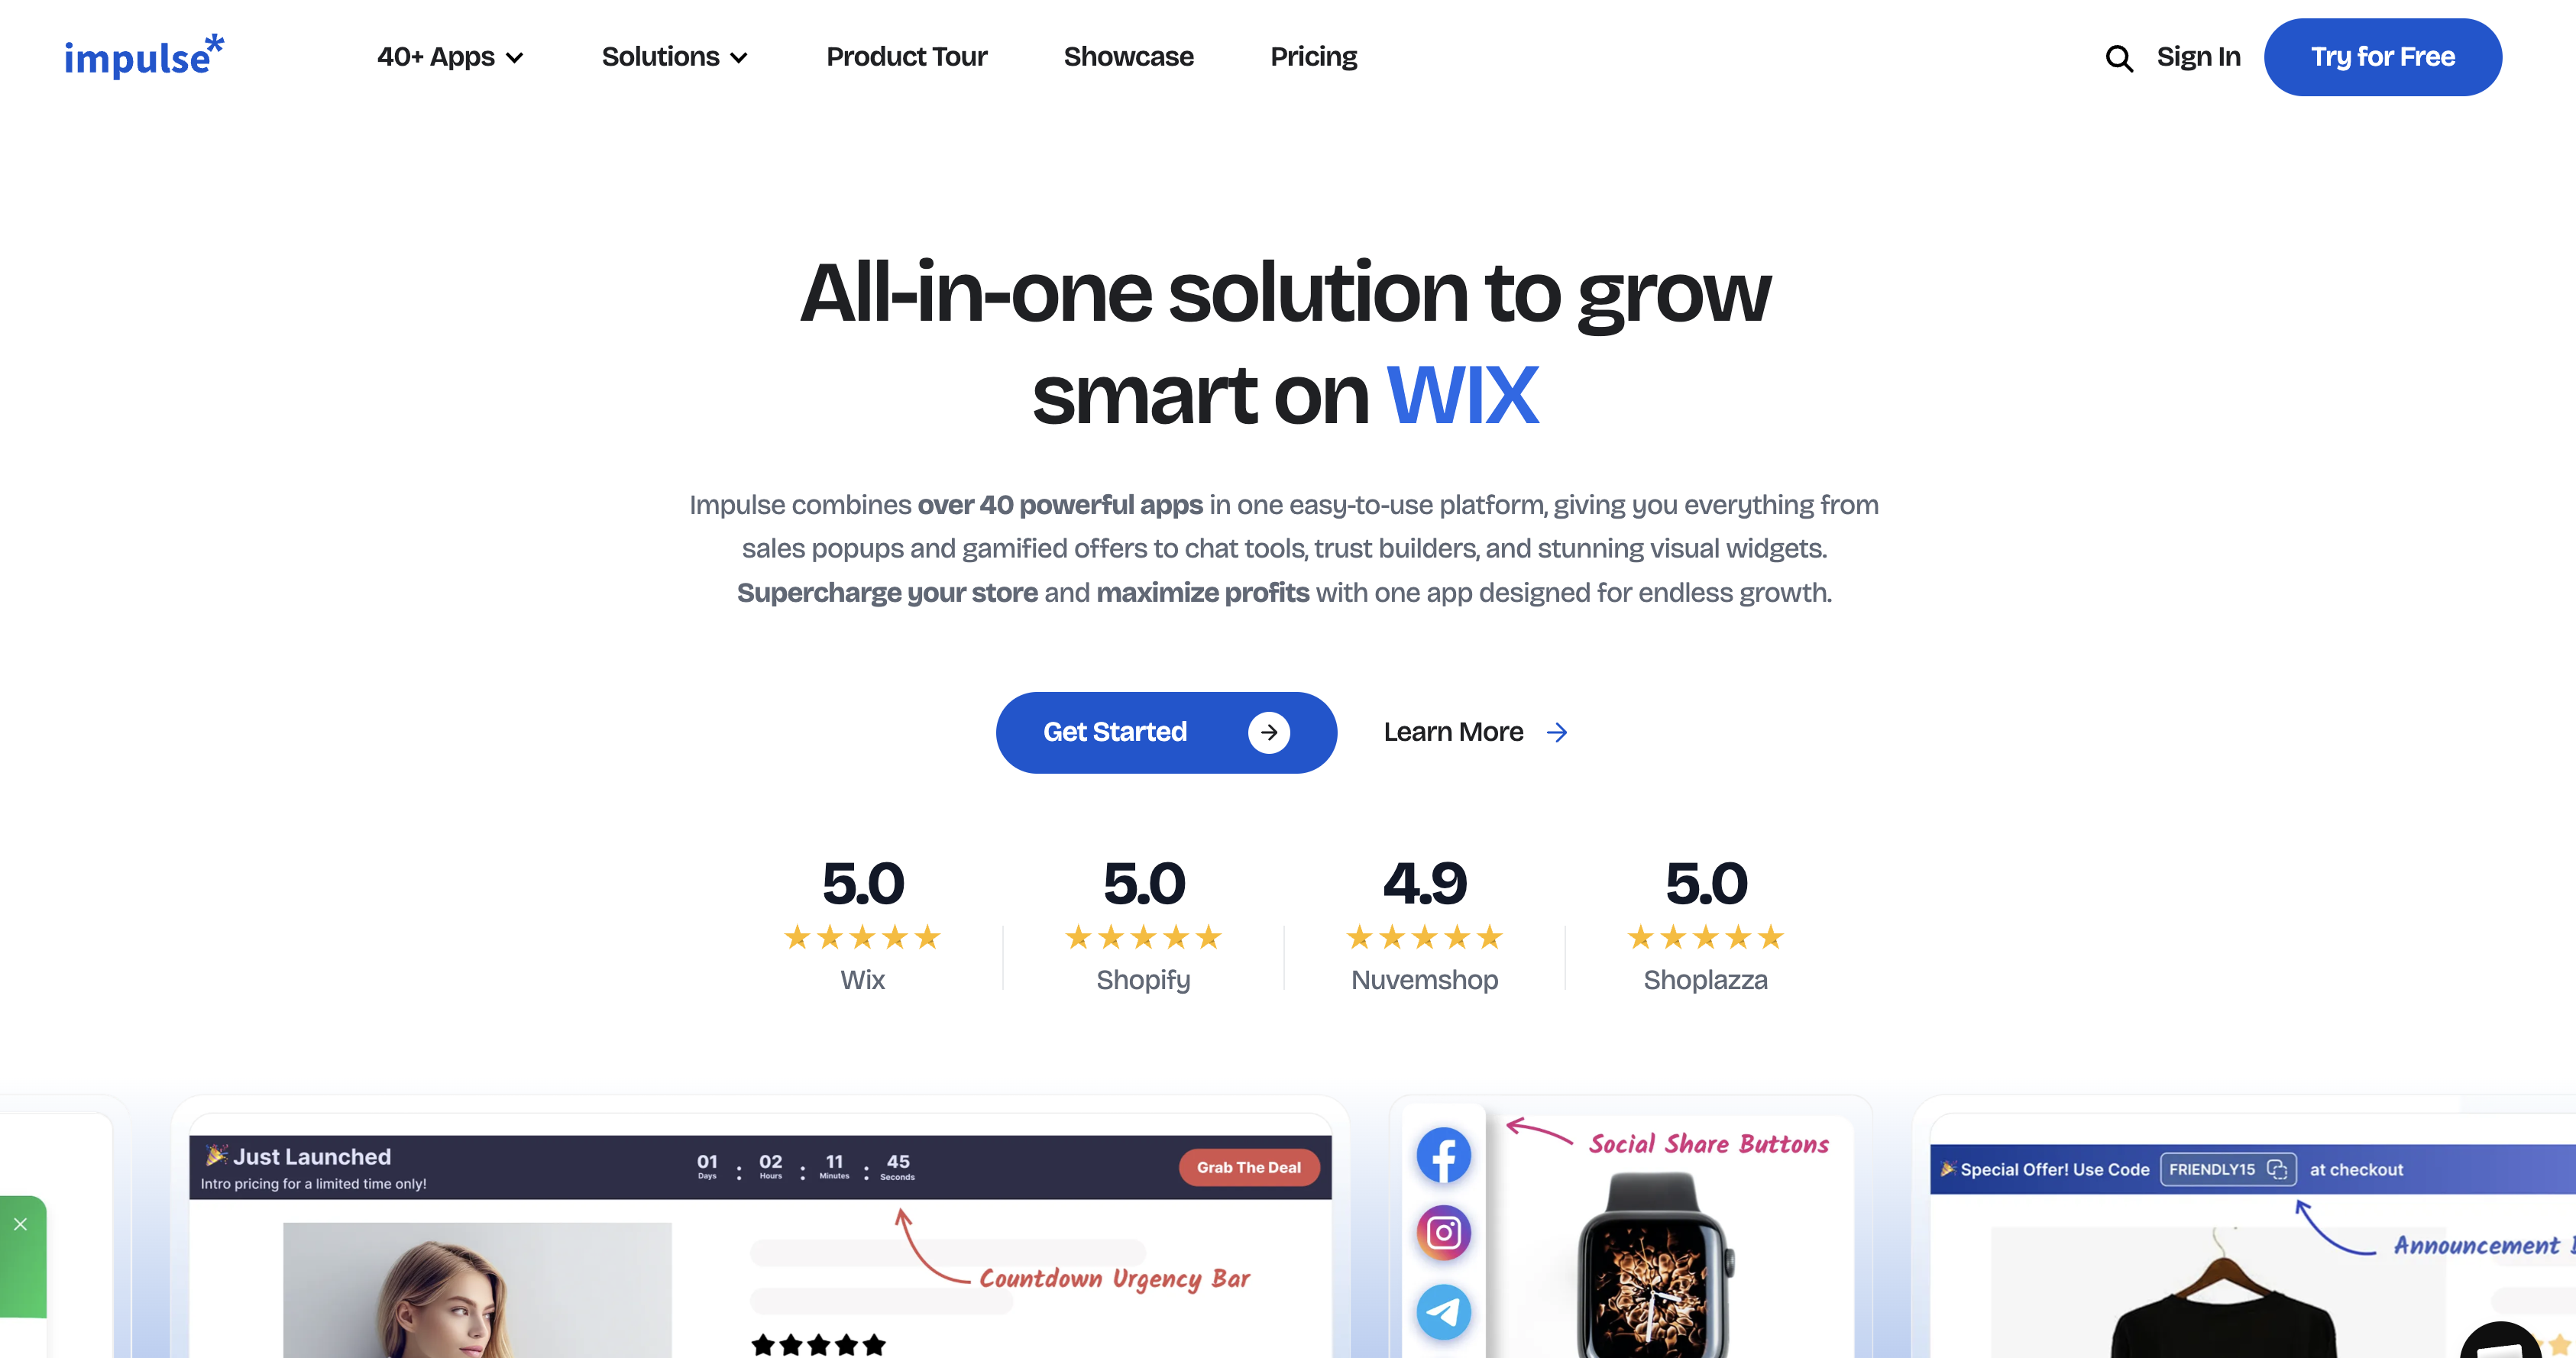
Teams use Impulse when a Webflow site needs conversion and trust elements faster than a developer can build them. A retailer launching a holiday sale adds a countdown bar and an exit-intent coupon. A store selling age-restricted products adds an age verification gate.
Installation comes down to how the Impulse script reaches your pages. The Impulse app adds the script when you authorize it and covers every widget without code. Custom code lets you paste the Impulse embed line site-wide, on one page with a Code Embed element, or through Google Tag Manager. Impulse display variables let your own page JavaScript decide when a popup qualifies to show. Start with the app, and add an embed or display variables only when a setup needs tag-manager routing or custom conditions.
Install the Impulse app
The Impulse: 40-in-One App on the Webflow Marketplace is the route Impulse's own Webflow guide documents. Authorizing it connects the Impulse script to your site with no further setup. Installing apps takes the Site manager or Designer role, per Webflow's site roles table. The listing names no required Webflow plan.
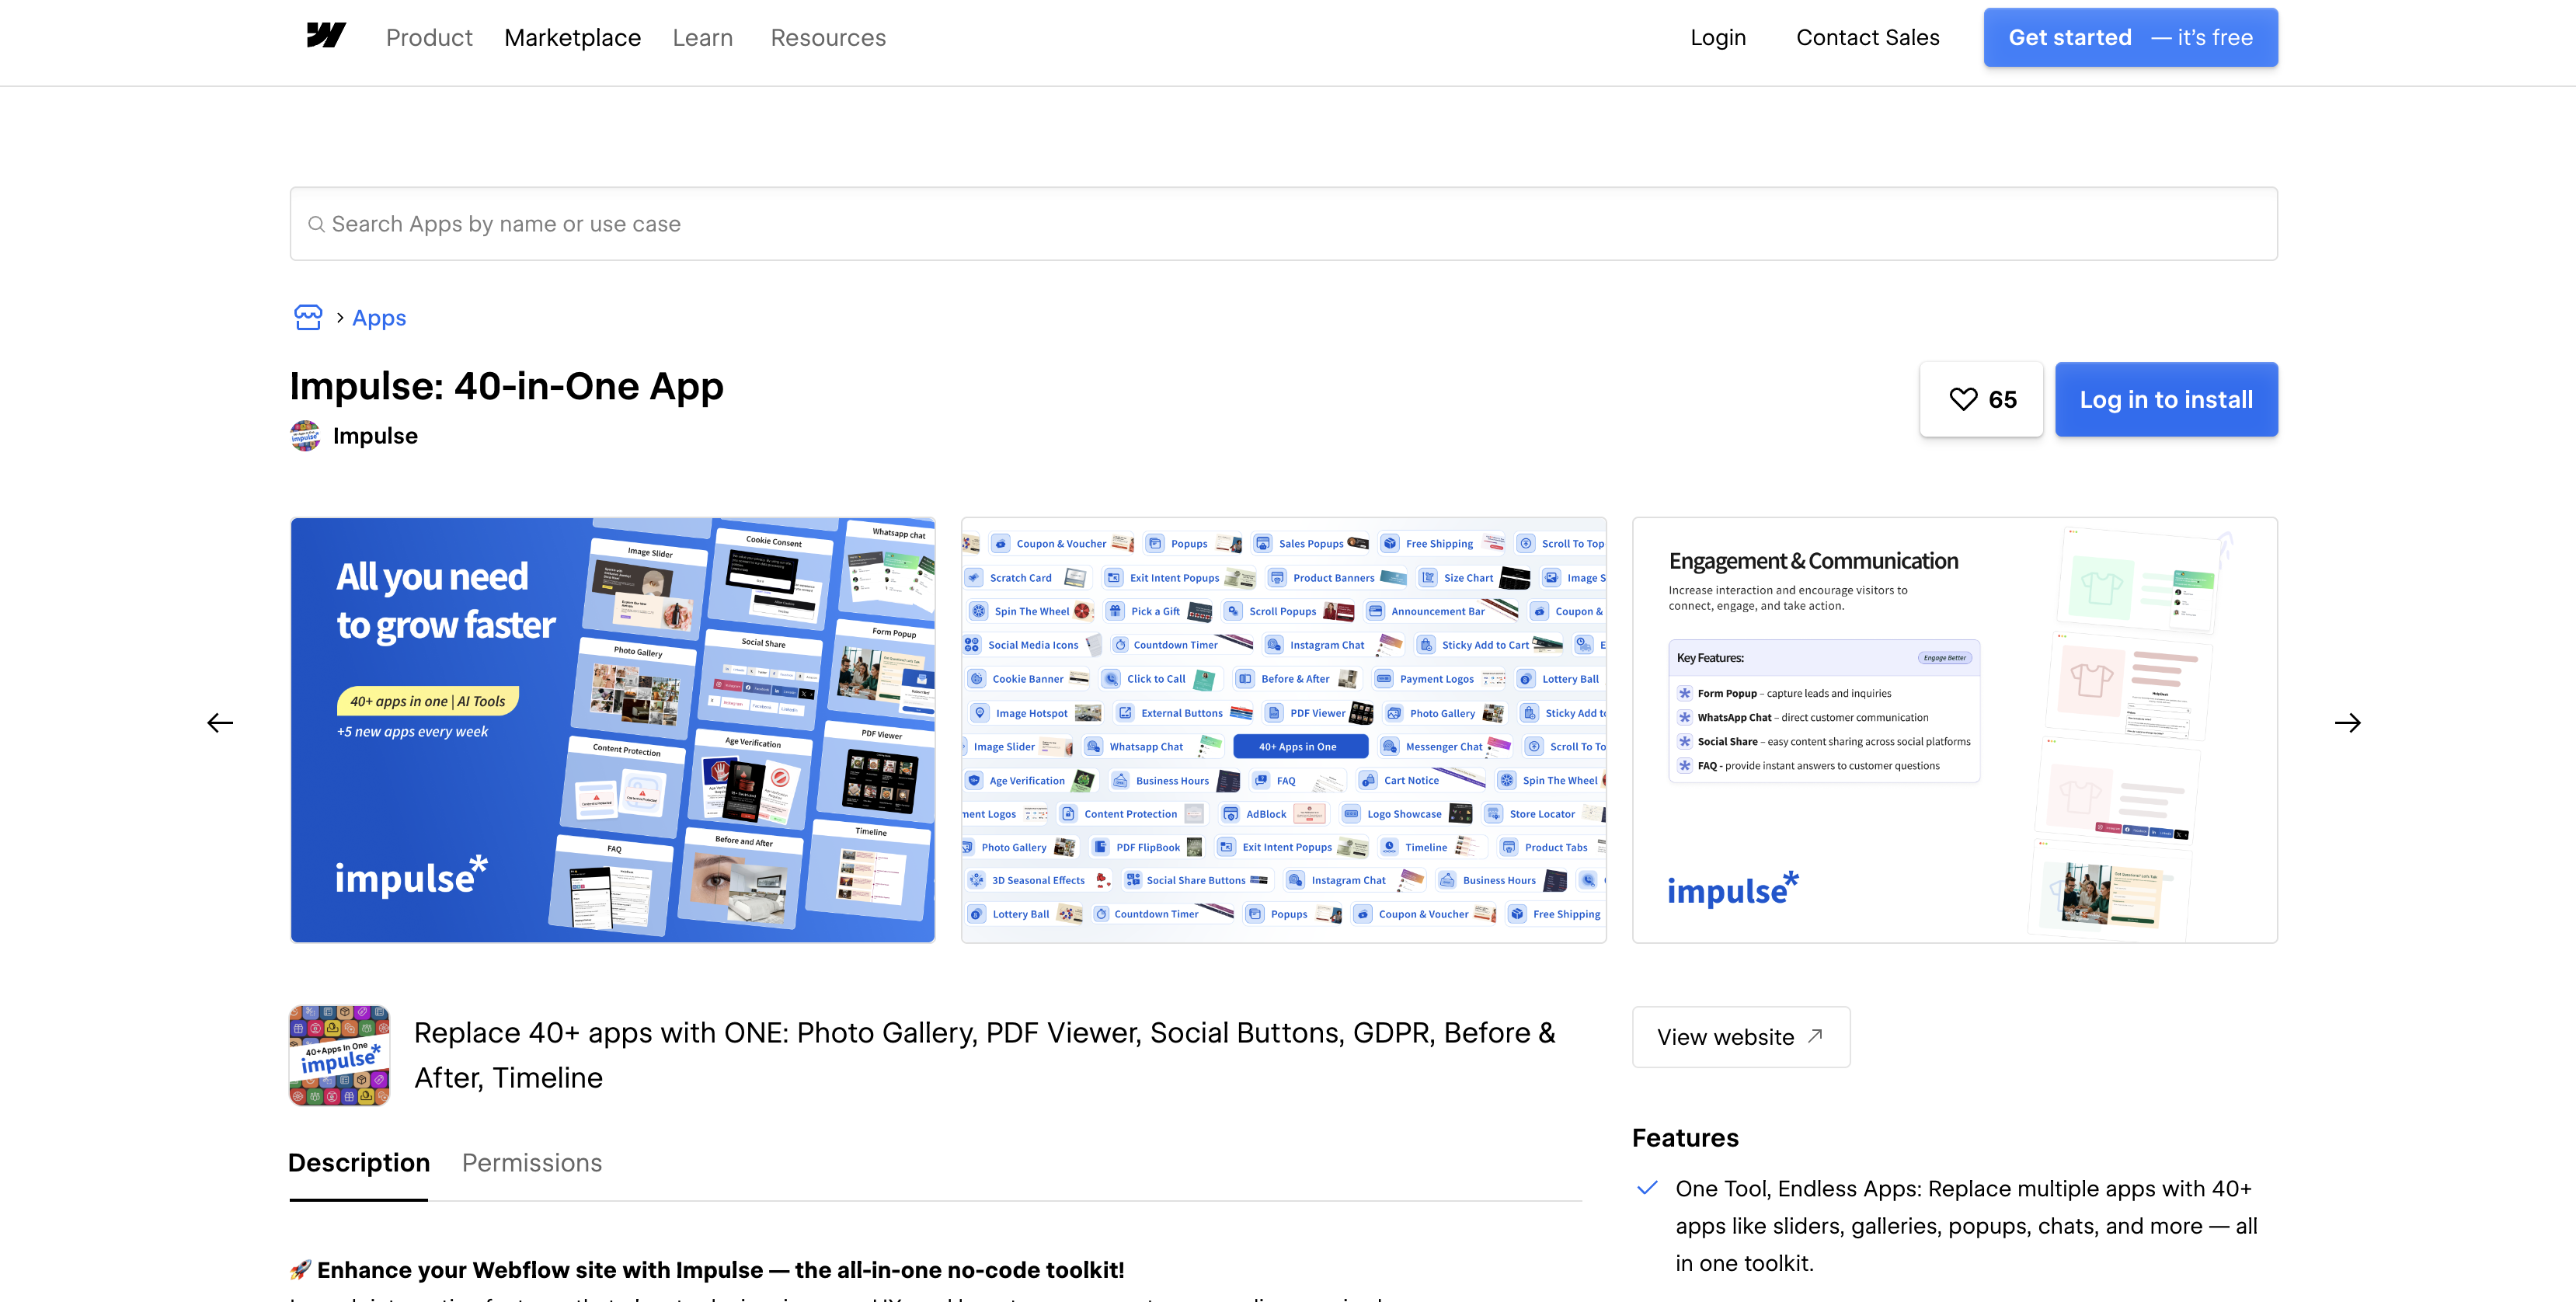
To set up the integration:
- Open the Impulse listing on the Webflow Marketplace and click Add to site. Or open the Apps panel, search for Impulse, and click Install on site.
- Select the sites or Workspace to authorize. A Workspace authorization covers all of its current and future sites.
- Sign in to Webflow if prompted, review the requested permissions, and click Authorize app.
- Impulse opens its Apps page. Choose a template, customize it, and click Save.
- Publish your site and check the widget on the live domain. If it does not appear, use Verify script connection in the widget's final setup step.
Once authorized, the app gives you these controls in the Impulse dashboard:
- Targeting rules: Widgets can trigger on exit intent, page, time on page, scroll depth, UTM parameters, and visitor location. Impulse's popup guide notes that exit intent works only on desktop.
- Lead sync: Popup form submissions sync to Mailchimp, MailerLite, and GetResponse, the email services Impulse documents.
- Trust widgets: Cookie Consent, Age Verification, and Content Protection install from the same dashboard as the popups.
- Teasers: A small teaser element keeps a campaign visible without opening the full popup.
The permissions on the listing are broad. The app requests read and write access to custom code, Webflow CMS data, forms, pages, sites, assets, users, and the ecommerce store, plus read access to the authorizing user and the site activity log. Webflow does not let you trim an app's permissions, only scope it to one site or a Workspace, per the Webflow Apps overview. To disconnect, go to Site settings > Apps & integrations and click Revoke.
We read the widget bundle Impulse serves on its own Webflow site and found no session-replay or third-party analytics code in it: no Sentry, Hotjar, Clarity, PostHog, Mixpanel, Meta Pixel, or Google Analytics calls. The bundle reports widget views and clicks to Impulse's own server, keeps state in browser storage and cookies, and calls GeoJS, a third-party IP geolocation service, when a geo rule is active or a visitor submits a popup form. It loads with the page, so account for it in your consent setup.
Add the Impulse embed code with custom code
Impulse's Tag Manager guide describes the embed as a single line of JavaScript and gives steps for Google Tag Manager, not for Webflow specifically. Use the embed instead of the app when every script on your site runs through a tag manager, or when a widget should load on one page only. Pasting custom code needs a Core, Growth, Agency, or Freelancer Workspace, or an active Site plan.
Paste the embed code into Site settings
- Site-wide placement puts the Impulse script on every page. In the Impulse dashboard, open the account menu at the top right, select Your Embed Code, and copy the line.
- The Custom code in head and body tags article covers both locations. Go to Site settings > Custom code, paste it into Head code or Footer code, and click Save changes.
- Each code section accepts up to 50,000 characters. The script runs in preview but is not live until you publish. Publish the site, then click Verify script connection in Impulse.
Add the embed to one page with a Code Embed element
- A Code Embed element scopes the script to a single page. Use it for a landing page that needs a Spin the Wheel popup and nothing else. Impulse's Tag Manager guide notes that it counts page views on every page where the script loads, so scoping the script also narrows what counts toward your Impulse pageview allowance. Open the Add panel and drag a Code Embed element onto the page.
- Paste the embed line, then save and close the modal.
- Publish the site and verify the connection in Impulse. Code Embed content will not run in expand canvas view, so check the published page rather than the canvas.
Load the embed through Google Tag Manager
- Use this route if your team already manages marketing tags in one Google Tag Manager container. First, paste your GTM container snippet into Head code at Site settings > Custom code and publish. Create a new tag and choose Custom HTML.
- Paste the embed code.
- Select Support document.write.
- Set the trigger to All Pages or Some Page Views. Pages outside the trigger you chose will not show popups.
- Submit and publish the container.
Control popup display with Impulse display variables
Impulse's help center documents no public API or webhooks. It does document one client-side object for display conditions, which runs in page JavaScript and needs no server-side code. Use it when a popup should appear only for visitors your own page logic identifies.
Set popup display conditions with window.plumPopupVariables
Impulse's popup guide documents window.plumPopupVariables = {field1: value1, field2: value2…}. The object controls display conditions from your own code.
To implement this:
- Add a Code Embed, or a Head code block in Site settings > Custom code. Put
<script>window.plumPopupVariables = {field1: value1, field2: value2};</script>in it, with your own field names and values. - In the popup's Rules and Triggers tab, add a Variables condition with the same field names and values.
- Publish the Webflow site and confirm the behavior on the live domain.
Test each condition on the published site before you launch the popup.
What you can build with the Impulse Webflow integration
These builds pair Impulse widgets with Webflow pages you already have.
- Gamified email capture: A Spin the Wheel popup on exit intent rewards a discount code for an email. The lead lands in Mailchimp through Impulse's native sync.
- Urgency on product pages: A Countdown Timer Bar and a Free Shipping bar sit above a product grid rendered with a Collection List. The countdown bar runs to the sale's end.
- Age and consent gates: An Age Verification gate and a Cookie Consent banner run on a Webflow store selling age-restricted products. Display rules scope each widget by page.
- Portfolio and content presentation: A creative studio presents case studies with a Before and After slider, Timeline, Logo Showcase, and PDF Viewer. You style each widget to match brand fonts and colors.
Popup leads and native form leads can land in the same list. To set up the Webflow form side, add a Mailchimp newsletter next to your Impulse popups.
Frequently asked questions
No. The Impulse listing on the Webflow Marketplace names no required Webflow plan, and the app adds its script through authorization. Pasting the embed code yourself is different: custom code in Site settings or a Code Embed element needs a Core, Growth, Agency, or Freelancer Workspace, or an active Site plan, per Webflow's Custom code in head and body tags article.
Custom code runs only after you publish, so publish the site first and test on the live domain. A Code Embed element does not run in expand canvas view. If the published page still shows nothing, click Verify script connection, which Impulse's popup guide places in the popup's final setup step. For Google Tag Manager installs, confirm the page matches the trigger you set.
Yes, when the Impulse script loads on those pages. The app adds the script to the whole site, and Impulse's display rules can then target by behavior, page, location, or traffic source. If you paste the embed manually, custom code on a Collection page template applies to every page generated from it.
Go to Site settings > Apps & integrations and click Revoke, or open the Apps panel, select the app, and click Remove app. If you authorized Impulse for a Workspace, use Workspace settings > Apps & integrations and click Uninstall app, which removes it from every site in that Workspace. Webflow strips custom code an app added at your next publish, so publish the site after revoking. If you installed through custom code, delete the embed line from Site settings > Custom code or from the Code Embed element, then publish again.
Impulse documents native lead sync with Mailchimp, MailerLite, and GetResponse, and its Webflow Marketplace listing names the same services. You connect them in the popup's Integrations step, after Rules and Triggers. Impulse's Mailchimp setup guide has you paste a Mailchimp API key and then map popup fields to a list. The popup form needs at least an email field.
Description
Impulse adds a no-code widget toolkit to Webflow: exit-intent and gamified popups, countdown and shipping bars, chat buttons, galleries, and cookie consent. The Marketplace app connects the script on authorization; Impulse also documents a generic embed line.
This integration page is provided for informational and convenience purposes only.

Flowstar Urgency Countdown Timer
Connect Flowstar Urgency Countdown Timer with Webflow to run deadline-driven campaigns without writing custom JavaScript. The countdown now installs inside Flowstar Sales Booster Widgets.

Announcement Bar
Connect Announcement Bar, Smartarget's no-code message bar widget, with Webflow to change promotional banner copy without republishing the site.

Massively AI
Connect Massively AI, an AI customer service platform, with Webflow to add a chatbot that captures leads and answers visitor questions around the clock.

Flowstar Spin Wheel & Gamification
Add Flowstar Spin Wheel & Gamification to Webflow with embed code and run spin-to-win campaigns that turn visitors into subscribers.

Tidio
Connect Tidio, a customer service platform with live chat and AI, with Webflow to add a chat widget, automate visitor responses with the Lyro AI agent, and capture leads through proactive triggers.

Twilio
Connect Twilio with Webflow to add SMS, voice, WhatsApp, and email communication to your site.

Chatbot
Connect Chatbot, an AI chatbot platform by Text, Inc., with Webflow to add a 24/7 chat widget for lead qualification, visitor support, and conversation-driven data collection.

Ortto
Connect Ortto with Webflow to capture leads from your site, track visitor behavior, and trigger automated customer journeys.

HelpDesk
Connect HelpDesk with Webflow to turn form submissions into trackable support tickets with automated routing, agent assignment, and status tracking.
Related integrations
Get started for free
Try Webflow for as long as you like with our free Starter plan. Purchase a paid Site plan to publish, host, and unlock additional features.
