






Hype
Connect Hype (formerly Pico) with Webflow to embed creator lead capture pages and route contact and payment data into your site.

A Webflow site handles design and hosting for the content you publish. What it does not do is run a creator's contact list, send SMS campaigns, or take tips and subscription payments.
Hype covers that side of the work: link-in-bio pages, email and phone contact capture, and Stripe-connected payments. Connecting the two puts a creator's monetization stack inside a full marketing site. A Hype form or page embeds on any Webflow page through custom code, and Zapier's Hype connector routes contact and payment events into your site's content. The Webflow page carries the brand and the SEO surface while Hype collects contacts and takes payments.
Creators, gyms, coaches, athletes, marketers, and agencies reach for this setup when a Hype audience needs a Webflow marketing site around it.
How to integrate Hype with Webflow
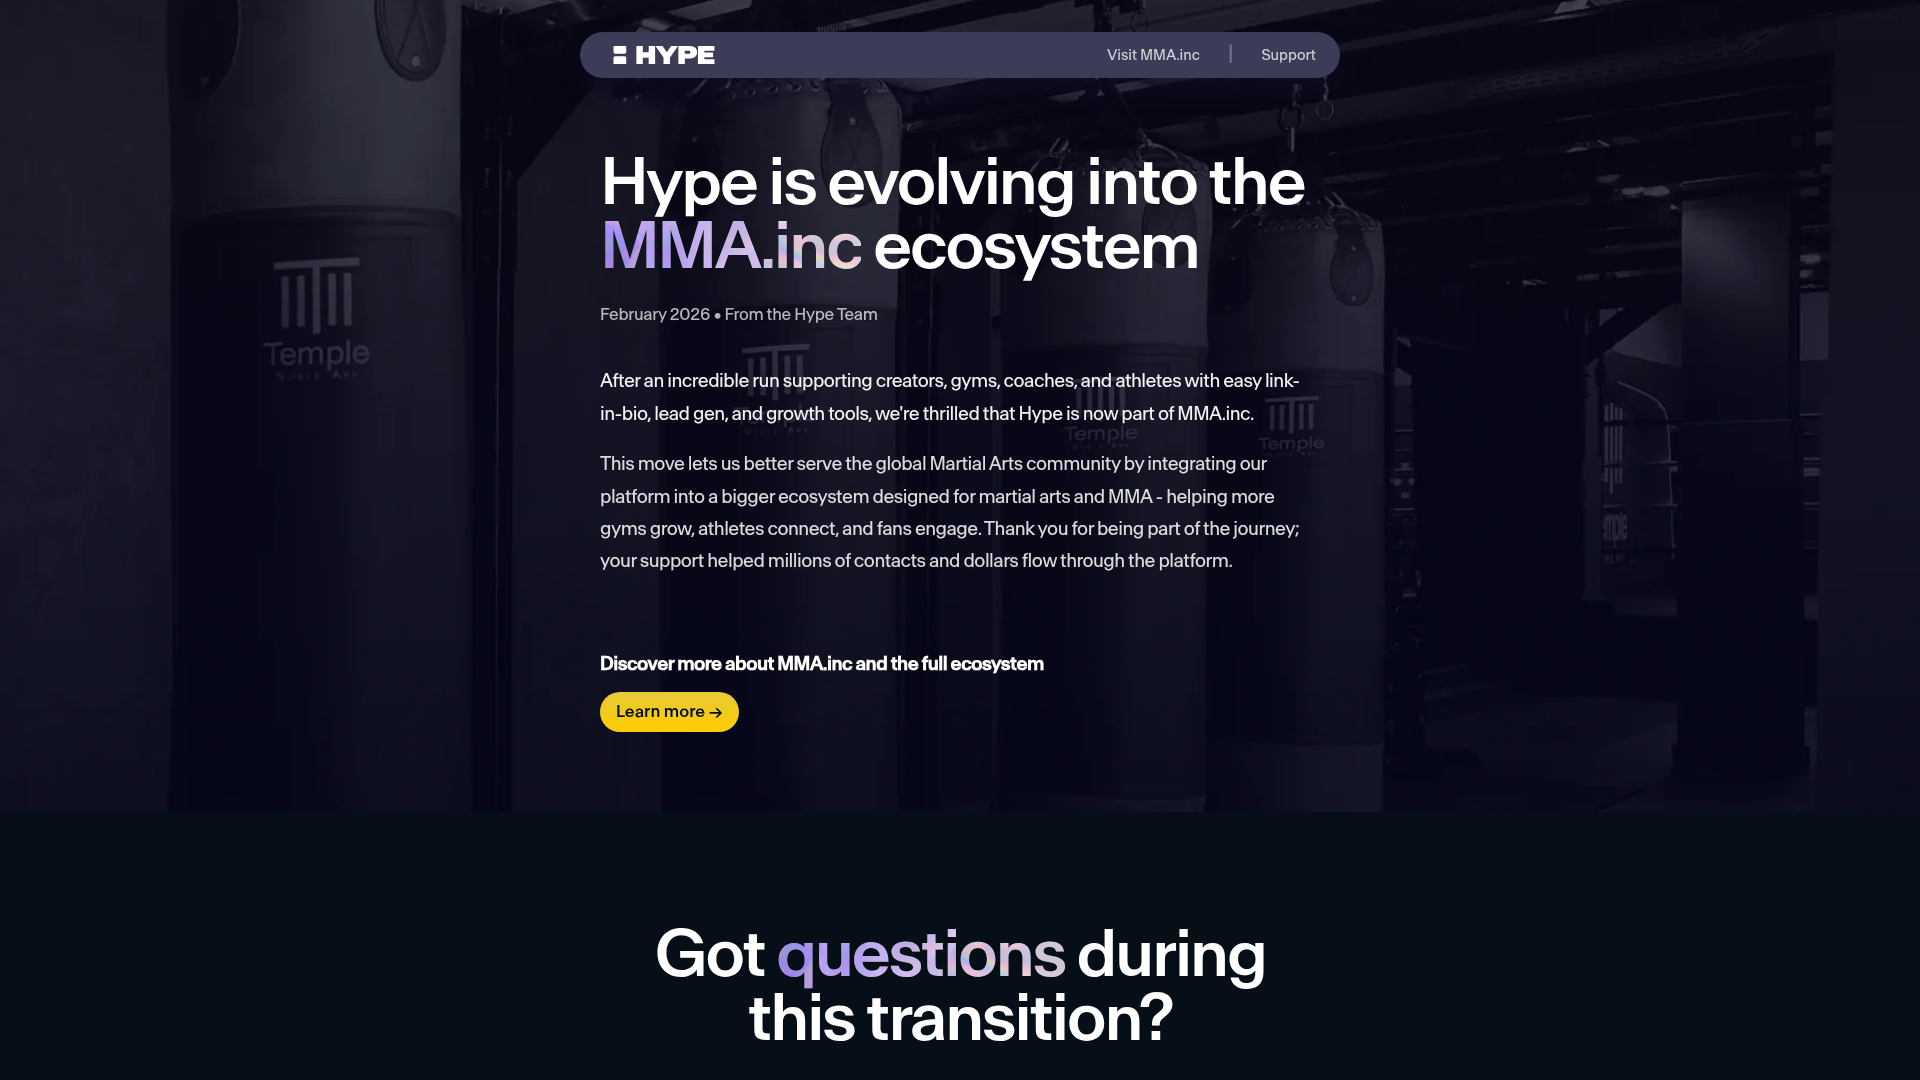
What is Hype? Hype is a creator CRM and link-in-bio platform that pairs a drag-and-drop microsite builder with email and SMS marketing, and connects to Stripe so creators can take tips and subscription payments. In February 2026, Hype became part of MMA.inc, and hype.co now serves a transition notice rather than the product. Account, billing, and data questions go to support@hype.co.
Pair the two when a creator, coach, gym, or athlete needs both halves. The Webflow site owns the branded pages, the blog, and the SEO surface. Hype pages handle contact capture, list growth, payments, and the rest of the creator CRM work. Because the transition notice changes what is actively supported, confirm on your own account that a Hype surface still works before you build a Webflow page around it.
Choose the Webflow-side method that matches the setup:
- Custom code embeds place Hype snippets, forms, or iframes on single pages or across the whole site, with no marketplace app involved.
- Zapier connects Hype contact and payment triggers to Webflow CMS actions such as Create Item and Update Item.
- The Webflow Data API gives you full programmatic control on the Webflow side, but it needs server-side development, and Hype has no public API to pair with it.
You can combine two or more of these depending on how much of the funnel has to live on the Webflow side.
Add Hype content with Code Embed elements and custom code
Hype's website plugin is a JavaScript snippet, so on a Webflow site that snippet or any Hype iframe goes in through a Code Embed element or the site's custom code fields. Use a Code Embed element when the content belongs on one page, and the site-wide fields when a script has to load everywhere.
Both paths need the same four things in place:
- A paid plan: Custom code on a Webflow site requires a paid Site plan or a paid Workspace plan, so a free project will not render the snippet.
- Permission to edit code: Only roles that can open site settings and page settings can add or change custom code fields.
- The Hype snippet or iframe: Copy the exact embed code out of Hype for the form, page, or payment surface you want to render.
- An active Hype subscription: The snippet loads Hype-hosted content, which stops rendering once the Hype account lapses.
Hype no longer publishes plugin documentation, so test any snippet you inherited on a published page before you rely on it.
Embed on a single page with a Code Embed element
This path suits a Hype signup form or iframe that belongs on one landing page. The element sits in the page's normal flow, so you can position and size it like any other block, and nothing changes site-wide.
To place the snippet:
- Copy the Hype embed code to your clipboard.
- Open the Add panel and drag a Code Embed element onto the canvas.
- Paste the code into the editor, then save and close the modal.
- Publish the site.
A Code Embed element accepts HTML, CSS inside <style> tags, and JavaScript inside <script> tags. Server-side languages like PHP or Python do not run, and the snippet must not include <head>, <body>, or <html> tags.
Load a Hype script site-wide or per page
A global script belongs in the site's head or footer code so it loads on every page. Those fields exist at the site level and again at the page level.
In Site settings, add the script across the site:
- Go to Site settings > Custom code.
- Paste the script into the Head code or Footer code section.
- Click Save changes and publish the site.
For a single page, open Page settings instead and paste the code into the Inside <head> tag or Before </body> tag field. Custom code effects can show up in preview, so publish the site to send them live. Installing the plugin also gives Hype permission to track visitor activity on your site, including browsing and content sharing, per the Creator Agreement.
Connect Hype and Webflow with Zapier
Zapier carries a direct connection between the two, and the Hype and Webflow Zap is filed under Pico, Hype's former name, so search either name if you cannot find it. The Zapier app installs from the Webflow App Marketplace and connects a site to thousands of other tools without custom code. Real-time triggers need a paid Zapier plan.
The connector exposes these routes:
- Contact triggers: Contact Created, Contact Updated, and Contact Deleted fire on the Hype side whenever an audience record changes.
- Payment triggers: Payment Created, Payment Updated, and Payment Deleted fire when a Hype payment is taken, changed, or removed.
- CMS write actions: Create Item, Create Live Item, Update Item, and Update Live Item drop the incoming record into the Webflow CMS.
- Lookup and order actions: Find Item and Find Live Item match an existing record before you write, and the order actions cover Ecommerce fulfilment.
Route one test contact through the Zap before you build the real workflow, and confirm which Hype triggers still fire on your account.
Build with the Webflow Data API
Hype never published a public API, so custom builds react to Webflow events and write Hype-sourced data into Webflow rather than pushing anything back the other way. Webflow's v1 API is retired, so build against Data API v2 only.
Webflow gives your middleware four surfaces to work against:
- CMS endpoints: The Data API reads and writes Collections and Collection items on any site you have authorized.
- Form submissions: The form submissions endpoint lists everything the site's native forms have captured.
- Webhooks: Webhook events push signals such as
form_submissionandcollection_item_createdto any endpoint you register. - The Hype side: Hype documents no endpoints and no webhook events, so its contact and payment data has to arrive by export or through the Zapier connector.
Two patterns cover most of the middleware work here.
Capture Webflow form submissions with a webhook
A form_submission webhook sends every native form submission to your own server the moment it arrives.
Register the form-submission webhook:
- Call
POST https://api.webflow.com/v2/sites/{site_id}/webhookswithtriggerType: "form_submission"and your receiverurl. The request needs thesites:writescope. - Read submitted fields from
payload.data. Field metadata arrives inpayload.schemaand the timestamp inpayload.submittedAt. - Validate the
x-webflow-signatureheader, a SHA-256 HMAC, alongsidex-webflow-timestamp. Webhooks created through the dashboard omit those headers, so register through the API.
Your middleware can then match those leads against a Hype contact export. Hype accepts no inbound API calls, so your code cannot push leads back into Hype.
Write records into a CMS Collection
Contact or payment data exported from Hype can become CMS content, and anything you route through Zapier's Webflow actions lands in the same place.
Write CMS records through the Data API:
- Fetch the field schema with
GET /v2/collections/{collection_id}, which needs thecms:readscope. - Create staged items with
POST /v2/collections/{collection_id}/items. ThefieldDataobject must includenameandslug, and writes needcms:write. - Publish with
POST /v2/collections/{collection_id}/items/publish, or use the/items/liveendpoints to publish immediately.
Staged items let you review content in Webflow before it goes live. Live endpoints skip that review and update the published site at once.
What you can build with the Hype Webflow integration
Integrating Hype with Webflow adds creator lead capture and payment flows to a marketing site without rebuilding either one in custom code. These are the setups that come up most often:
- Campaign pages with embedded lead capture: A Webflow tour-date or launch page carries a Hype signup form in a Code Embed element, which keeps the whole funnel on one domain.
- Link-in-bio microsites inside a full site: A
/linkspage on the client's domain iframes the hosted Hype page while the rest of the site stays in Webflow. - QR code handoff pages: Publish Webflow pages that display QR codes pointing at Hype pages, which moves offline and social audiences into a Hype signup or payment flow.
- A synced supporter feed in the CMS: Route Hype's Contact Created or Payment Created triggers through Zapier into CMS items, then render them in a Collection List as a supporters wall that grows as payments arrive.
If you want tighter control over how Hype data lands in your CMS than the connector gives you, the API path handles it. Start with the CMS API and write those records yourself. One thing to rule out first: if the real goal is gating Webflow content rather than capturing contacts, Webflow User Accounts was sunset on 29 January 2026 and its APIs are gone, so ignore older tutorials built on it and gate inside Hype, or use Memberstack or Outseta instead. Validate the whole setup on a published Webflow page before launch, and connect the Webflow MCP server if you want an AI client doing the CMS side of this work for you.
Frequently asked questions
No. The Webflow App Marketplace has no Hype listing, so use the custom code embeds or the Zapier connection covered above. Nothing on the Webflow side needs installing for the embed route.
Test before you rely on them. Hype no longer publishes plugin documentation, and hype.co now serves the MMA.inc transition notice instead of the product. Custom code renders only on a published page, so check there rather than in preview. Account questions go to support@hype.co.
Not directly. Hype documents no endpoints and no webhook events, so nothing can write into it programmatically. The Zapier connector runs the other way, taking Hype contact and payment triggers into Webflow CMS actions. For the reverse, export from Hype and reconcile in your own middleware.
No. An iframed Hype page runs in a separate browsing context, so your site's styles never reach it. Use Webflow layout tools to position and size the embed element itself. Styling for the framed content lives in Hype's own page builder.
Usually one of two causes. Custom code effects can show up in preview but do not affect the live site until you publish, so publish after saving the Code Embed element or the custom code field. The second cause applies only when something else is trying to iframe your Webflow site: a staging subdomain like
yoursite.webflow.iocannot be iframed at all, and on a custom domain it works only with secure frame headers turned off, which Ecommerce sites cannot do. See Advanced publishing options to check that setting.
Description
Embed Hype lead capture and link-in-bio content on Webflow pages with custom code, or use Zapier's Hype connector to route contact and payment events into your site's content.
This integration page is provided for informational and convenience purposes only.

jobber
Connect Jobber with Webflow to capture service leads on your site and route them straight into scheduling and quoting workflows.

Odoo
Connect Odoo with Webflow so website activity moves into your back-office workflows.

Recruit CRM
Connect RecruitCRM's applicant tracking system with Webflow through automation platforms like Zapier or Make.

HighLevel
Connect HighLevel, an all-in-one CRM and marketing automation platform, with Webflow to embed forms, chat widgets, and booking calendars while routing leads into pipelines and follow-up sequences.

LeadConnector
Connect LeadConnector, a white-label CRM and marketing automation platform, with Webflow so form submissions and booking calendars feed automated workflows.

Microsoft Dynamics CRM
Connect Microsoft Dynamics CRM with Webflow to turn form submissions into Dynamics 365 leads within seconds of the click.

HoneyBook
Connect HoneyBook with Webflow to capture leads on your site and route them into a client pipeline that handles proposals, contracts, scheduling, and payments.

Bitrix24
Connect Bitrix24, a CRM and workspace platform, with Webflow to turn form submissions, chat, and callbacks into CRM leads and deals.

Copper CRM
Related integrations
Get started for free
Try Webflow for as long as you like with our free Starter plan. Purchase a paid Site plan to publish, host, and unlock additional features.
