






Gravity Forms
Gravity Forms runs on WordPress, so connecting it to Webflow means embedding the hosted form or routing entries into the Webflow CMS.

Native Webflow forms collect submissions and can send notifications or fire a webhook. They stop short of multi-page layouts with field-level conditional branching, and they do not take payments. Teams that need those behaviors on a Webflow site have to bring in an outside form builder.
Gravity Forms covers all of that, with one condition that shapes every option below: it is a WordPress plugin, so it needs a running WordPress installation. No Webflow app exists for it and no turnkey connector does either. What you are actually building is a link between two live sites, either by showing a WordPress-hosted form inside a Webflow page, or by moving entry data between them over HTTP.
This suits marketing teams that already run lead capture on WordPress and want a Webflow front end in front of it, and agencies holding both properties for one client. Operations leads use it for approval-driven intake with the Gravity Flow add-on, and content teams use it to feed CMS-generated pages from form entries. Teams keeping both platforms long term can also publish Webflow-designed pages into WordPress with the Webflow WordPress plugin.
How to integrate Gravity Forms with Webflow
What is Gravity Forms? Gravity Forms is a WordPress form builder plugin from Rocketgenius. It has a drag and drop editor with conditional logic, multi-page forms, file uploads, and payment collection through gateways including Stripe, PayPal, Square, and Mollie. Entries are stored in the WordPress database and managed from the Entries screen.
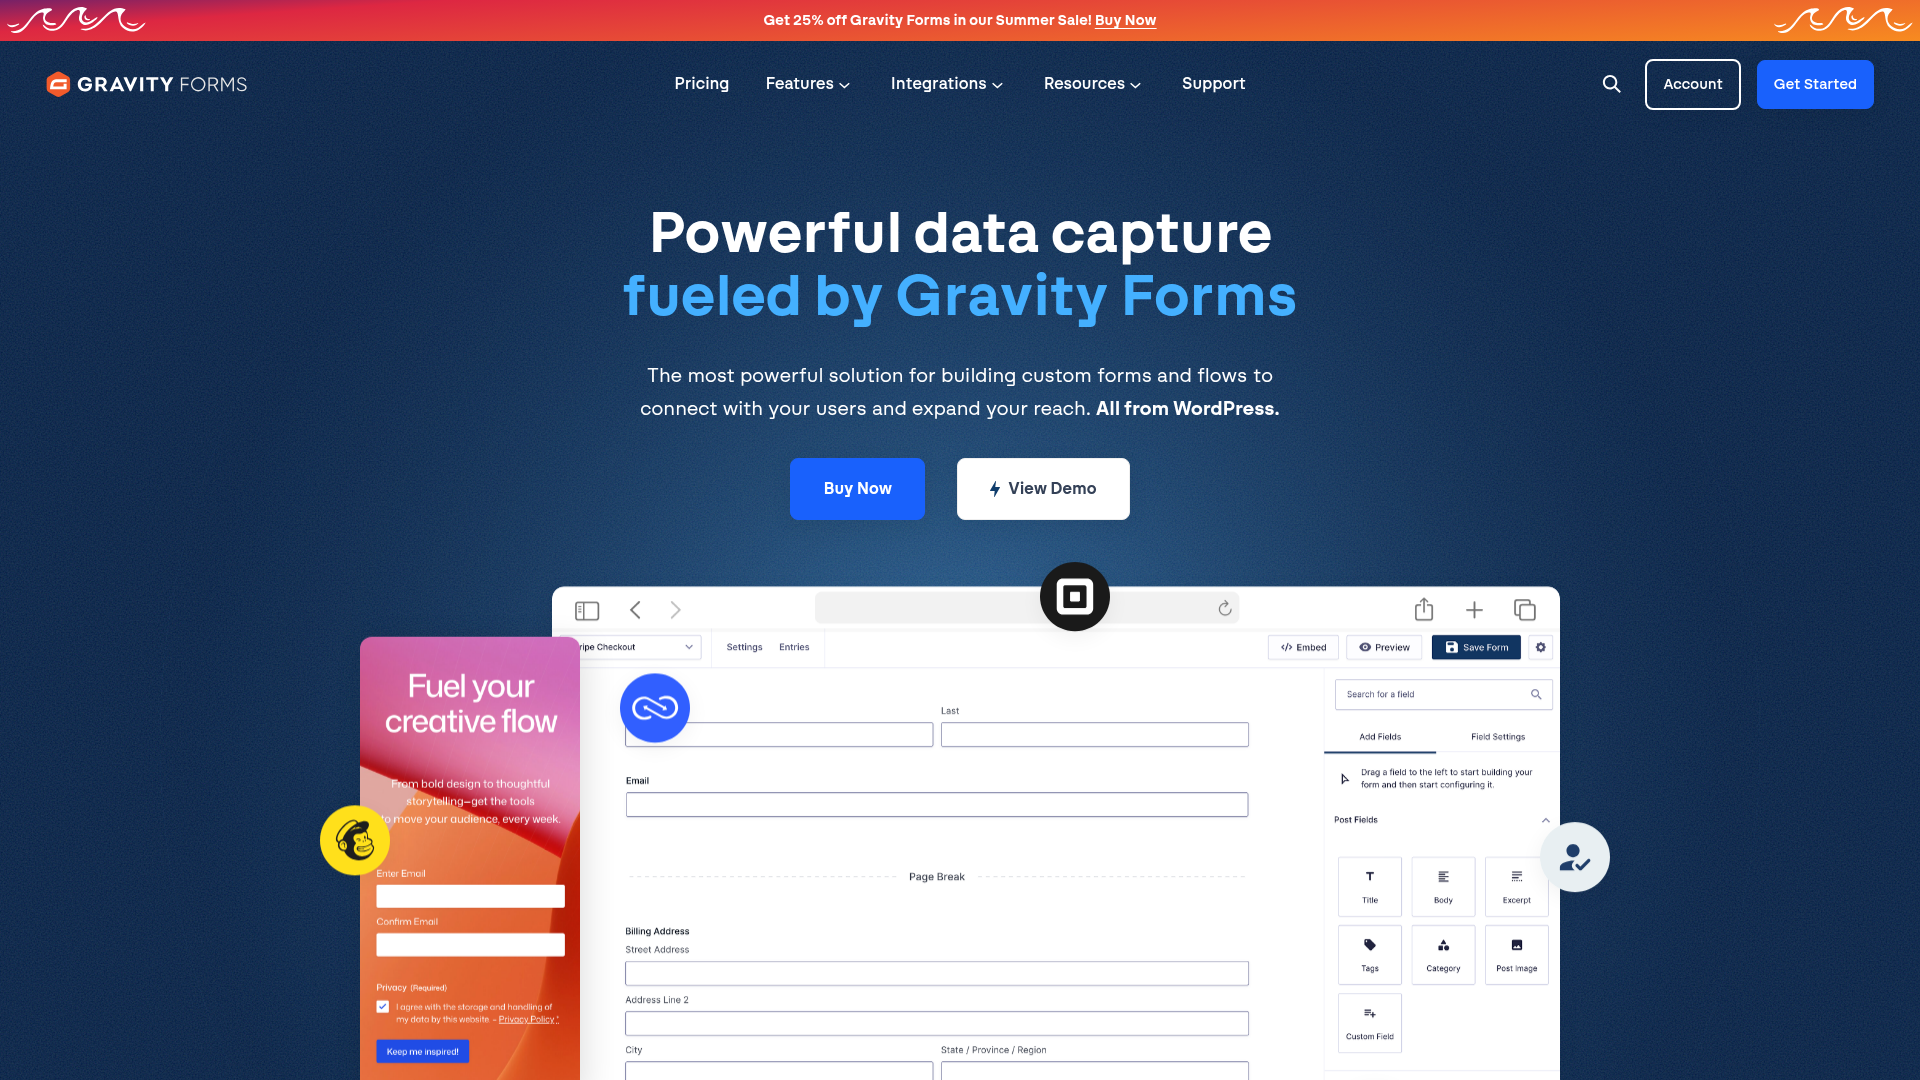
Start from what is not on the table. Gravity Forms has no Webflow Marketplace listing, and its own documentation says it cannot run outside WordPress. Every route below assumes a WordPress install that is live, served over HTTPS, and reachable from the internet. Without one, native Webflow forms or a hosted form backend is a shorter path than anything described here.
Four routes are worth knowing, and most builds use two of them together:
- MCP servers: Agents drive Webflow and Gravity Forms through their respective MCP servers, which suits one-off moves and audits rather than a per-submission pipeline.
- The Code Embed element: An iframe puts the WordPress-hosted form onto a Webflow page, with no API work and no entry data landing in Webflow.
- Automation platforms: Zapier, Make, and IFTTT map submissions onto Webflow CMS items without anyone writing code.
- The two REST APIs: Server-side code gives you two-way sync and full control over field mapping, at the cost of hosting something.
Pick the embed if you only need the form to appear on the page, and one of the data routes if you need the entries inside Webflow.
Drive both sides with MCP servers
Agent-driven work covers the management side of this pairing rather than the runtime side. The Webflow MCP server exposes CMS collections and items, form reads including submissions, page and SEO settings, and Analyze data to any connected MCP client. On the Gravity Forms side, GravityMCP is a free, open source server built by GravityKit rather than by Rocketgenius, and it authenticates with a WordPress application password or a Gravity Forms REST API key.
With both connected, an agent can read Gravity Forms entries and write matching Webflow CMS items inside one conversation. That is genuinely useful for a backfill or a spot check, and it is the wrong tool for a form that fires all day, where a webhook belongs instead. Governance is the part worth setting up first: Webflow MCP permissions follow your existing Webflow roles, per-site Agent Instructions constrain what an agent may change, and the site activity log records what it did.
Embed a Gravity Form with the Code Embed element
This route puts the form on a Webflow page without moving any data into Webflow. The documented workaround is a minimal WordPress page template holding nothing but the form, then an <iframe> pointing at that page from Webflow. The form still lives on WordPress and is processed there, and Gravity Forms states plainly that this approach is not officially supported and may require custom development. You need a paid Site plan or a paid Workspace plan to use the Code Embed element.
To set up the embed:
- Create a WordPress page template that contains only the Gravity Form.
- In Webflow, open the Add panel and drag a Code Embed element onto the page.
- Paste an
<iframe>tag pointing at the WordPress page URL. - Click Save and close, then publish the site.
Inside the iframe the form behaves as it does on WordPress. Conditional logic and the payment add-ons run normally, and uploaded files land on the WordPress server. Both sites need HTTPS, the same form ID cannot be embedded twice on one page, and a WordPress host or security plugin that sends X-Frame-Options: SAMEORIGIN will refuse to render in the frame at all. If you need the submission data inside Webflow rather than only the form on the page, use one of the next two routes.
Connect through Zapier, Make, or IFTTT
Automation platforms move entry data into the Webflow CMS without code on either side. Zapier is the most complete of the three, with ready-made Zap templates running in both directions, from creating and updating Webflow items on a new Gravity Forms submission to creating Gravity Forms entries on a new Webflow order. The Zapier Add-On is included with the Pro, Elite, and Nonprofit licenses, and its documented requirements are an SSL certificate, a WordPress site reachable from the internet, and REST API credentials created in the WordPress admin.
To connect through Zapier:
- Install the Zapier Add-On on your WordPress site.
- Create a Gravity Forms REST API key with Read/Write access at Forms > Settings > REST API.
- Connect Gravity Forms in Zapier with the Consumer Key and Consumer Secret.
- Pick a template and map form fields onto Webflow CMS fields.
Make pairs the Gravity Forms Watch Entries trigger with the Webflow Create an Item and Update an Item actions, and its Webflow connector carries dozens of modules including Get a Form Submission. IFTTT handles the one-way case only, because its Gravity Forms service exposes a trigger and no actions. Automation is the right answer while the field mapping stays simple. Custom validation or two-way reconciliation pushes you to the APIs.
Build with the Webflow and Gravity Forms APIs
Writing the integration yourself buys control over field mapping and validation, and costs you somewhere to run server-side code. API credentials must never sit in client-side Webflow JavaScript. Gravity Forms REST API v2 ships with core on every license, with no add-on to buy, and you switch it on at Forms > Settings > REST API.
On the Gravity Forms side, REST API v2 authentication is OAuth 1.0a or Basic Auth over HTTPS, and the endpoints for forms, entries, and submissions sit under https://{your-site}/wp-json/gf/v2/. On the Webflow side, the Webflow API covers CMS collections, items, and form submissions at https://api.webflow.com/v2, authenticated with a bearer token. Webflow webhooks push events such as form_submission and collection_item_created to any endpoint you control, which is how traffic flows the other way. Two implementation patterns cover most projects.
Send submissions to the Webflow CMS with the Webhooks Add-On
The Webhooks Add-On fires an outbound HTTP request on every form submission and can post straight to the Webflow Data API with no middleware in between. You set the method, headers, and body yourself, across GET, POST, PUT, PATCH, and DELETE in FORM or JSON format. It requires an Elite or Nonprofit license.
To create a CMS item on each submission:
- In WordPress, go to Form Settings > Webhooks > Add New.
- Set the Request URL to
https://api.webflow.com/v2/collections/{collection_id}/items/livefor immediately published items, orhttps://api.webflow.com/v2/collections/{collection_id}/itemsfor staged ones. - Set the Request Method to POST and the Request Format to JSON.
- Under Request Headers, add
Authorization: Bearer {YOUR_WEBFLOW_SITE_TOKEN}. - Under Request Body, choose Select Fields and map form values onto
fieldData.name,fieldData.slug, and the rest of your collection fields.
The token needs the cms:write scope, and every live item requires fieldData.name and fieldData.slug. Staged items go live through the publish endpoint, and the bulk endpoint accepts up to 100 items per request, which matters when you are backfilling rather than trickling one entry at a time.
Post a Webflow-built form to Gravity Forms
The other direction keeps the form UI in Webflow and hands the submission to Gravity Forms. The form submissions endpoint runs the whole pipeline, covering validation, anti-spam checks, add-on feeds, notifications, and confirmations. Gravity Forms documents that its own capabilities are not required to call this endpoint, and its published example request carries no credentials, so a custom form on a Webflow page can post to it directly. Confirm that against your own install before relying on it, because a host rule or security plugin can still gate /wp-json.
To implement this:
- Enable the REST API at Forms > Settings > REST API in WordPress.
- Build the form UI on your Webflow page.
- POST the field values as JSON to
/wp-json/gf/v2/forms/{FORM_ID}/submissions:
{
  "input_1": "test",
  "field_values": [],
  "source_page": 1,
  "target_page": 0
}
Field inputs go at the top level of the request body, keyed by the input name as it appears in the form markup, so inspect the form preview if you are unsure of a name. Reading or updating entries needs authenticated calls, and those belong in a serverless function with the credentials held in environment variables.
What you can build with the Gravity Forms Webflow integration
Running Gravity Forms behind a Webflow front end lets you keep form logic you already built while the pages themselves ship from the Webflow CMS. Four patterns come up repeatedly:
- Multi-step lead qualification: Conditional logic reveals sections as a prospect answers, and qualified entries land in a Webflow CMS collection through Zapier or Make.
- Paid registration pages: Course and event sign-ups take payment inside the embedded form through Stripe or PayPal, and the registration record syncs into a CMS-backed attendee directory.
- Approval-driven client intake: Multi-stage intake runs through the Gravity Flow add-on for sign-off, and the resulting entries feed a client-facing status page built on CMS items.
- Testimonial and directory pages: A feedback form fires the Webhooks Add-On, which creates the CMS item that a Collection page then renders.
All four route entry data into CMS items, so the Data API work is the part worth getting right first. Work through our Webflow CMS API guide before you wire up the first webhook, then connect the Webflow MCP server so an agent can audit the collection it is filling.
Frequently asked questions
No. Gravity Forms has no Webflow Marketplace listing, and its own integrations directory names no Webflow add-on. You connect the two yourself, either with an iframe embed or with a data route over HTTP.
No. Gravity Forms is a WordPress plugin and cannot be installed on a non-WordPress site, which its documentation states directly. Every integration route keeps the form on a live WordPress install, whether it appears on the Webflow page through an iframe or sends data over a webhook.
It depends on the route. REST API v2 is part of core on every license, so a custom server-side integration works on any tier. The Zapier Add-On ships with Pro, Elite, and Nonprofit, while the Webhooks Add-On needs Elite or the Nonprofit license.
Through a webhook, either directly or via middleware. Zapier and Make map submissions onto CMS items with no code. The Webhooks Add-On posts JSON straight to the Webflow Data API item creation endpoint, using a bearer token with the
cms:writescope and sendingfieldData.nameplusfieldData.slugon every item.For most setups, yes. The Code Embed element requires a paid Site plan or a paid Workspace plan. If you route data into CMS items through Zapier instead, those actions need CMS access on the Webflow site.
Description
Embed a WordPress-hosted Gravity Form on a Webflow page, or route entry data into the Webflow CMS with Zapier or the Webhooks Add-On.
This integration page is provided for informational and convenience purposes only.

Arengu
Visually build user flows with custom actions with your API or favourite apps.

Airtable forms
Two builds hide behind "Airtable forms": an Airtable-hosted form you embed in a page, and a Webflow form whose submissions land in an Airtable base. This page covers both, the tradeoffs between them, and the API path for teams that need conditional routing.
123FormBuilder
Connect 123FormBuilder, a drag-and-drop form builder, with Webflow to embed payment forms, multi-step workflows, conditional logic, and HIPAA-compliant intake on any page.
Related integrations
Get started for free
Try Webflow for as long as you like with our free Starter plan. Purchase a paid Site plan to publish, host, and unlock additional features.
