






GoDaddy
Connect GoDaddy, a domain registrar and web services platform, with Webflow to point a custom domain to your Webflow site while keeping domain registration, renewals, and email at GoDaddy.

Webflow handles site design, CMS content, and hosting infrastructure, but it does not register domains or manage DNS records. GoDaddy fills that gap as one of the largest domain registrars available. Connecting a GoDaddy-registered domain to Webflow gives you a branded URL with automatic SSL, while GoDaddy continues to manage domain registration, renewals, and email services. Webflow also offers a native OAuth-based Quick Connect feature that automates the DNS configuration for GoDaddy domains.
This integration is relevant to freelancers launching client sites, small business owners who already own a GoDaddy domain, and agencies managing domain portfolios across multiple Webflow projects. Anyone migrating from GoDaddy's website builder to Webflow will also benefit, since the domain stays at GoDaddy with no registrar transfer required.
How to integrate GoDaddy with Webflow
What is GoDaddy? GoDaddy is a domain registrar and web services platform serving over 20 million customers managing 82+ million domains. It provides domain registration, DNS management, professional email powered by Microsoft 365, SSL certificates, and a developer API for programmatic domain and DNS operations.

Most teams connect GoDaddy and Webflow at launch time, when a completed Webflow site needs to go live on a custom domain. Agencies with large client rosters also use the GoDaddy API to automate DNS provisioning across dozens of domains. Businesses running GoDaddy email alongside a Webflow-hosted site need both systems configured correctly to avoid breaking mail delivery.
The GoDaddy-Webflow integration supports 5 approaches:
- Quick Connect handles automated domain connection through OAuth without manual DNS entry.
- Manual DNS configuration lets you copy specific records from Webflow into GoDaddy's DNS panel.
- GoDaddy widget embeds let you add GoDaddy scripts like chat or booking widgets to Webflow pages.
- Zapier connects GoDaddy CRM (not domains) with Webflow for form-to-CRM automation.
- The Webflow Data API and GoDaddy APIs give you full control over DNS record management and site publishing, but require server-side development.
Most implementations use Quick Connect or manual DNS configuration. Agencies managing multiple domains at scale often add API automation on top.
Connect a GoDaddy domain with Quick Connect
Webflow's Quick Connect feature uses OAuth to detect a GoDaddy-registered domain and configure DNS records automatically. This is the fastest way to connect a domain, and it requires no manual record entry. The domain must be using GoDaddy's default nameservers (ns01.domaincontrol.com / ns02.domaincontrol.com) for Quick Connect to work. A paid Webflow site plan is required for any custom domain connection.
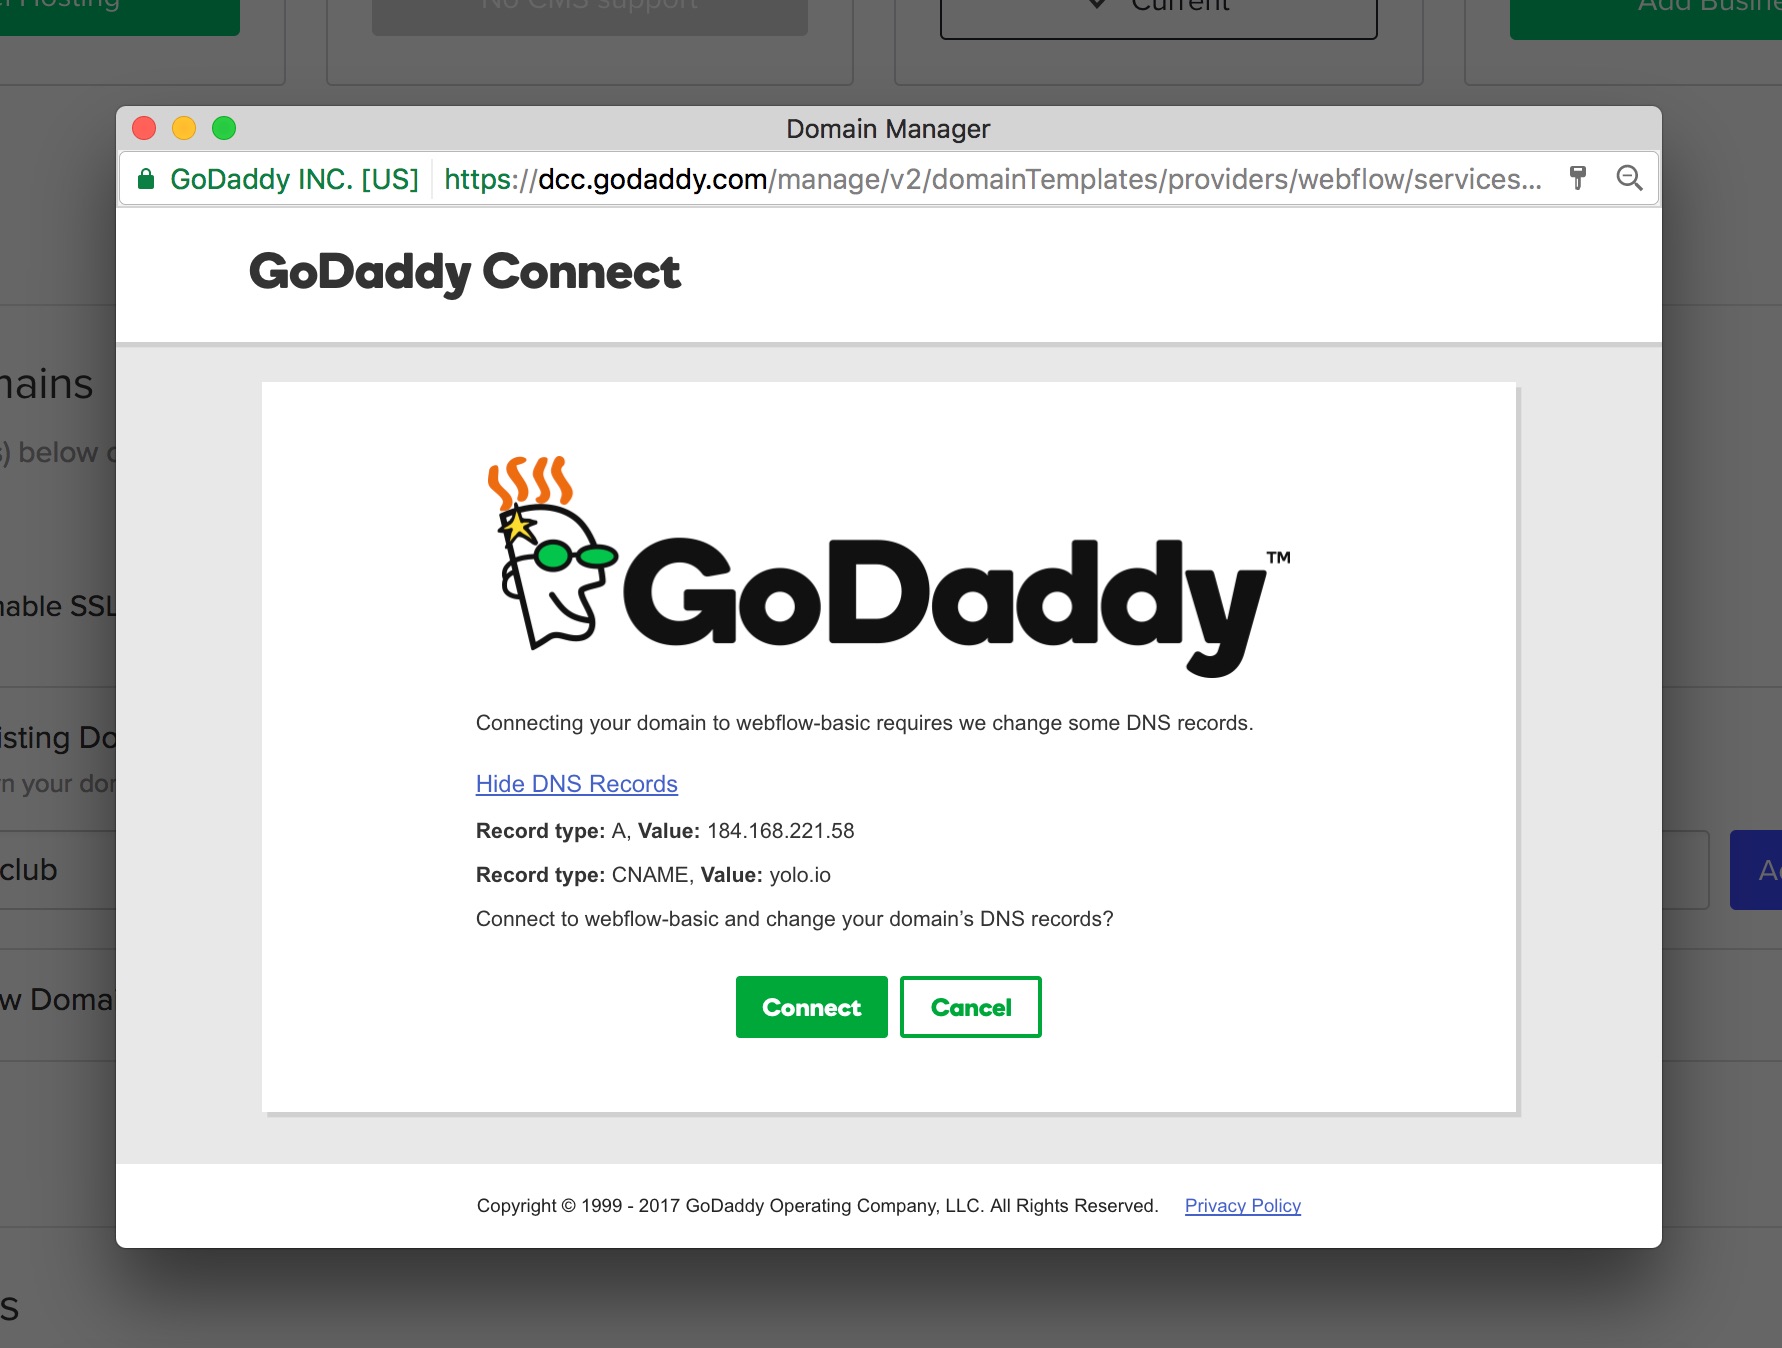
To set up Quick Connect:
- Go to Site settings > Publishing > Production.
- Click Add a custom domain.
- Select Quick connect domain.
- When GoDaddy is detected, click Connect with GoDaddy.
- Log in to your GoDaddy account if prompted.
- Click Connect.
Quick Connect handles the following automatically:
- A record creation pointing the root domain to Webflow
- CNAME record creation pointing
wwwto Webflow's CDN - SSL certificate provisioning through Let's Encrypt and Google Trust Services
This makes Quick Connect the fastest option when your domain is already using GoDaddy's default nameservers.
Wait for a confirmation email from GoDaddy indicating the domain is "ready for use" before attempting the connection. Connecting before this email arrives will cause the integration to fail. If your domain uses custom nameservers from a previous host, reset them to GoDaddy's defaults first, or use manual DNS configuration instead.
Manually configure GoDaddy DNS records
Use manual configuration when Quick Connect is unavailable, when your domain uses external nameservers (such as Cloudflare), or when you need to preserve existing email records. This method involves copying DNS values from Webflow's dashboard and adding them in GoDaddy's DNS panel.
Add the domain in Webflow
Start by registering the domain in Webflow's site settings. This generates the DNS records you need to enter in GoDaddy.
To add the domain:
- Go to Site settings > Publishing > Production.
- Click Add a custom domain.
- Choose Manually add domain.
- Enter your domain (e.g.,
yourdomain.com). - Click Add domain.
- Copy the DNS records displayed on screen. These are unique to your site.
Always use the values shown in your specific site's dashboard. Webflow is migrating its DNS infrastructure, so record values may differ between sites, and some sites may require more than one A record.
Add DNS records in GoDaddy
Sign in to GoDaddy, go to My Products, select your domain, and click Manage DNS. Then add the records shown in your Webflow dashboard.
To add the A record for the root domain:
- Click Add New Record.
- Set Type to
A. - Set Name to
@. - Set Value exactly to the A record value shown in your Webflow dashboard.
- Leave TTL at 1 hour.
- Click Save.
If Webflow shows more than one A record for your site, add each one exactly as listed.
To add the CNAME record for the www subdomain:
- Click Add New Record.
- Set Type to
CNAME. - Set Name to
www. - Set Value to the value shown in your Webflow dashboard.
- Leave TTL at 1 hour.
- Click Save.
To add the TXT record for domain verification:
- Click Add New Record.
- Set Type to
TXT. - Set Name to
_webflow. - Paste the unique verification string from your Webflow dashboard.
- Click Save.
The TXT verification value is unique per site. Copy it directly from Site settings > Publishing > Production.
Verify and publish
After adding DNS records, return to Webflow to complete the connection.
To verify and publish:
- Click Verify domain in Webflow's publishing settings.
- Wait for the "Custom domain verified" confirmation.
- Click Publish, check the domain(s), and click Publish to selected domains.
DNS changes typically take effect within an hour but can take up to 48 hours for full global propagation. If you have active GoDaddy email on the domain, do not modify existing MX, SPF, DKIM, or DMARC records. Only change the A and CNAME records for web traffic.
Add GoDaddy widgets with custom code
GoDaddy provides embeddable scripts for products like GoDaddy Conversations (live chat), online store widgets, and appointment booking. You can add these to Webflow pages without writing code, just copying and pasting the provided snippet.
Add site-wide scripts
For GoDaddy scripts that should appear on every page, such as a chat widget, use custom code in head and body tags.
To add a site-wide script:
- Go to Site settings > Custom Code.
- Paste the GoDaddy-provided script in the Head or Footer section.
- Republish your site.
Each section supports up to 50,000 characters of HTML, CSS, and JavaScript.
Add page-specific embeds
For widgets that belong on a single page, use a Code Embed element.
To add a page-specific embed:
- Open the page in Webflow.
- Drag a Code Embed element onto the canvas.
- Paste the GoDaddy-provided embed code.
- Click Save & Close.
- Republish your site.
Page-specific embeds require a minimum of the Basic site plan. The free Starter plan does not support HTML Embed elements or custom code.
Connect GoDaddy CRM with Zapier
Zapier offers a direct connection between Webflow and GoDaddy CRM. This is GoDaddy's customer relationship management tool, not its domain or DNS services. The integration is useful for routing Webflow form submissions into GoDaddy CRM as customer records.
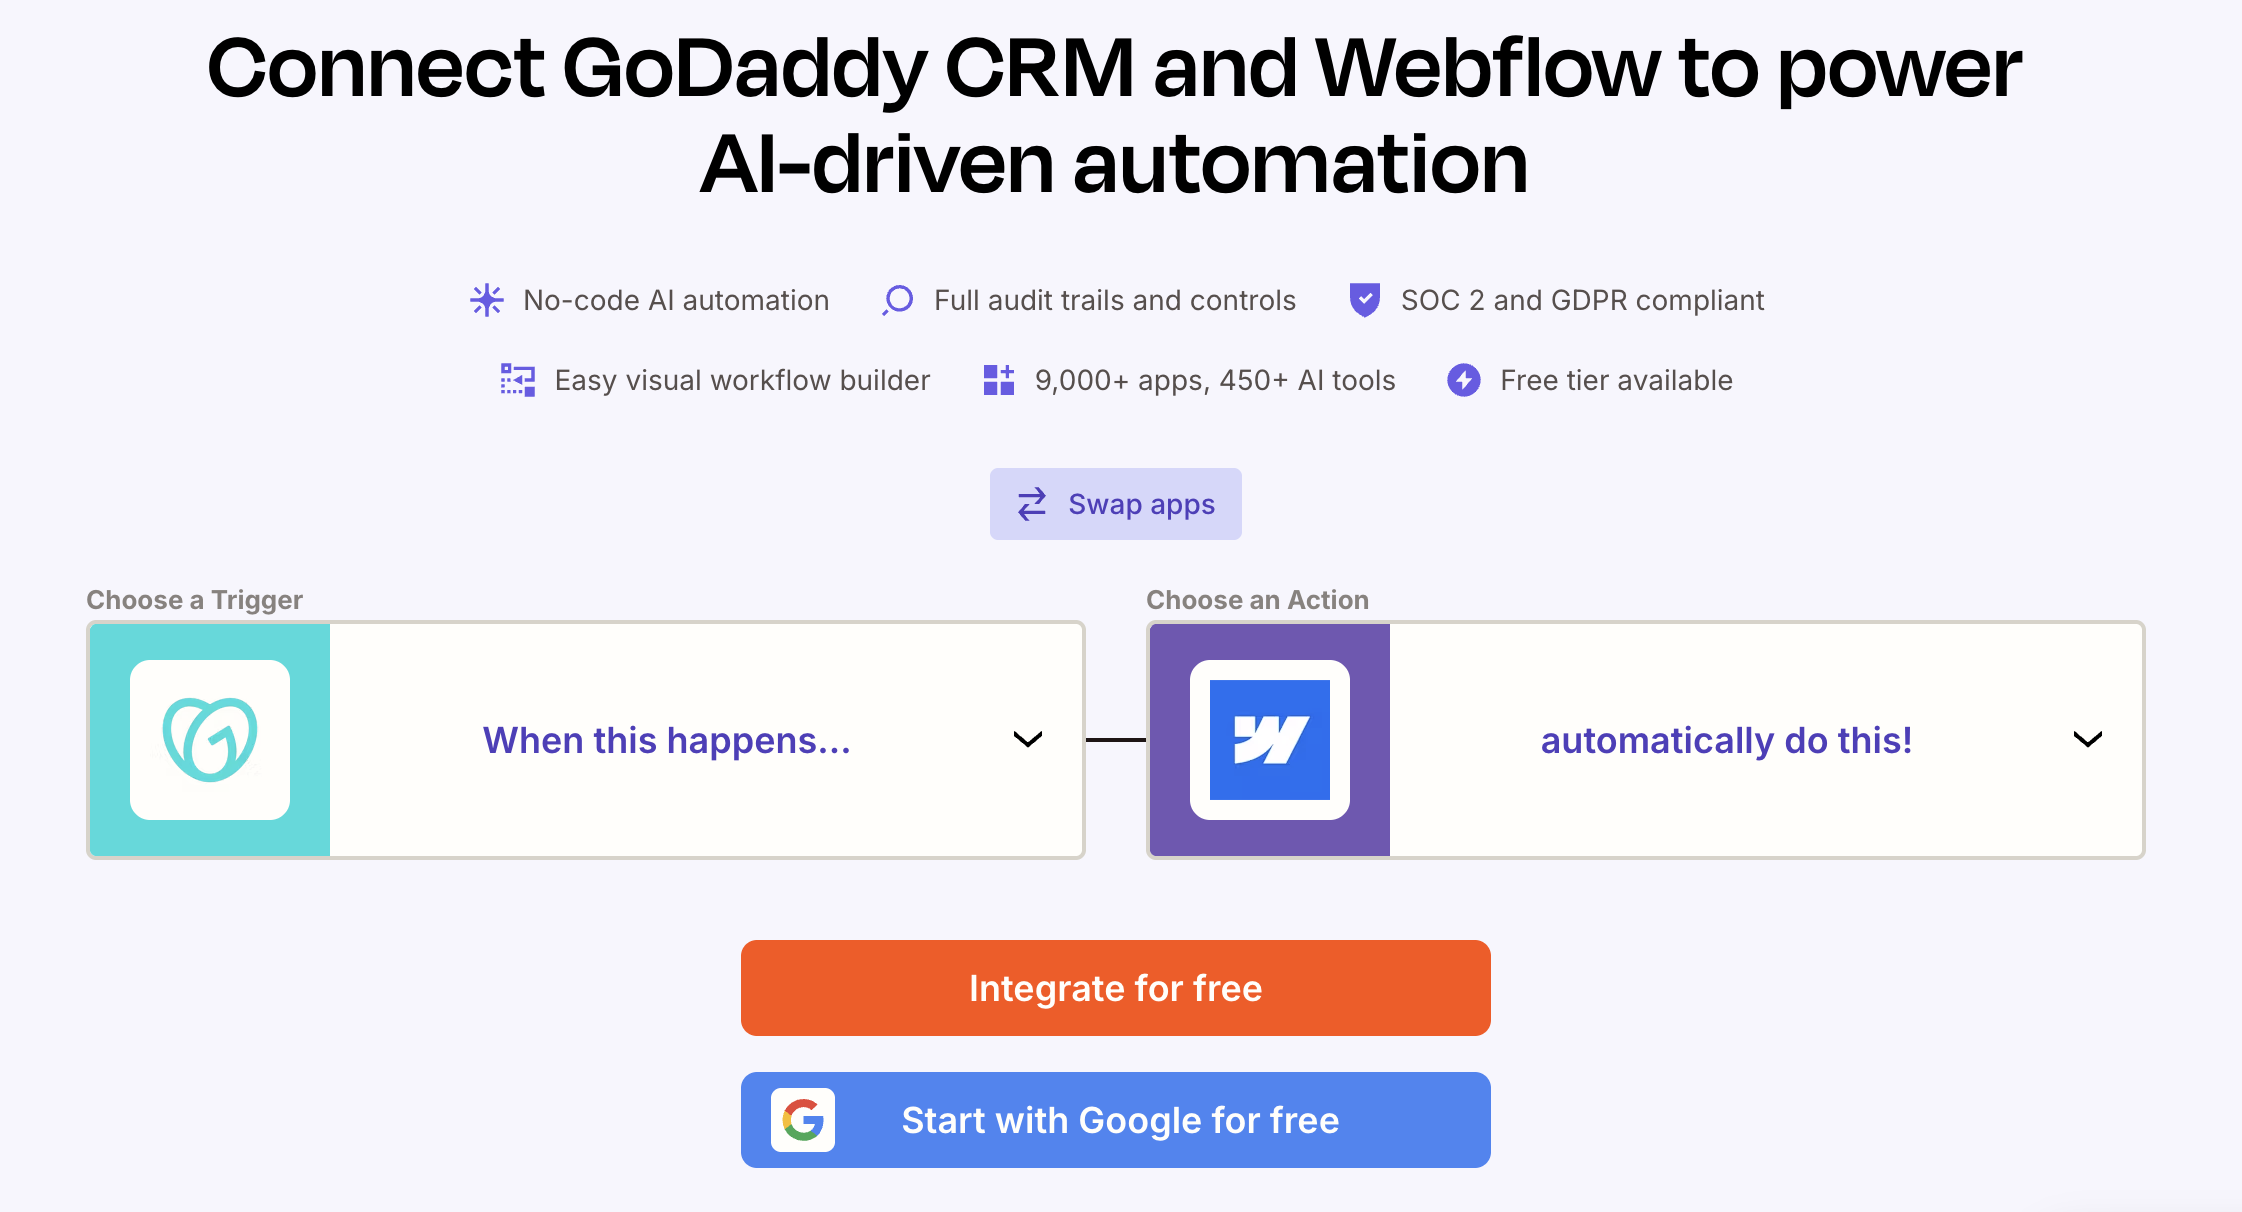
Zapier supports these triggers and actions:
- Webflow form submission triggers creation of a new GoDaddy CRM customer
- New Webflow order triggers a GoDaddy CRM customer create or update
- GoDaddy CRM customer update triggers a Webflow CMS item update
- New GoDaddy CRM customer triggers addition of a CMS item to a Webflow collection
This makes Zapier useful for CRM workflows, but it does not automate GoDaddy domain or DNS configuration.
To set up the Zapier integration:
- Log in to Zapier and create a new Zap.
- Select Webflow as the trigger app and choose New Form Submission (or another trigger).
- Select GoDaddy CRM as the action app and choose Create Customer.
- Map form fields to GoDaddy CRM customer fields.
- Test and activate the Zap.
This connection applies only to GoDaddy CRM. No automation platform currently offers a native no-code connector for GoDaddy's domain or DNS services with Webflow.
Build with the Webflow and GoDaddy APIs
For agencies managing multiple client domains or building custom provisioning workflows, the GoDaddy and Webflow APIs provide programmatic control over DNS records and site publishing. This approach requires server-side development and is best suited for teams with engineering resources.
The relevant APIs are:
- The GoDaddy Domains and DNS API handles domain availability checks, DNS record management, and domain purchases
- The Webflow Data API handles site publishing, CMS collection management, and form submissions
- Webflow webhooks trigger real-time events when forms are submitted, CMS items change, or sites are published
Together, these APIs cover DNS changes, content operations, and publishing workflows.
GoDaddy authenticates with an API key and secret pair (Authorization: sso-key KEY:SECRET). Webflow uses Bearer tokens (Authorization: Bearer <token>). GoDaddy's production DNS API supports single-domain accounts, while availability checks still require 50+ domains in the account.
Automate DNS configuration for Webflow
Agencies onboarding multiple client sites can script DNS record creation using the GoDaddy API, then publish through the Webflow API.
To automate domain provisioning:
- Retrieve the target site's custom domain IDs from Webflow:
GET /v2/sites/{site_id}/custom-domains. Note that the domain must be added manually in the Webflow dashboard first. The Webflow API does not support adding custom domains programmatically. - Set DNS records on GoDaddy using
PATCH /v1/domains/{domain}/recordswith the A record and CNAME values from Webflow. - Publish the Webflow site:
POST /v2/sites/{site_id}/publishwith the custom domain ID in the request body.
Here is an example of the GoDaddy DNS PATCH request:
curl -X PATCH \
  "https://api.godaddy.com/v1/domains/example.com/records" \
  -H "Authorization: sso-key KEY:SECRET" \
  -H "Content-Type: application/json" \
  -d '[
    { "type": "A", "name": "@", "data": "198.202.211.1", "ttl": 600 },
    { "type": "CNAME", "name": "www", "data": "cdn.webflow.com", "ttl": 600 }
  ]'
Use PATCH rather than PUT to add records without overwriting unrelated entries like MX records for email.
Sync domain data to Webflow CMS
Agencies managing domain portfolios can display domain inventory data in Webflow CMS collections by polling the GoDaddy API.
To sync domain data:
- Poll
GET /v1/domainson GoDaddy to retrieve the current domain list. - Create or update Webflow CMS items via
POST /v2/collections/{collection_id}/itemsorPATCH /v2/collections/{collection_id}/items/{item_id}. - Publish staged items via
POST /v2/collections/{collection_id}/items/publish.
GoDaddy does not support push-based webhooks for domain events. All syncing requires a polling architecture. The CMS plan supports up to 2,000 items, and the Business plan supports unlimited items.
Trigger DNS updates from Webflow form submissions
Register a Webflow webhook that fires on form submissions, then call the GoDaddy DNS API from your server to create or update records automatically.
To set up this workflow:
- Register a webhook:
POST /v2/sites/{site_id}/webhookswithtriggerTypeset toform_submissionandurlpointing to your server endpoint. - In your webhook handler, parse the form data and call
PATCH /v1/domains/{domain}/recordson GoDaddy to create the appropriate DNS records. - Optionally publish the Webflow site via
POST /v2/sites/{site_id}/publishafter DNS propagation.
This pattern works well for agency client onboarding, where a form submission kicks off automated DNS provisioning for a new client domain.
What you can build with the GoDaddy Webflow integration
Integrating GoDaddy with Webflow lets you launch and manage custom-domain websites without transferring your domain registration or disrupting existing email services.
- Professional branded sites with existing domains: Connect a GoDaddy-registered domain to a Webflow-hosted site. Keep domain renewals, WHOIS privacy, and email at GoDaddy while Webflow handles design, hosting, and automatic SSL provisioning.
- Multi-subdomain web properties: Route separate subdomains from a single GoDaddy domain to different Webflow sites. A recruitment company, for example, can run a careers site on
careers.example.com, a resource center onresources.example.com, and a main site onwww.example.com, all managed through GoDaddy DNS with each subdomain pointing to its own Webflow project. - Agency client onboarding portals: Build a Webflow form that collects client domain details, triggers a webhook, and automatically provisions DNS records on GoDaddy via API. This reduces manual configuration errors when launching multiple client sites per month.
- Domain availability search tools: Use GoDaddy's Availability API to check domain names and display results on a Webflow-built page. Agencies offering domain purchasing as part of their service can create a custom search interface that queries GoDaddy's API and shows available options directly on their Webflow site.
If you need more control over multi-domain provisioning or automated DNS management at scale, the API integration path covers those cases with full flexibility.
Frequently asked questions
No. You do not need to transfer your domain. The standard approach is domain pointing, where you update DNS records in GoDaddy to direct web traffic to Webflow's servers. GoDaddy remains your registrar and handles renewals. Webflow handles hosting and SSL.
Not if you only modify the A and CNAME records for web traffic. Leave existing MX, SPF, DKIM, and DMARC records untouched to preserve email delivery. If you use Quick Connect, verify that email-related records remain intact after the automated setup. For domains with active email services, manual DNS configuration gives you more control over which records change.
No. Webflow automatically provisions and renews SSL certificates through Let's Encrypt and Google Trust Services at no extra cost. A GoDaddy SSL certificate does not apply to Webflow-hosted sites. If your domain uses CAA records, you must allow both of Webflow's certificate authorities before SSL provisioning will succeed. See Webflow's CAA records guide for the specific entries required.
Quick Connect requires GoDaddy's default nameservers (
ns01.domaincontrol.comandns02.domaincontrol.com). If a previous host changed your nameservers, Quick Connect cannot detect the domain. Reset nameservers to GoDaddy's defaults in your domain settings, then retry. Document any existing MX records before resetting, since a nameserver change may reset the DNS zone file. If Quick Connect still does not work, use the manual DNS method instead.GoDaddy does not support CNAME flattening, which is required to set a root domain (e.g.,
yourdomain.comwithoutwww) as the default in Webflow. The standard configuration for GoDaddy users is to setwww.yourdomain.comas the default domain. The root domain A record points to the Webflow value shown in your dashboard, and Webflow handles the redirect from root towww. Teams that need root domain defaults can route DNS through Cloudflare, which supports CNAME flattening.
Description
GoDaddy connects to Webflow through a native Quick Connect OAuth flow that configures DNS automatically, or through manual A record and CNAME entry.
This integration page is provided for informational and convenience purposes only.

CrazyDomains
Connect CrazyDomains with Webflow to point your registered domain at Webflow's hosting through manual DNS configuration.

IONOS
Connect IONOS, a domain and hosting provider, with Webflow to point your custom domain at your site while keeping professional email on IONOS.

Gandi
Connect Gandi with Webflow to publish your site on a Gandi-registered domain while Gandi Mail and unrelated DNS records remain in place.
GoDaddy DomainControl
Connect GoDaddy DomainControl, GoDaddy's DNS management panel, with Webflow to point registered domains to Webflow-hosted sites through Quick Connect, manual DNS setup, or API-based provisioning.

One.com
Connect One.com with Webflow to manage domain registration and DNS configuration while hosting on Webflow's infrastructure, enabling centralized domain control with automated SSL certificates and global CDN performance.
dotbrand
Integrate Dotbrand with Webflow through its native marketplace app, or use Webflow's native APIs and webhook systems.

Wix DNS
Configure a Wix-managed domain for Webflow hosting through manual DNS changes or the Wix Domain DNS API.

Squarespace Domains
Connect Squarespace Domains, a standalone domain registrar and DNS service, with Webflow to point a registered domain at your site using manual DNS records.
ovh-net
Point an OVHcloud-registered domain at Webflow hosting with three DNS records, and keep the mailboxes and servers you already run inside OVHcloud's European datacenters.
Related integrations
Get started for free
Try Webflow for as long as you like with our free Starter plan. Purchase a paid Site plan to publish, host, and unlock additional features.
