

FormToEmail
Connect FormToEmail, a hosted form-to-email backend, with Webflow to route form submissions to specific inboxes, send autoresponder emails, and filter spam with reCAPTCHA and IP blocking.
The built-in form handling in Webflow stores submissions and sends basic email notifications, but routing submissions by content or sending confirmation emails to submitters requires another tool.
FormToEmail is a remote backend that handles those tasks. Connect it with Webflow to route submissions, send autoresponders, and filter spam with reCAPTCHA and IP blocking—no PHP or server-side scripting needed.
How to integrate FormToEmail with Webflow
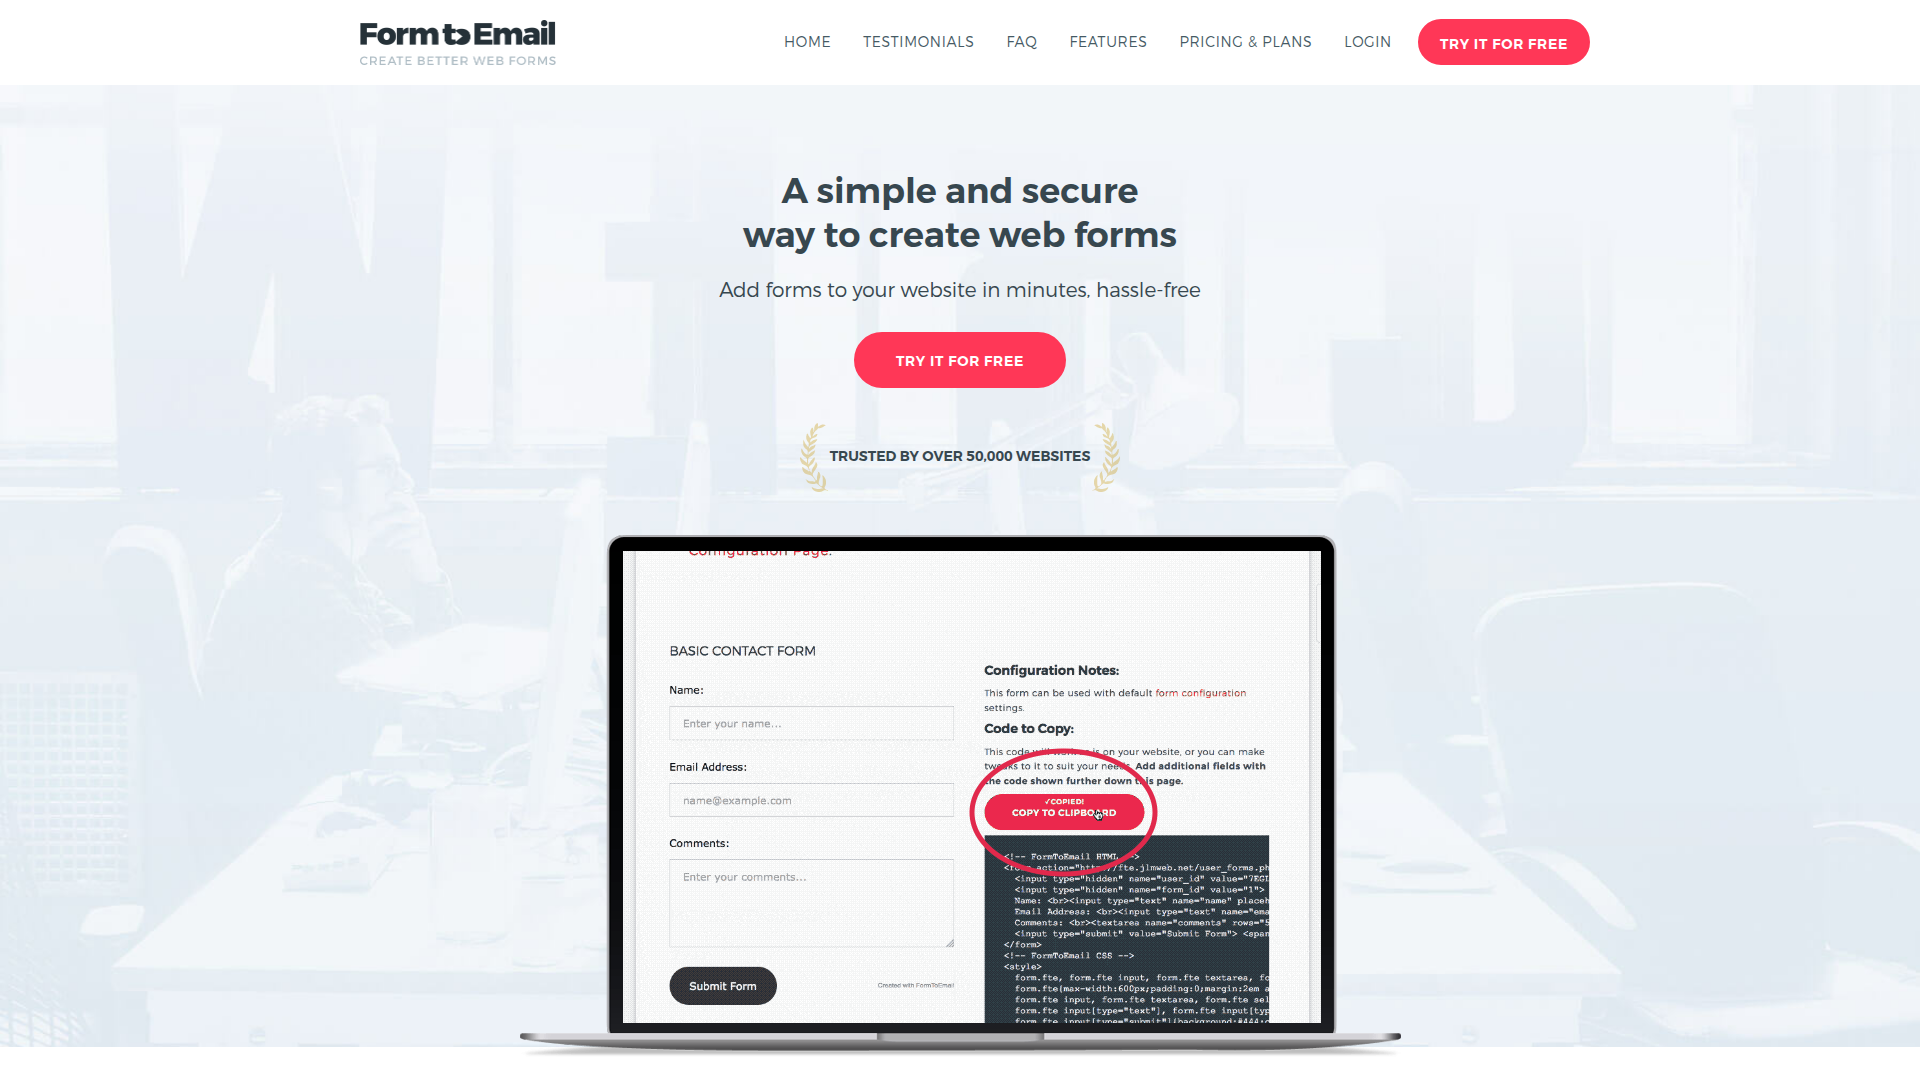
What is FormToEmail? FormToEmail is a remotely hosted form-to-email backend service. It receives HTML form submissions from any website and delivers them by email to a pre-configured address. The service supports file uploads, reCAPTCHA spam protection, autoresponder emails, CSV data export, and integrations with tools like MailChimp and Salesforce.
Form submissions in Webflow are stored and trigger basic email notifications. Sending confirmation emails to the person who submitted a form and routing to different email addresses based on form content or type requires a separate backend. Teams often use FormToEmail for those workflows.
Teams connect FormToEmail with Webflow for submission routing, autoresponders, or spam filtering beyond the native capabilities in Webflow. A common scenario is a service business that wants every contact form submission delivered to a specific inbox with an automatic confirmation sent back to the person who submitted it. FormToEmail handles both tasks without any backend code.
You have 3 approaches for the FormToEmail-Webflow integration:
- Custom form action URLs route submissions from the native Form Block to FormToEmail's processing endpoint without replacing your existing form design.
- Code Embed elements let you paste FormToEmail's ready-made HTML forms directly onto any page, bypassing the native Form Block entirely.
- Custom code in head and body tags places FormToEmail forms site-wide or on specific pages through the code injection settings.
Most implementations use a single method based on how much control you need over the form's HTML and styling.
Route Webflow form submissions to FormToEmail
This method keeps your existing Form Block and its visual styling intact. You change only where submissions go by pointing the form's action URL to FormToEmail's processing endpoint. It works with the native Form Block on any plan, including free/Starter, and is the fastest way to connect the two services. FormToEmail's official Webflow tutorial walks through this approach in a short video.
Setting a custom action URL on a form disables the built-in submission storage, email notifications, and spam filtering. FormToEmail takes over those functions. Native reCAPTCHA also stops working with custom form actions, so configure reCAPTCHA through FormToEmail's dashboard instead.
[image placeholder]
To set up the integration:
- Sign up at formtoemail.com/plans and log in to the User Panel.
- Click Sample Form Code next to your form configuration, then click How to use your own Form Code.
- Copy the form action URL,
user_id, andform_idvalues shown on that page. - In the Designer, select your Form Block element on the canvas.
- Open the Settings panel in the right sidebar.
- In the Send To section, click the delete icon next to any existing Webflow or Email notification destinations.
- Click the add icon, then select Custom action.
- Paste your FormToEmail endpoint URL into the action field and set the method to POST.
- Click Save, then publish your site.
After setup, FormToEmail handles the following:
- Delivery of every submission to your configured email address
- Spam protection via reCAPTCHA, IP blocking, and gibberish filtering
- Backup storage of submission data with CSV export
- Autoresponder emails to submitters (requires FormToEmail's Pro plan)
- SMS text notifications for time-sensitive inquiries
These features replace the parts of form processing that no longer run once a custom action is in place.
Custom action forms redirect to a new page after submission instead of showing the on-page success message. The next section explains how to keep the visitor on the same page and show the native success state.
Restore the on-page success message
By default, a form with a custom action URL redirects visitors away from the page after submission. FormToEmail provides a jQuery workaround that keeps visitors on the same page and shows the native success state. You'll need a paid site plan because this uses page-level custom code.
To configure the redirect and success message:
- In FormToEmail's User Panel, enable AUTO REDIRECT and set the redirect URL to your form page with
?success=1appended (for example,https://yoursite.com/contact?success=1). - Select your Form Block element and open the Settings panel.
- Set the Element ID field to
formtoemail. - Open Page Settings for the page containing your form.
- Select the Custom Code tab and paste the following into the Before
</body>tag section:
$(document).ready(function(){
  function formtoemailSuccess() {
    var params = new URLSearchParams(window.location.search);
    if (params.get('success') == 1) {
      $('#formtoemail form').hide();
      $('#formtoemail .w-form-done').show();
    }
  }
  formtoemailSuccess();
});
- Save and publish your site.
jQuery loads on every site by default, so you don't need to load any additional scripts. The .w-form-done class is the built-in CSS class for the form success state. With AUTO REDIRECT disabled in FormToEmail's settings, visitors see a plain-text thank-you message on FormToEmail's server.
Add FormToEmail forms with code embed elements
This method bypasses the native Form Block completely. You paste FormToEmail's ready-made HTML form into a Code Embed element, giving you full control over the form's markup. Use this when you need custom HTML attributes for file uploads, honeypot spam fields, or multi-step form logic that the native Form Block does not support. You'll need a paid site plan because Code Embed elements aren't available on the free Starter plan.
Forms inside Code Embed elements need their own styling. Add inline CSS or styles through custom code to match your site's look.
To add a FormToEmail form via Code Embed:
- Log in to FormToEmail's User Panel and click Sample Form Code next to your form configuration.
- Copy the entire HTML code block for the form you want to use.
- In the Designer, open the Add Elements panel and search for Embed.
- Drag the Code Embed element onto your canvas where you want the form to appear.
- Double-click the Code Embed element to open the HTML Embed Code Editor.
- Paste the FormToEmail HTML code and click Save & Close.
- Publish your site.
Code Embed forms submit directly to FormToEmail's endpoint. Give each <input> element a name attribute, because FormToEmail uses those as field keys in the email it sends. If you need file upload support, add enctype="multipart/form-data" to the <form> tag and use <input type="file" name="attachment"> for the file field. File attachments require FormToEmail's Pro plan. Code Embed content doesn't render in preview mode, so test your form on the published site.
Handle file uploads without a Business plan
The native file upload field requires a Business site plan. The Code Embed approach avoids that limit. You can embed a standard HTML file input pointing to FormToEmail on any paid plan.
To set up file uploads via Code Embed:
- In your Code Embed HTML, add
enctype="multipart/form-data"to the<form>tag. - Set the form method to
method="post". - Add a file input:
<input type="file" name="uploaded_file">. - Confirm your FormToEmail account is on the Pro plan, which you'll need for attachment handling.
If you miss any of these three HTML attributes, file delivery fails silently with no error message. Double-check all three before publishing.
Inject FormToEmail forms via site or page custom code
This method places FormToEmail's HTML form code through the custom code settings rather than through a Code Embed element on the canvas. Use it when you want a form to appear consistently across multiple pages, such as in a site-wide footer, without placing individual Code Embed elements on each page. You'll need a paid site plan.
Add a form to a single page
Page-level code injection places the form on one specific page.
To inject a form on a single page:
- In the Pages panel, hover over your target page and click the gear icon to open Page Settings.
- Select the Custom Code tab.
- Paste your FormToEmail HTML form code into the Before
</body>tag section. - Save and publish your site.
The form renders at the bottom of the page body unless you use JavaScript to position it inside a specific container.
Add a form across all pages
Site-level code injection places the form on every page of your site.
To inject a form site-wide:
- Open Site Settings.
- Click the Custom Code tab.
- Paste the FormToEmail HTML form code into the Footer Code field.
- Click Save Changes and publish your site.
This approach works well for contact forms in footers or persistent feedback forms.
Keep in mind that each FormToEmail form endpoint ties to a single site. You can't reuse one form configuration across multiple sites simultaneously. If you manage multiple client sites, you'll need a separate form configuration for each one in FormToEmail's User Panel.
What can you build with the FormToEmail Webflow integration?
Pairing FormToEmail with Webflow lets you process form submissions through a dedicated email backend without managing server infrastructure or writing PHP.
- Contact forms with autoresponders: Build a contact page where every submission triggers an automatic confirmation email to the person who reached out, while delivering the inquiry to your team's inbox. FormToEmail handles both the notification and the autoresponder from its cloud service, though you'll only get the autoresponder feature on the Pro Plan.
- Quote request forms with file attachments: Create a services page where potential clients upload project briefs, floor plans, or reference images alongside their contact details. FormToEmail receives the files and delivers them as email attachments to your sales team.
- Multi-site agency form management: Run contact forms across dozens of client sites from a single FormToEmail account. Each form gets its own configuration, email destination, and spam filters in the User Panel, while the Freelancer or Agency plan covers all sites under one login.
- Spam-filtered lead capture forms: Set up a landing page form that filters out gibberish entries, blocks known spam IP addresses, and requires reCAPTCHA validation before accepting a submission. FormToEmail's anti-spam features replace the spam filtering that gets disabled when you use a custom form action.
For more control over advanced routing or CRM sync, pair the Webflow Data API with FormToEmail where appropriate.
Frequently asked questions
Yes. Set a custom form action URL on Webflow's native Form Block to route submissions to FormToEmail's cloud endpoint. FormToEmail also provides a dedicated Webflow tutorial covering this setup. The custom action method works on Webflow plans including free/Starter, while paid plans are required for approaches that use Code Embed or custom code.
No. Webflow's native reCAPTCHA does not function when a custom form action is set. Configure reCAPTCHA through FormToEmail's anti-spam settings in the User Panel instead. FormToEmail also offers additional spam protection, including IP blocking, gibberish filtering, and rude word blocking.
CORS errors only happen when JavaScript intercepts the form submission and uses
fetch()or XHR to POST the data. A standard HTML form withmethod="post"submits via a full-page redirect, which does not trigger CORS checks. If you use JavaScript form libraries like Finsweet tools, they may intercept submissions and cause this issue. The solution is to use a plain HTML POST without AJAX interception.No. FormToEmail's FAQ states that one form cannot be used on two different sites simultaneously. Each form endpoint is tied to a single site. If you manage multiple Webflow sites, create a separate form configuration for each site in the User Panel. The Freelancer plan and above support unlimited sites under one account.
Webflow stops storing submissions entirely. Setting a custom form action URL bypasses all of Webflow's native form processing, including submission storage, email notifications, and spam filtering. FormToEmail takes over these functions. It stores backup copies of all submissions in its cloud dashboard and supports CSV export for downloading your data.
Description
FormToEmail adds submission routing, autoresponder emails, file upload handling, and spam filtering to Webflow forms through a custom form action URL or embedded HTML forms via Code Embed elements.
This integration page is provided for informational and convenience purposes only.
Formly
Connect Formly, an attribute-driven multistep form library by VI Designs, with Webflow to add multistep flows, conditional logic, and progress indicators to native form blocks without custom JavaScript.

Google Forms
Integrate Google Forms with your Webflow site to collect responses while maintaining your site's design and user experience.
Form Sparrow
Connect Form Sparrow with Webflow to collect form submissions and route data without building backend infrastructure.
Enrollsy
Connect Enrollsy with Webflow to add class registration, payment processing, and enrollment management to your site.

Wufoo
Connect Wufoo's powerful form building capabilities with your Webflow site to create advanced forms with payment processing, file uploads, and complex conditional logic. This integration enables you to collect data through Wufoo while maintaining your Webflow site's design and functionality.
User Detective
User detective makes it easy to run on-site user feedback and research questions.

Uploadcare
Connect Uploadcare, a file handling and CDN delivery platform, with Webflow to add file upload fields to forms, process submitted media, and sync uploads to CMS collections.

Typeform
Connect Typeform's conversational forms with Webflow to create engaging surveys, quizzes, and lead capture experiences. Build everything from simple contact forms to complex application workflows while maintaining your brand's design consistency.

SurveyMonkey
Connect SurveyMonkey's powerful survey tools with Webflow to collect feedback, qualify leads, and gather insights directly on your website. Embed surveys seamlessly, automate data workflows, and enhance user engagement without leaving your site.
Related integrations
Get started for free
Try Webflow for as long as you like with our free Starter plan. Purchase a paid Site plan to publish, host, and unlock additional features.
