






Form Data
Connect Form Data, a form backend service, with Webflow to add spam filtering, auto-response emails, file uploads, and webhook-driven workflows to any form.

Webflow handles form design well, but its native form handling has limits—exported sites lose submission processing entirely, and teams often need auto-response emails, stronger spam filtering, file uploads, or custom workflows beyond what Webflow ships with.
Form Data fills that gap as a form backend service. Point any Webflow form's action URL to a Form Data endpoint, and submissions route through six layers of spam filtering, trigger email notifications, and connect to custom workflows via webhooks—no server-side code required. It's a practical fit for freelancers, agencies managing multiple client sites, SaaS marketing teams, and developers working with exported Webflow sites on Netlify, Vercel, or custom infrastructure.
How to integrate Form Data with Webflow
What is Form Data? Form Data is a form backend and submission handling service that processes submissions from forms already built on a website. It provides spam filtering, email notifications, auto-response emails, file uploads, CSV export, and downstream integrations through webhooks. Form Data works with HTML, React, Vue, Webflow, and any website that can submit a standard HTML form.
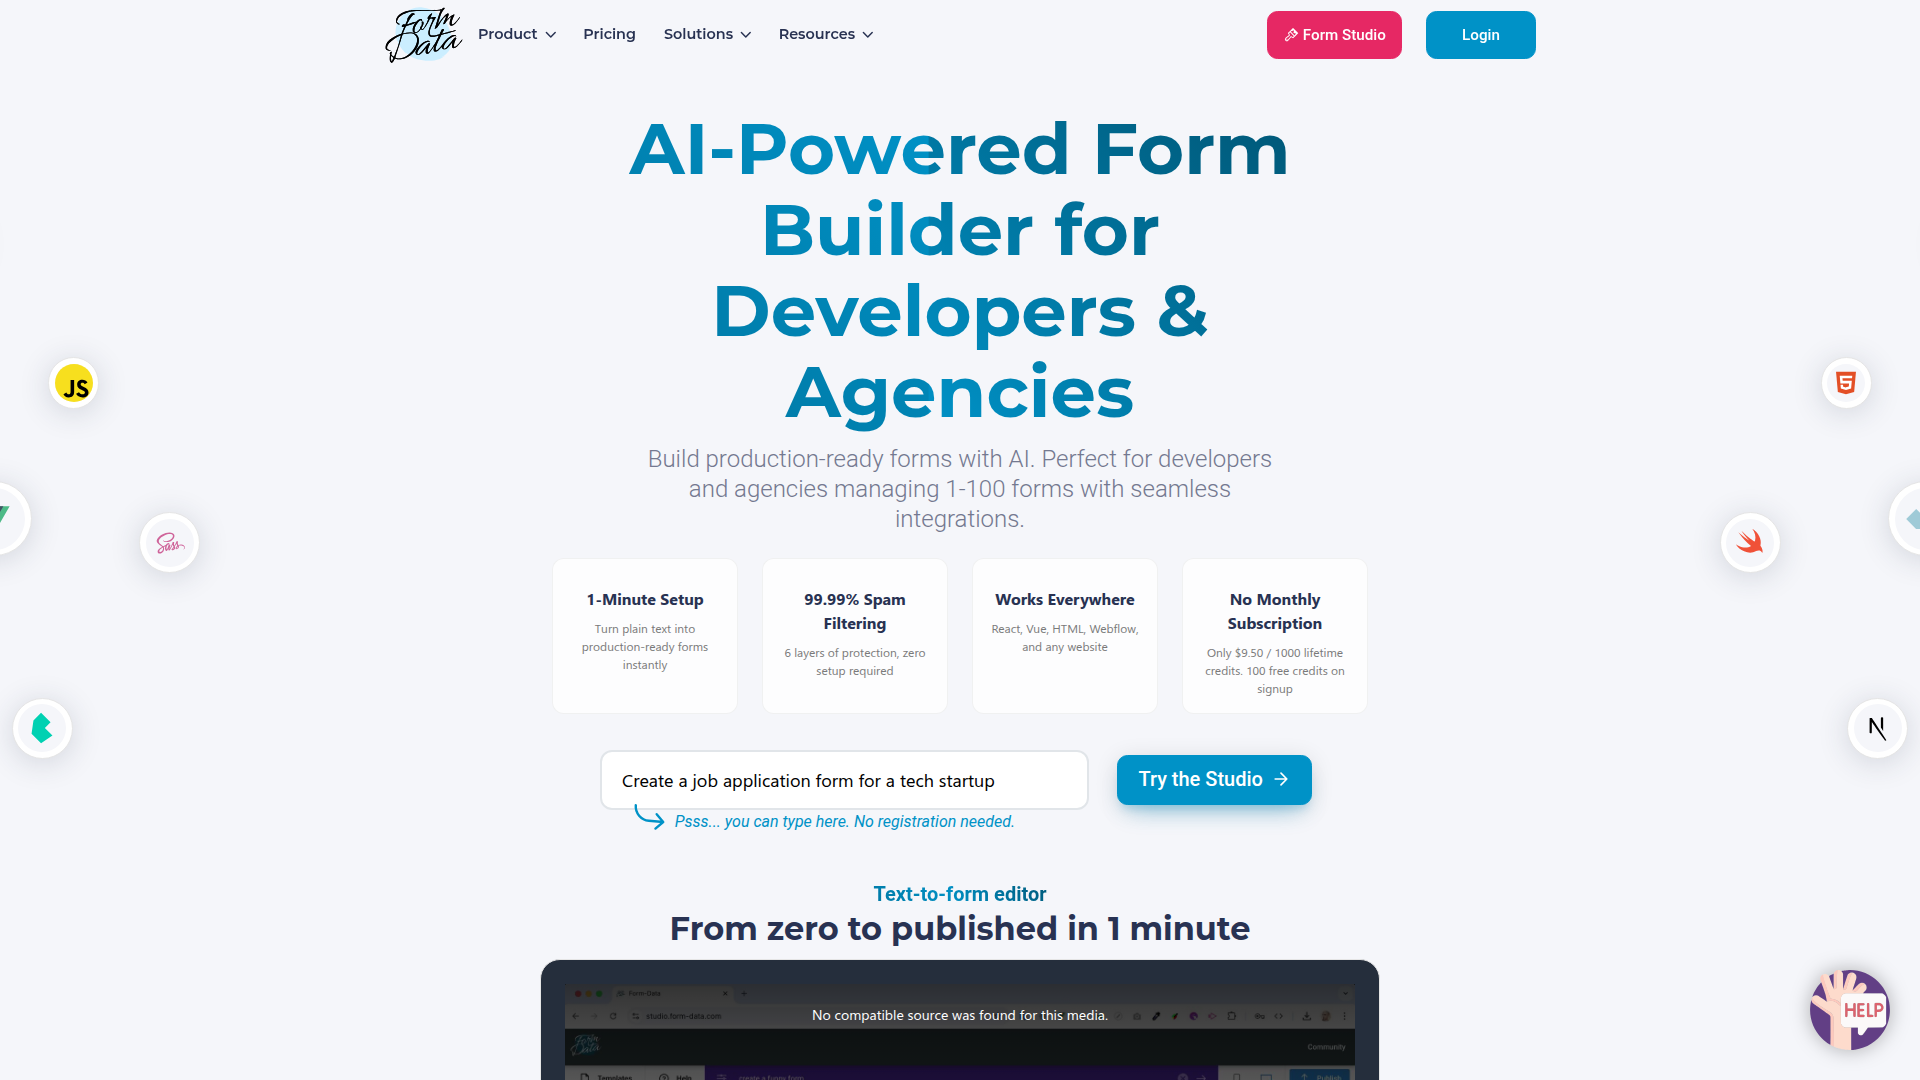
Teams use Form Data with Webflow when they need submission handling that goes beyond what Webflow provides natively. Exported Webflow sites need an external backend to process forms at all. Hosted Webflow sites benefit from Form Data's spam protection, confirmation emails to submitters, and routing into Webflow CMS workflows. Agencies managing dozens of client sites use Form Data's workspace model to keep submissions organized under a single account.
The Form Data-Webflow integration supports 2 approaches:
- Code Embed elements and custom code let you connect Webflow forms to Form Data's backend or embed Form Data Studio forms, with no server-side code required.
- The Webflow and Form Data APIs give you full control over submission processing and CMS syncing, but require server-side development.
Most implementations combine these methods depending on the complexity of the setup.
Add Form Data forms with Code Embed elements
This method covers every code-based way to connect Webflow forms to Form Data. You can paste a complete HTML form into a Code Embed element, inject Form Data's widget script through custom code in head and body tags, or embed a form built entirely in Form Data's visual Studio. These approaches rely on editing the form action URL or adding custom code, so confirm your Webflow plan supports the setup you want to use.
Before using any Webflow-side method, create a Form Data endpoint first:
- Sign up or log in at app.form-data.com. Every account starts with 100 free credits (one credit per submission, no credit card required).
- Click New form and name your form. Press Enter or click the green checkmark to save.
- Click the Email menu, toggle on Email notifications, enter your email address, and click the checkmark to save.
- Click Test & Deploy, then click the Copy button to copy your form handler URL.
The handler URL follows this format: https://api.form-data.com/f/YOUR_FORM_ID. Every form field must include a name attribute, which becomes the field label in Form Data's submissions inbox.
Embed an HTML form with a Code Embed element
This is the most common method. You place a complete HTML form inside a Code Embed element on any Webflow page. The form submits directly to Form Data's endpoint, bypassing Webflow's native form handler entirely.
To set up the form:
- Open your project in Webflow and click the Add Elements (+) icon in the left panel.
- Search for or scroll to Embed (labeled "Code Embed") and drag it onto your canvas.
- Double-click the Code Embed element to open the code editor.
- Paste the following HTML, replacing
YOUR_FORM_IDwith the ID from your handler URL:
<form id="contact" action="https://api.form-data.com/f/YOUR_FORM_ID" method="post">
  <input placeholder="Your name" type="text" name="name" required>
  <input placeholder="Your Email Address" type="email" name="email" required>
  <textarea placeholder="Type your Message Here...." name="message" required></textarea>
  <button name="submit" type="submit">Submit</button>
</form>
- Click Save & Close.
- Publish your site. Custom code does not appear in preview mode.
You can style the form with inline CSS or by adding a <style> block inside the same Code Embed element. For post-submission redirects, configure the thank-you page URL in Form Data's dashboard under Settings > Thank you page URL (Redirect). Redirects only work with method="post", not AJAX submissions. See the redirect documentation for details.
Add site-wide form widgets with custom code
Use this method when you want a floating contact widget, popup form, or side panel that appears on every page. Form Data's embed SDK supports four display modes: inline, popup, side panel, and floating.
To add a site-wide widget:
- Go to Site settings (gear icon in Webflow) and click the Custom Code tab.
- Paste the Form Data embed script into the Footer Code field. The script calls
fd('render', {...})with your form URL and display mode (sidebar, popup, or floating). - Click Save changes, then publish your site.
For scripts that should only load on a single page, use page-level custom code instead. Open the Pages panel, hover over the target page, click the gear icon for Page Settings, and paste the script into the page's Footer Code section.
Place CSS in the head code section and JavaScript in the footer code section. This prevents scripts from executing before target elements load. The Form Data developer quickstart covers embed mode configuration options in full.
Embed a Form Data Studio form
Form Data's visual Studio lets you build and style forms without writing HTML. This works well for teams that prefer designing forms outside of Webflow and embedding the result.
To embed a Studio form:
- Build your form in Form Data Studio at form-data.com and select your embed type (inline, popup, side panel, or floating).
- Copy the generated embed code (an iframe or script tag) from the Studio dashboard.
- In Webflow, drag a Code Embed element onto your page, double-click it, and paste the embed code.
- Click Save & Close and publish your site.
This gives you a Webflow page with a Form Data-hosted form embedded in the layout.
Studio-built forms display a "Made with Form-Data" badge by default. Removing it requires the Form Branding add-on. See Form Data's embed documentation for all available embed types and configuration options.
Build with the Webflow and Form Data APIs
For advanced use cases, you can combine Form Data's webhooks with Webflow's Data API to sync form submissions into Webflow CMS collections, trigger custom backend logic, or process submissions through your own server. This approach requires server-side development and a working knowledge of REST APIs.
Three resources apply:
- Form Data's webhook system sends a JSON POST to your endpoint on every submission, with payload keys matching your form field
nameattributes - Webflow's Data API handles CMS collections and item management through REST endpoints
- Webflow webhooks trigger real-time events like
form_submissionthat you can listen for on your server
Together, these resources give developers the building blocks for custom submission routing and CMS automation.
Form Data's submission endpoint accepts standard POST requests at https://api.form-data.com/f/{form_id}. No authentication is required — the {form_id} itself serves as the form identifier, and there is no API versioning prefix. Webflow's API uses Bearer token authentication and is currently on v2 at https://api.webflow.com/v2/. Form Data supports both standard HTML POST and JSON payloads (via AJAX with Content-Type: application/json); Webflow's API uses JSON.
Sync Form Data submissions to Webflow CMS
This pattern creates a new CMS item in a Webflow collection each time someone submits a form through Form Data. You might use this to display testimonials, job applications, or user-generated content on your Webflow site automatically.
To implement this:
- Configure a Form Data webhook in the dashboard under Integrations. Set the webhook URL to your server endpoint. Form Data sends a JSON POST with field data on every submission:
{
  "name": "Jane Smith",
  "email": "jane@example.com",
  "message": "Hello, I'd like a quote"
}
- On your server, receive the webhook payload and map field values to your Webflow CMS collection schema. Use
GET /v2/sites/:site_id/collections/:collection_idto inspect the target collection's field structure. - Create a new CMS item by sending a POST request to Webflow's API:
POST /v2/collections/:collection_id/items
{
  "isArchived": false,
  "isDraft": false,
  "fieldData": {
    "name": "Jane Smith",
    "slug": "jane-smith",
    "contact-email": "jane@example.com"
  }
}
- To publish the item immediately, use the live items endpoint:
POST /v2/collections/:collection_id/items/live.
The Webflow API paginates results with a maximum of 100 records per request. Form Data webhook payloads can include custom headers for authentication, so you can verify incoming requests on your server. See the Webflow CMS Items API reference for the full endpoint list.
Submit forms via AJAX
AJAX submissions let you handle form responses in JavaScript without a full page redirect. This is useful for single-page applications or forms that should display success messages inline.
To submit via AJAX:
- Build your form in Webflow and prevent the default submit behavior with JavaScript.
- Send a POST request to your Form Data endpoint with a
Content-Type: application/jsonheader:
const res = await fetch('https://api.form-data.com/f/YOUR_FORM_ID', {
  method: 'POST',
  headers: { 'Content-Type': 'application/json' },
  body: JSON.stringify(data)
})
// Response: { "success": true }
- Handle the response in your JavaScript to show a success or error message.
AJAX submissions bypass Form Data's thank-you page redirect. Handle all post-submission UI logic in your client-side code. The Form Data AJAX guide covers fetch, XHR, jQuery, and Axios examples.
What can you build with the Form Data Webflow integration?
Integrating Form Data with Webflow lets you process form submissions with spam filtering, auto-responses, and CMS routing without building a backend.
- Webflow CMS automation: Collect submissions from a Webflow form, pass them through Form Data, and create or update Webflow CMS items through a custom API workflow.
- Multi-client agency dashboards: Manage contact forms across 20 client Webflow sites from a single Form Data account. Each client gets a separate workspace with its own submission inbox, email notification settings, and export history. Submissions stay organized without logging into each site individually.
- Document intake forms with file uploads: Add a project brief submission form to a Webflow portfolio site where prospects attach PDFs, images, or documents. Form Data's file upload widget handles type and size restrictions, and the submitted files arrive as download links in notification emails.
- User-generated content pipelines: Collect testimonial submissions through a Webflow form, process them through Form Data, and use a webhook to create CMS items in a Webflow Collection List that displays approved testimonials on your site automatically.
If you need more control over submission-to-CMS syncing or custom backend processing, the API integration path covers those cases with full flexibility.
Frequently asked questions
Both. Form Data works with Webflow sites hosted on Webflow's infrastructure and with exported sites hosted elsewhere. The primary documented use case is exported sites, where Webflow's native form handling stops working entirely. But hosted sites also benefit from Form Data's spam filtering, auto-response emails, and downstream integrations. The only requirement is a paid Webflow site plan to modify the form's
actionattribute. Form Data's introduction page confirms compatibility with "any site builder such as WordPress and Webflow," including hosted sites.Yes. Free Webflow plans cannot modify form action URLs, which is the core mechanism of this integration. On the Form Data side, all accounts start with 100 free lifetime credits at no cost.
Yes, with a paid add-on. Webflow's native form handler does not support binary file upload fields. Form Data's file upload feature adds an upload widget to your form that accepts documents, images, and other file types with configurable size and type restrictions. The widget replaces a standard input element and includes a preview and crop dialog. File upload storage starts at 1 GB per workspace. See the file upload documentation for the required CSS and JavaScript includes.
Form Data applies six layers of spam protection to every submission. These include auto-filtering, honeypot fields, referrer validation, country filters, content filters, and a skip spam filter option. Spam submissions do not count toward your credit quota. To add a honeypot field, include a hidden input in your form HTML with
style="display:none !important"andtabindex="-1". Form Data's spam filtering documentation covers each layer and its configuration. One thing to watch: referrer validation can block test submissions from staging environments, though localhost is automatically whitelisted.Yes. Webflow's native forms only notify the site owner, not the person who submitted. Form Data's auto-response feature sends a confirmation email to the submitter immediately after submission. You can personalize the subject line and body using
{{field_name}}syntax to insert submitted values, for example: "{{name}}, we have received your inquiry." The auto-response requires that the "Email field name" setting in Form Data's dashboard matches the exactnameattribute of your email input field. A mismatch silently breaks the feature, so double-check this during setup. That field-name match is one of the most important setup details to verify before you go live.
Description
Form Data processes Webflow form submissions through spam filtering, email notifications, and webhooks — no server-side code required.
This integration page is provided for informational and convenience purposes only.

Arengu
Visually build user flows with custom actions with your API or favourite apps.

Airtable forms
Two builds hide behind "Airtable forms": an Airtable-hosted form you embed in a page, and a Webflow form whose submissions land in an Airtable base. This page covers both, the tradeoffs between them, and the API path for teams that need conditional routing.
123FormBuilder
Connect 123FormBuilder, a drag-and-drop form builder, with Webflow to embed payment forms, multi-step workflows, conditional logic, and HIPAA-compliant intake on any page.
Related integrations
Get started for free
Try Webflow for as long as you like with our free Starter plan. Purchase a paid Site plan to publish, host, and unlock additional features.
