

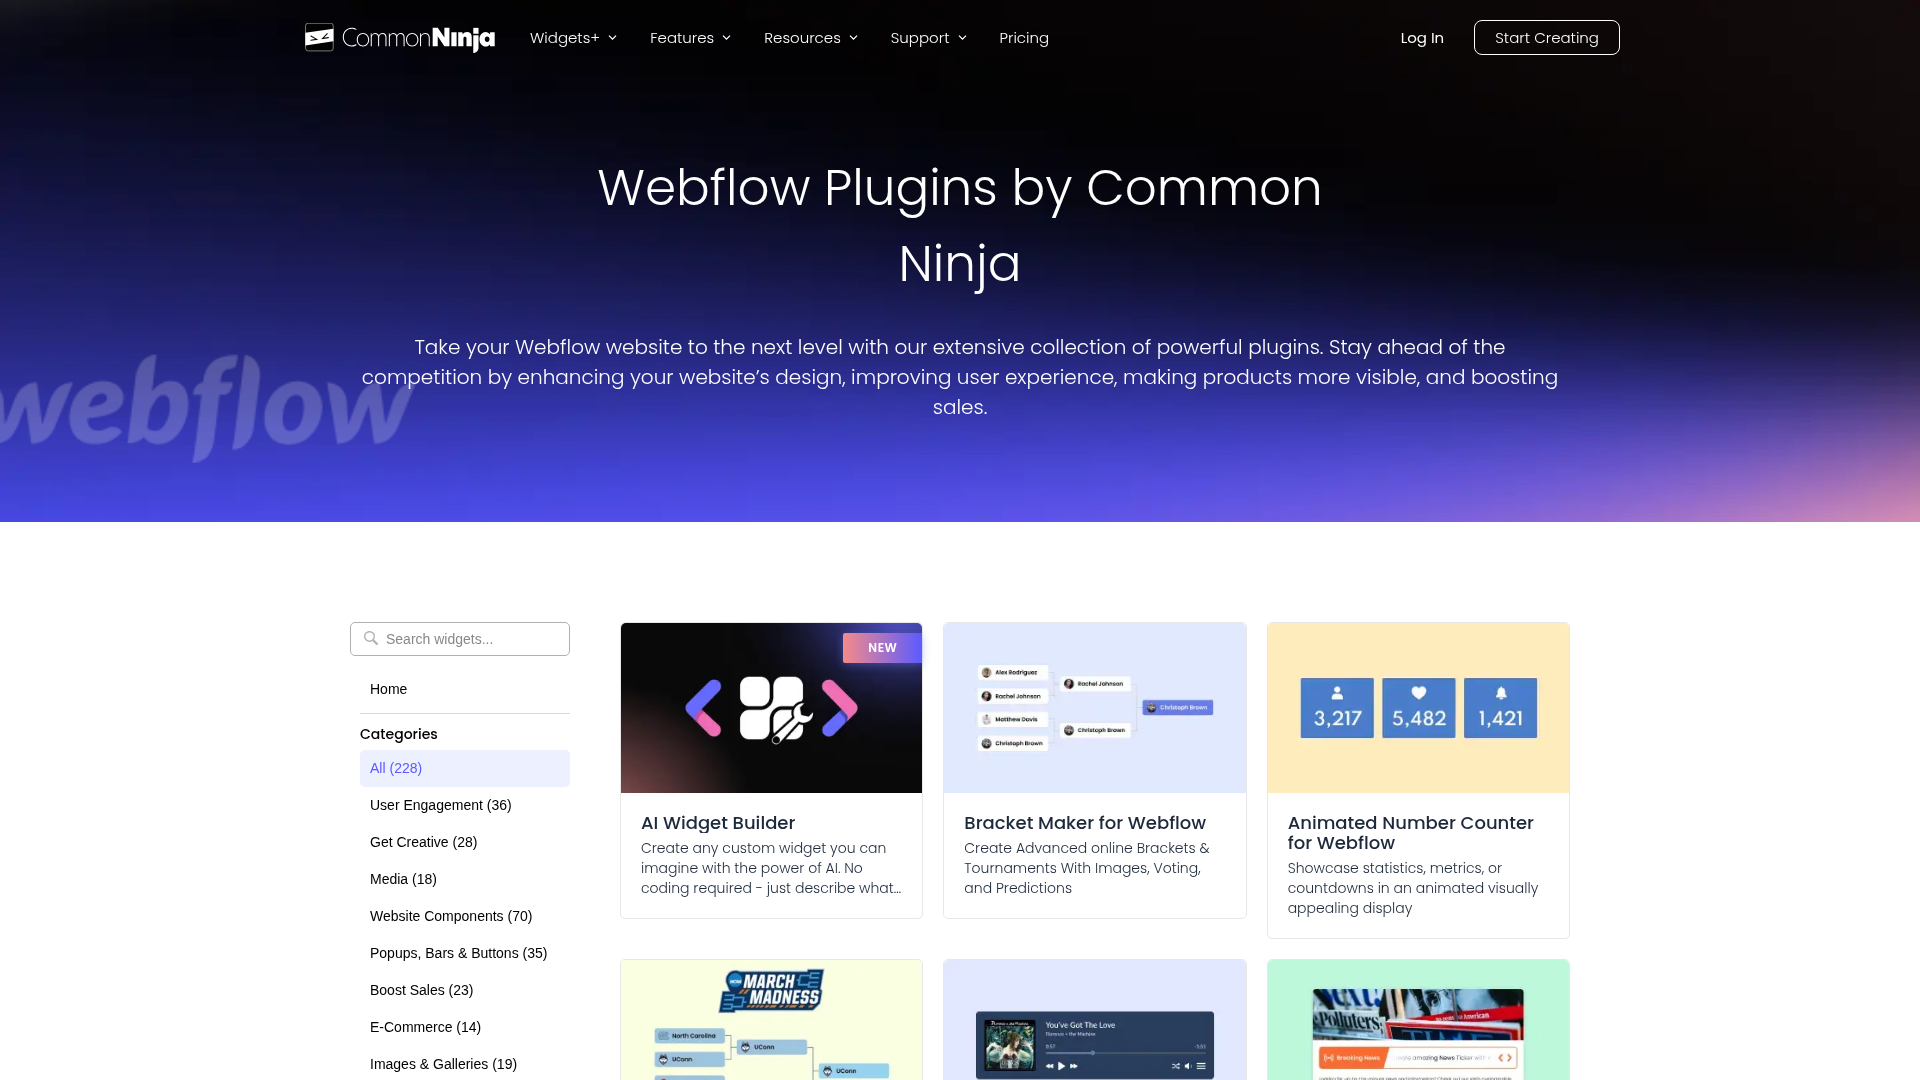
Common Ninja
Connect Common Ninja, a no-code widget platform, with Webflow to add interactive pricing tables, review displays, social feeds, popups, and 200+ other embeddable components to any page.
You get full control over layout, styling, and CMS-driven content, but no built-in components for interactive pricing tables, third-party reviews, booking, social feeds, quizzes, or countdown popups. Building these from scratch takes time and ongoing maintenance.
Common Ninja fills that gap with over 200 embeddable widgets. Configure each one visually, drop in a single embed snippet, and any dashboard changes update on the live site automatically.
How to integrate Common Ninja with Webflow
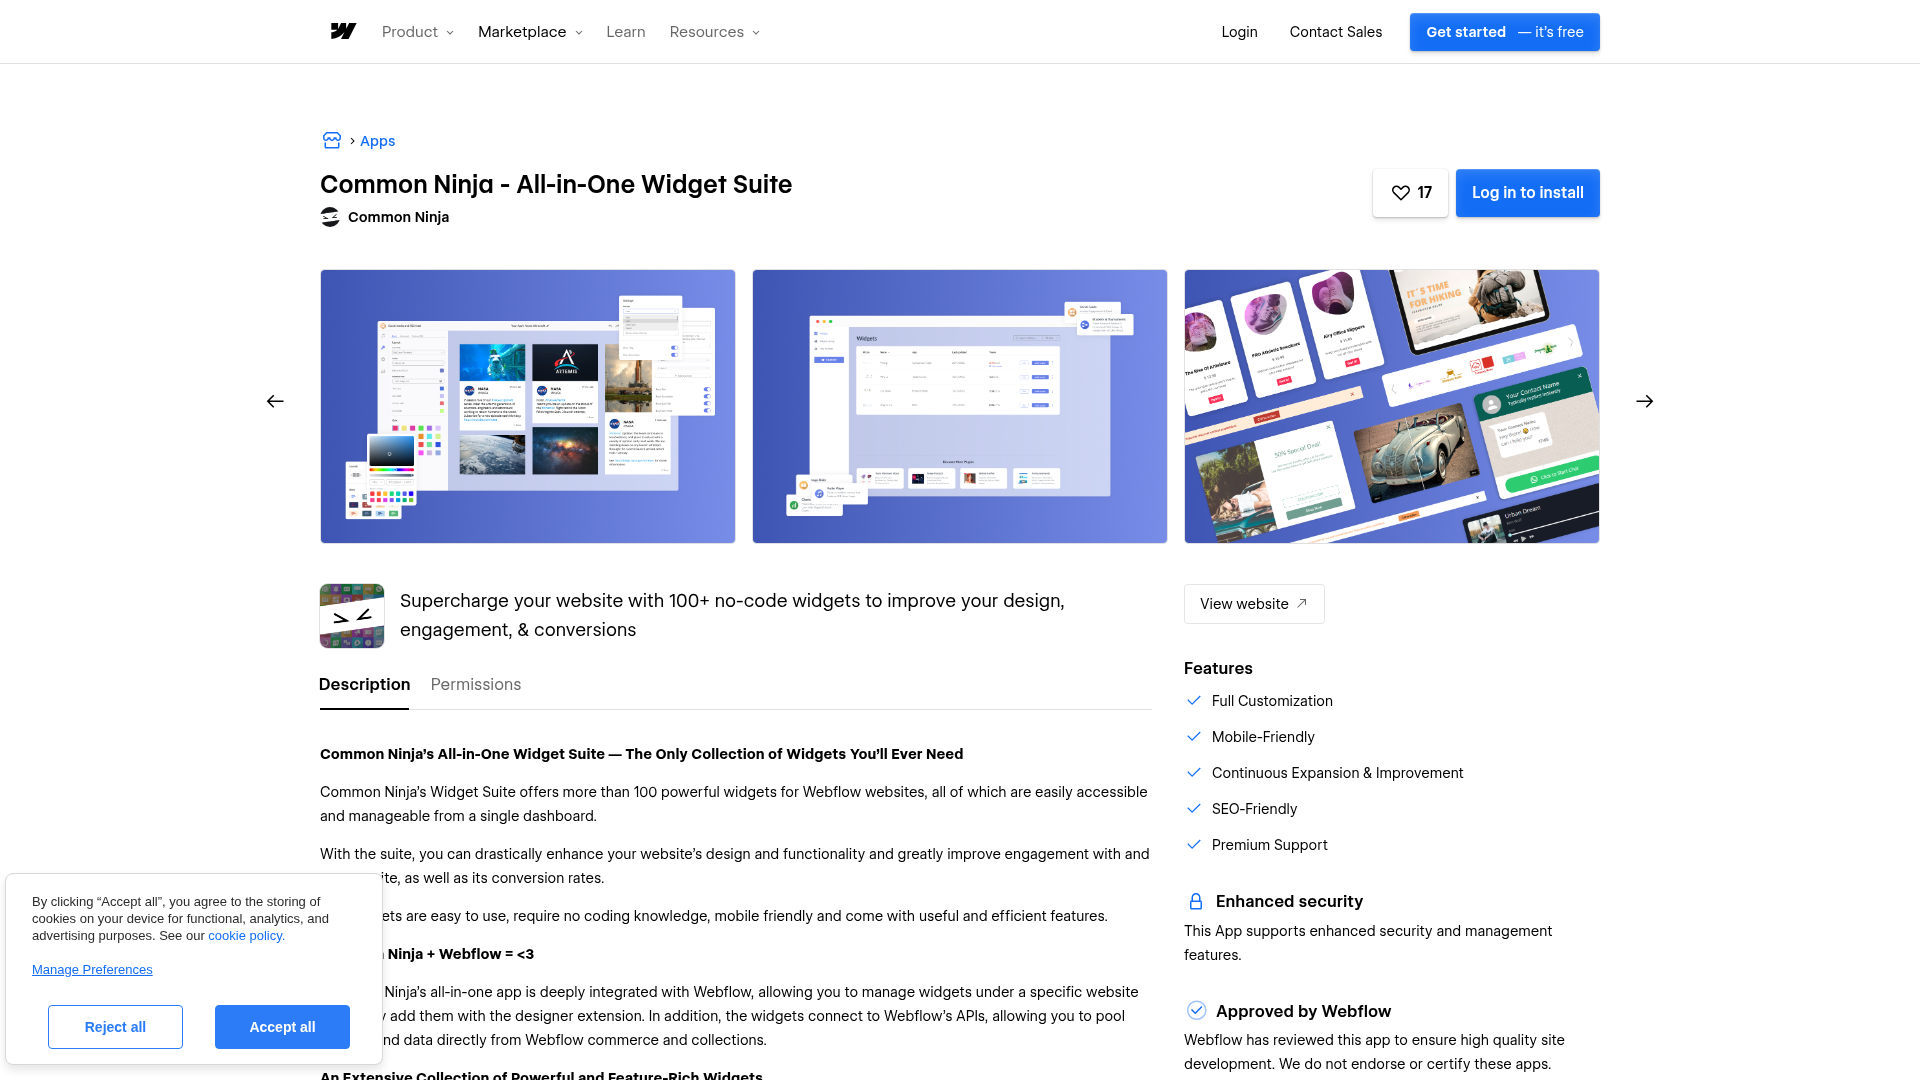
What is Common Ninja? Common Ninja is a no-code widget platform that provides embeddable plugins for websites and online stores. You get a visual editor for configuring widget layout, content, and styling, which then generates a one-line embed snippet you can place on any site. The platform has over 200 widget types across categories like reviews, forms, popups, social feeds, media players, and e-commerce tools.
Use Common Ninja when your project requires interactive components that fall outside the native feature set. Pricing comparison tables for a SaaS landing page, aggregated review displays for an e-commerce store, or exit-intent popups for lead capture are all common scenarios. Common Ninja keeps widget management centralized while you keep the site structure and design in Webflow.
You can integrate Common Ninja with Webflow in four ways:
- Common Ninja marketplace app lets you manage widgets inside Webflow and connects to Webflow CMS collections and Commerce data without writing code.
- Embed code placement lets you add any Common Ninja widget to a specific page location, a Rich Text field, or site-wide through Custom code in head and body tags settings.
- Zapier connects Common Ninja widget submissions to Webflow CMS items and other apps through automation workflows.
- Webflow and Common Ninja APIs handle programmatic widget workflows, CMS data syncing, and multi-site deployment, based on Common Ninja developer docs and Webflow developer documentation.
Most implementations combine the marketplace app for widget management with embed code placement for precise positioning on the page.
Install the Common Ninja app
The Common Ninja app on the Webflow Marketplace gives you a designer extension for managing widgets without leaving the canvas. The app also connects to Webflow's APIs, pulling content directly from CMS collections and Commerce product data into widgets. It has over 1,000 installs and carries "Approved by Webflow" status. You can start on a free Common Ninja plan, though production sites will need a paid Common Ninja plan for unlimited pageviews.
To install the app:
- Go to the Common Ninja listing in the Webflow Apps directory.
- Click Install and authorize the requested permissions, which include read/write access to CMS data, custom code, page data, and site publishing.
- Open Webflow for your site. Access the Common Ninja extension from the apps panel to browse, create, and manage widgets.
- Select a widget type, configure it in Common Ninja's visual editor, and add it to your page.
The app gives you these capabilities:
- Browse and add widgets from Common Ninja's full catalog directly inside Webflow
- Pull live content from CMS collections into widget displays
- Pull product data from Webflow Commerce into catalog and comparison widgets
- Manage all widgets for a site from a single Common Ninja dashboard
Widgets added through the app still render via embed snippets. The app adds a management layer on top of the standard embed workflow, not a different rendering method. Use the embed code methods below when you need more granular control over where a widget appears on the page.
Add Common Ninja widgets with embed codes
Every Common Ninja widget generates a one-line HTML snippet that you paste into your site. You don't need any coding knowledge. Configure the widget visually in Common Ninja's editor, copy the snippet, and place it using one of three methods. After the initial paste, any changes you make in Common Ninja's dashboard update automatically on the live site.
Place a widget with a Code Embed element
Use the Code Embed element to add a widget to a specific location on any page. It accepts HTML, CSS, and JavaScript, which covers Common Ninja's single-line snippet.
To add a widget with Code Embed:
- In Common Ninja's editor, finish configuring your widget and click Save Changes.
- Click Add To Website in the top bar, then click the Copy Icon to copy the embed code.
- Open the Add panel and drag an Embed element from Components onto the canvas where you want the widget.
- Double-click the Embed element to open the code editor.
- Paste the Common Ninja embed code and click Save & Close.
- Publish your site.
You need a paid site plan to use the Code Embed element — free Starter plans don't support custom code embedding. Each Code Embed element supports up to 50,000 characters, which is more than enough for a standard Common Ninja snippet.
Embed a widget in CMS content with Rich Text
Embed widgets within a Rich Text field when they need to appear inside blog posts, articles, or other CMS-driven content. This works well when you want a different widget instance per CMS item, such as a unique quiz for each blog post.
To embed in a CMS Rich Text field:
- Go to the CMS and select the collection that contains a Rich Text field.
- Open the specific collection item.
- In the Rich Text editor, create a new line and click the Plus icon.
- Select HTML embed or Code block.
- Paste the Common Ninja embed code and click Save & Close.
For Rich Text elements placed directly on the canvas (outside the CMS editor), click inside the element, use the plus icon to open the insert menu, select the custom code button, and paste your snippet. See custom code in the CMS for the full details of this approach.
Add a widget site-wide through custom code settings
Some widgets belong on every page, like floating chat buttons, notification bars, or exit-intent popups. For these, paste the Common Ninja snippet into your site's custom code settings in Site Settings or Page Settings.
To add a site-wide widget:
- Go to Site settings and open Custom Code.
- Paste the Common Ninja embed code into the Footer code field.
- Save and publish your site.
Use Page settings when you want page-specific placement instead. Code in site settings loads on every page, while code in page settings loads only on that page. Use the footer field for widgets that manage their own positioning, like fixed-position chat buttons or slide-in panels.
Connect with Zapier
Zapier connects Webflow and Common Ninja directly. The automation platform lets you build workflows around triggers and actions without writing any custom server code.
On Zapier, the triggers and actions for the Webflow and Common Ninja pairing include:
- "New Form Submission" trigger paired with a "Create Item" action through a multi-step workflow that routes data from Common Ninja into a CMS collection
- "New Order" trigger
- "Updated Order" trigger
No pre-built Webflow and Common Ninja workflow templates exist on Zapier yet, so you'll need to build workflows manually. Common Ninja's Zapier integration requires a Pro plan or higher. Take this route when you want automation without building a custom backend.
Build with the Webflow and Common Ninja APIs
Both platforms offer REST APIs when you need programmatic widget creation, automated CMS syncing, or multi-site deployment pipelines. This path requires server-side development and is best suited for developers building custom tooling or agencies automating client site delivery at scale.
The available APIs include:
- The Common Ninja API supports widget creation, content updates, embed code retrieval, and project management. Access is currently invitation-only through the developer program application.
- The Webflow Data API handles CMS collections and items, custom code registration, site publishing, and form submissions.
- Webhooks trigger real-time events like
collection_item_created,form_submission, andecomm_new_orderbetween systems.
According to Common Ninja developer docs, the API supports OAuth 2.0 and account-level API key authentication. The Webflow Data API uses Bearer token authentication with scoped permissions like cms:read, cms:write, and custom_code:write. These are the main programmatic paths for syncing content and deploying widgets across sites.
Sync Webflow CMS content into widgets
You can configure a Common Ninja widget to pull live data from a CMS collection so widget content stays in sync with your CMS items automatically. This is useful for displaying CMS-managed content, like team member profiles or product listings, inside interactive widget formats.
To set up CMS-to-widget syncing:
- Call
GET /v2/sites/:site_id/collectionsto identify your target collection ID. - Call
GET /v2/collections/:collection_id/itemsto inspect the JSON field structure. - In the Common Ninja widget dashboard, open API integration settings and set the method to
GETwith the Webflow collection items endpoint. - In the Data Mapper, map field names (like
name,slug, or custom fields) to the widget's content slots. - Retrieve the embed snippet with
GET /widgets/:id/embed-codeon the Common Ninja API, then paste it into a Code Embed element.
Common Ninja's API integration setup guide walks through the Data Mapper configuration in detail. This approach keeps widget content aligned with the CMS structure you already manage.
Write widget submissions to Webflow CMS
Common Ninja widgets that collect user input, like forms, quizzes, and booking widgets, can fire webhook notifications on submission. You can route these payloads to a serverless function that writes the data into a CMS collection.
To implement form-to-CMS syncing:
- Create a CMS collection to store submissions and note the
collection_id. - In the Common Ninja widget dashboard, configure a webhook with your receiving endpoint URL (HTTPS required).
- On your server or serverless function, receive the
POSTpayload and map fields to CMS field names. - Call
POST /v2/collections/:collection_id/itemswith the mapped data:
POST https://api.webflow.com/v2/collections/{collection_id}/items
Authorization: Bearer <token>
Content-Type: application/json

{
  "isArchived": false,
  "isDraft": false,
  "fieldData": {
    "name": "<submission-value>",
    "slug": "<generated-slug>"
  }
}
If you want a no-code alternative, use Zapier to connect Common Ninja submission triggers directly to a "Create Item" action. Webhook notifications require a Common Ninja Pro plan or higher. This gives you a simpler option when you want CMS syncing without maintaining your own endpoint.
What can you build with the Common Ninja Webflow integration?
Integrating Common Ninja with Webflow lets you add interactive, data-based components to any site without building custom front-end code.
- Aggregated review displays for e-commerce: Pull live reviews from Google, Yelp, Tripadvisor, Facebook, G2, and other platforms into a single widget on product or landing pages. An online store could display its Google and Yelp reviews side by side on a testimonials page using Common Ninja's All-in-One Reviews widget.
- Interactive SaaS pricing and comparison pages: Build pricing tables with toggle switches, feature comparison grids with filtering, and FAQ sections with auto-generated FAQPage schema markup. A SaaS company could use a Comparison Tables widget to let visitors filter features across plan tiers on a dedicated pricing page.
- Lead capture with urgency mechanics: Combine countdown bars, exit-intent popups, and conditional logic forms on landing pages. A service business could add a Countdown Bar widget tied to a limited-time offer, paired with an exit-intent Popup Builder that captures email addresses before visitors leave.
- Social feeds and media embeds for content sites: Display live Instagram, TikTok, Threads, Medium, or RSS feeds alongside audio players and video galleries. A portfolio site could embed a live Instagram Carousel widget and an Audio Player widget on a single page to display recent work and podcast episodes.
If you need more control over how data moves between widget submissions and CMS collections, the API integration path covers those cases.
Frequently asked questions
No. Webflow's free Starter plan does not support custom code embedding, which means no Common Ninja widget can be placed on a free Webflow site regardless of your Common Ninja plan. You need a paid Webflow site plan to use the Code Embed element or custom code settings. This applies to all third-party embed-based integrations, not just Common Ninja.
No. Once you paste the Common Ninja snippet into Webflow, all future changes made in the Common Ninja dashboard propagate automatically to the live site. The embed code references your widget by ID, so edits to content, styling, or layout apply immediately without touching Webflow.
Use a Rich Text field with an HTML embed block inside each CMS item. Open the collection item in the CMS editor, add a new line in the Rich Text field, click the Plus icon, select HTML embed, and paste the widget's unique embed code. Webflow's custom code in the CMS documentation covers the full steps for this approach.
Yes. The Common Ninja marketplace app connects to Webflow's APIs and can pull content directly from CMS collections and Commerce data. For API-level control, you can configure a widget's API integration settings to call Webflow's collection items endpoint and map fields using Common Ninja's Data Mapper. The API integration setup guide explains the Data Mapper configuration process.
Zapier has a Webflow and Common Ninja pairing page. It supports workflows built around Webflow triggers and Webflow actions, such as creating CMS items from routed automation steps. No pre-built workflow templates exist for the Webflow and Common Ninja pairing there yet, so you will need to build automations manually. Common Ninja's automation integrations require a Pro plan or higher.
Description
Common Ninja adds 200+ configurable widgets to Webflow through its Webflow Marketplace app or embed code snippets. Widgets pull live data from CMS collections and Commerce products, and dashboard changes update on the live site automatically.
This integration page is provided for informational and convenience purposes only.
CMS Library: Add Classes
Give unique add-on classes to elements inside your Collection List, with Finsweet's CMS Library!
Class Adder for Webflow Interactions
Class Adder is a tool to add/remove a class from an element. You can trigger the add/remove on click, hover, scroll in/out of view, or page load. This is an add-on to Webflow Interactions.
Awesome Table
Connect Awesome Table with Webflow to display filterable Google Sheets data on any page without building a custom backend.
Related integrations
Get started for free
Try Webflow for as long as you like with our free Starter plan. Purchase a paid Site plan to publish, host, and unlock additional features.
