






Bitrix24
Connect Bitrix24, a CRM and workspace platform, with Webflow to turn form submissions, chat, and callbacks into CRM leads and deals.

A Webflow form stores each submission in Site settings and can send an email notification. Bitrix24 adds salesperson assignment, pipeline deals, campaign attribution, live chat, and callback handling once you connect the two.
Connecting Bitrix24 with Webflow turns a Webflow form submission into a Bitrix24 lead, contact, or deal without retyping. Bitrix24 CRM forms and the website widget load inside Webflow pages through custom code. Chat conversations and callback requests reach the same CRM. In the other direction, a deal that closes in Bitrix24 can create a Webflow CMS item through the Webflow Data API.
Sales and marketing teams that run the website in Webflow and the pipeline in Bitrix24 get the most from this setup. Agencies managing client intake fit the pattern, as do real estate brokers routing property inquiries and admissions staff handling enrollment forms. Developers who need two-way sync between orders, deals, and collection items use the API path.
How to integrate Bitrix24 with Webflow
What is Bitrix24? Bitrix24 is an online workspace that combines CRM, tasks and projects, a website builder, a contact center, and HR tools in one account. Its CRM covers leads, deals, contacts, pipelines, automation rules, web forms, and live chat. A REST API, inbound webhooks, and outbound event handlers expose those CRM objects to other systems, and both companies now run MCP servers that an AI agent can read while you build the connection.
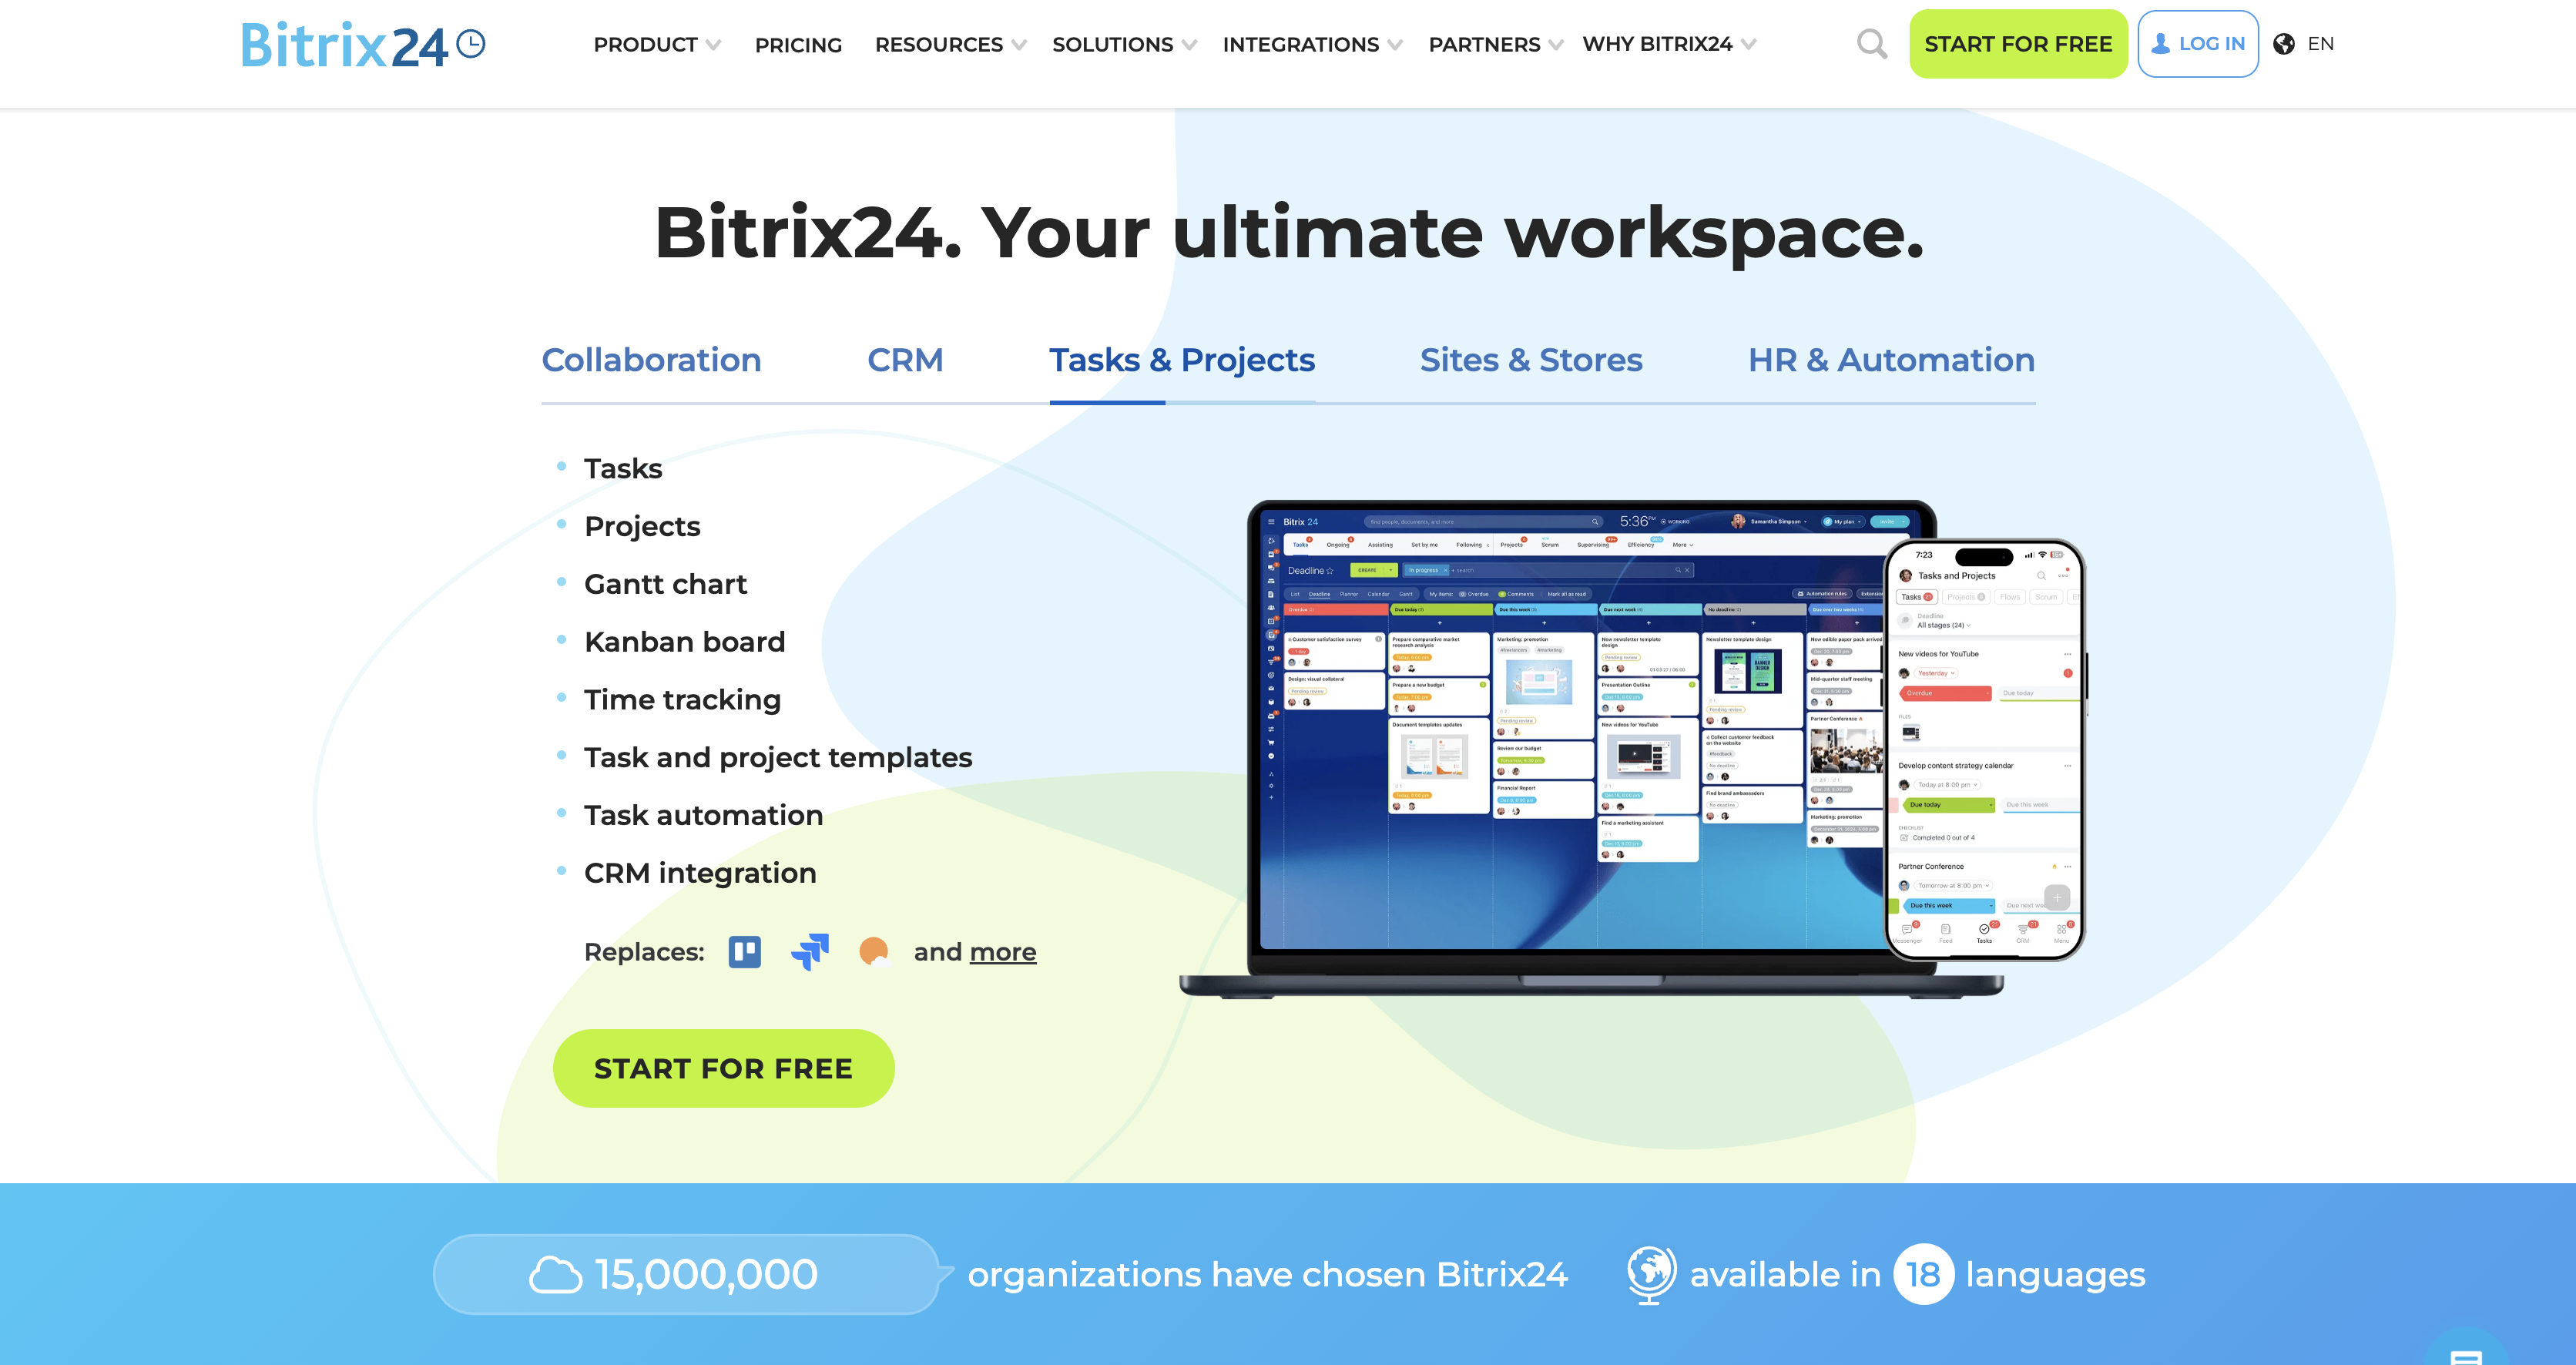
Teams pair the two when the marketing site lives in Webflow and sales works out of Bitrix24. The usual starting point is a contact form that has to reach a salesperson within minutes, and demo, quote, and intake forms follow the same pattern. Before you pick a method, it is worth knowing that neither company publishes a first-party connector for the other: there is no Bitrix24 app in the Webflow Marketplace and no Webflow app in the Bitrix24 Market, so every path below is either an embed, a third-party automation platform, or your own code.
Four approaches carry the work. The MCP servers give an AI agent live access to Webflow site management and to Bitrix24 REST documentation while you build. The Bitrix24 CRM form and website widget scripts embed on Webflow pages through custom code, with no middleware. Zapier, viaSocket, and Make route native Webflow form submissions into Bitrix24 records without code. The Webflow and Bitrix24 APIs give you control over two-way sync between forms, orders, CRM records, and CMS items, at the cost of server-side development. Most implementations combine two or more of these depending on how much the field mapping has to do.
Build the integration with MCP servers and an agent
Both platforms expose an MCP server, and the two do different jobs. Ours connects an agent to your Webflow projects so it can create pages, work with the CMS, read and write site and page custom code, and read site analytics, which covers the Webflow half of this build end to end. The Bitrix24 server is documentation only: it feeds the agent the current REST method descriptions, parameter lists, and allowed values so the code it writes calls methods that exist. Neither server moves a record between the two products by itself, so treat them as build tooling rather than as the integration.
What each server contributes:
- Webflow MCP server: An agent connected to the Webflow MCP server can add the Bitrix24 embed script to site or page custom code, then create the collection that CRM data will populate.
- Bitrix24 MCP server: Point your client at
https://mcp-dev.bitrix24.com/mcpover Streamable HTTP, not SSE. The Bitrix24 MCP documentation lists the client setup and notes the server needs no authorization. - Why the docs server matters: Bitrix24 CRM methods were renamed under the
crm.item.*family, so an agent working from training data alone tends to write the retired names. - What neither server does: The Bitrix24 server exposes documentation rather than your CRM records, so nothing in this path reads or writes a lead on your behalf.
Use the agent to write and maintain the handler code, then pick one of the three runtime paths below to actually move the data.
Embed Bitrix24 CRM forms and the website widget with custom code
Bitrix24 generates a script for each CRM form and for its website widget. Paste that script into a Code Embed element, or use custom code in head and body tags when the script belongs on every page. Submissions then go straight to Bitrix24 CRM with no middleware in between. Adding custom code requires a Core, Growth, Agency, or Freelancer Workspace, or an active Site plan.
Add a Bitrix24 CRM form with a Code Embed element
Bitrix24 documents three embed modes for sites built outside Bitrix24, and the tutorial linked on this page walks through each one. An inline block renders where you place the code, a pop-up can open on page load, and a third mode opens the form when a visitor clicks a button. Pick the mode that matches your page layout before you copy anything.
To embed a Bitrix24 CRM form:
- In Bitrix24, go to CRM > Sales > Sales channels > CRM forms and open the form you want to publish.
- Open the form settings and choose Embedding options.
- Pick the Website page tab for an inline block. Use Delay show for a pop-up on load or Show on click for a pop-up on click. Copy the code.
- In Webflow, drop a Code Embed element where the form should render and paste the code. For click pop-ups, place the embed before the trigger button.
- Publish the site and send a test submission, then confirm it appears in Bitrix24 CRM.
Before you publish, set these form options in Bitrix24:
- Hidden fields: Hidden fields pass traffic source, form ID, and other technical values to the CRM without showing them to visitors.
- Pre-filled values: Appending
?my_param1=XXXto the form link pre-fills a field, and the value saves to CRM even when the field is hidden. - Repeat visitors: The setting that reuses an active deal instead of creating a new one stops a returning visitor from opening a second deal.
- Spam protection: Turn on Invisible reCAPTCHA V2 under Expert mode > Spam protection > Invisible. The Bitrix24 spam article covers the setup, and the cloud version does not need your own Google keys.
- Consent logging: A consent checkbox appears on every form by default, and each accepted consent logs the date, the visitor IP address, the data source, and the page address.
Two trade-offs come with this method. Submissions from an embedded Bitrix24 form live only in Bitrix24, so they never appear under Site settings > Forms and Webflow sends no notification email for them. Bitrix24 also does not support CSS or JavaScript changes to its form, so styling stops at the five themes listed in CRM form design (Business, Modern, Classic, Funny, Pixels). A single Code Embed element holds up to 50,000 characters, which the widget script comes nowhere near.
Add the Bitrix24 website widget with site-wide footer code
The website widget bundles live chat, CRM forms, and social or messenger channels in one floating button. Whether the callback option is available depends on your Bitrix24 plan, and the widget settings say so before you enable it. Because the script belongs on every page, paste it once into footer code under Site settings. For a single landing page, use page settings instead.
To add the website widget:
- In Bitrix24, go to CRM > Sales > Sales channels > Website widget.
- Click Embed code next to the widget, then Copy to clipboard.
- In Webflow, open Site settings > Custom code and paste the script into Footer code, which renders before
</body>. - To load the widget on one page only, paste it under Page settings > Before
</body>tag instead. - Save and publish, then open the live site to check that the widget button appears.
Each widget channel then gets configured on the Bitrix24 side:
- Live chat: Open Channels route visitor questions to the Bitrix24 contact center, where an operator answers in real time.
- Callback: A callback request connects the responsible employee first and then dials the visitor, and the record saves to CRM.
- CRM forms: A form placed inside the widget collects inquiries, bookings, and contact details without taking up page space.
- Working hours: Each channel carries its own schedule, so you can hide the callback button outside business hours or capture the number instead.
To take the widget down later, delete the script from Footer code and republish, then follow Remove website widget on the Bitrix24 side so the channel stops accepting traffic.
Connect with Zapier, viaSocket, or Make
Use this path when you want to keep native Webflow forms. Submissions stay in Site settings > Forms and email notifications keep working while a copy goes to Bitrix24. Zapier and viaSocket both publish a Webflow and Bitrix24 CRM pairing page, while Make has apps for both sides and no pre-built template. On Zapier the Webflow New Form Submission trigger is instant rather than polled, and so are the Bitrix24 lead, deal, contact, company, quote, task, and smart-process triggers, so this path is not the 15 minute delay people often assume.
To connect a Webflow form to Bitrix24 through Zapier:
- Have an admin install Zapier for CRM from the Bitrix24 Market. Zapier's getting started guide lists a trial or paid Bitrix24 plan and that admin install as the two prerequisites.
- Publish your Webflow form and submit it once so Zapier has a sample record to map fields against.
- Open the lead template and connect your Webflow and Bitrix24 CRM accounts.
- Map form fields to lead fields such as name, phone, and email, then test and turn the Zap on.
Beyond that first Zap, the three platforms differ in what they will do for you:
- Zapier, Webflow to Bitrix24: The pairing page lists create-or-update actions for leads, contacts, deals, companies, quotes, and smart processes, plus a smart-process template.
- Zapier, Bitrix24 to Webflow: The Bitrix24 triggers pair with Webflow actions such as Create Item, Create Live Item, and Update Item, so a won deal can write a collection item without any code.
- viaSocket: The viaSocket pairing page covers deal, task, and search actions in both directions, and states that its scheduled polling triggers run at a maximum interval of 15 minutes.
- Make: The Webflow app and the Bitrix24 app are both built and maintained by Make, so you assemble the scenario yourself rather than starting from a template.
Whichever platform you pick, the connector inherits the permissions of the Bitrix24 account you authorize, so create it under a user whose CRM access matches what the automation actually needs.
Build with the Webflow and Bitrix24 APIs
Two-way sync, Webflow Ecommerce order handling, and CMS publishing need server-side code. An inbound Bitrix24 webhook runs with the permissions of the employee who created it and within the scope selected in its settings, and the webhook documentation is blunt about where the URL may live: "Do not pass the webhook URL to third parties or publish it in client-side code." The security recommendations list passing webhook keys to the frontend as an anti-pattern. Run your handlers on a serverless function such as Cloudflare Workers, Vercel, or AWS Lambda instead. REST API access sits on the Vibe+ plan family rather than Essentials, per the Bitrix24 pricing page.
These APIs cover the integration:
- Bitrix24 inbound webhooks: A secret URL of the form
https://[portal-address]/rest/[user-id]/[secret-code]/[method-name].jsonauthenticates server calls to CRM methods such ascrm.item.add. - Bitrix24 outbound events: Events such as
ONCRMDEALUPDATEnotify your handler when CRM records change, and Bitrix24 states plainly that there are no retries. - Webflow Data API: It writes CMS collection items with the
cms:writescope and reads form submissions withforms:read. - Webflow webhooks: Registered webhooks deliver events such as
form_submission,ecomm_new_order, andcollection_item_publishedto your handler.
One asymmetry shapes the design. The Webflow Forms API can list, update, and delete submissions but has no endpoint that creates one, so a submission has to originate from a published Webflow form or from the Bitrix24 form you embedded. An inbound Bitrix24 webhook can also carry an optional expiration date, and once that date passes the request returns an authorization error, so put the renewal in your calendar rather than discovering it through a silent gap in leads.
Create a Bitrix24 lead from a Webflow form submission webhook
This is the path to pick when you want Webflow to keep storing submissions and Bitrix24 to receive a lead within seconds. A form_submission webhook POSTs JSON to your handler with payload.name, payload.siteId, payload.data, payload.schema, payload.submittedAt, payload.id, and payload.formId. Your handler verifies the signature and forwards the fields to crm.item.add.
To implement this:
- In Bitrix24, go to Applications > Developer resources > Ready-made scenarios > Other > Incoming webhook and grant it the
crmscope. - Register the Webflow webhook with
POST /v2/sites/{site_id}/webhooks(scopesites:write), settingtriggerTypeto"form_submission"andurlto your handler. Webflow allows 75 registrations per trigger type per site. You can also add the endpoint per form under the form's Settings panel, where Webhook sits beside Webflow and Email notifications in Send to and the signing key is shown exactly once. - In the handler, read
x-webflow-timestamp, concatenatetimestamp + ":" + JSON.stringify(body), compute an HMAC-SHA-256 with your signing key, and compare it tox-webflow-signature. Reject requests older than 5 minutes. - Send the mapped fields to Bitrix24 with
entityTypeId: 1for a lead.
The request to Bitrix24 looks like this:
POST https://{domain}.bitrix24.com/rest/{user_id}/{webhook_code}/crm.item.add
Content-Type: application/json

{
  "entityTypeId": 1,
  "fields": {
    "title": "Lead from Webflow Form",
    "name": "John",
    "sourceId": "WEB",
    "assignedById": 1,
    "phone": [{"VALUE": "+15551234567", "VALUE_TYPE": "WORK"}],
    "email": [{"VALUE": "john@example.com", "VALUE_TYPE": "WORK"}]
  }
}
A successful call returns { "item": { "id": 123 }, "time": {...} }. Webflow retries a failed delivery three more times at 10 minute intervals and deactivates a webhook that keeps failing, so return 200 only after the Bitrix24 call succeeds. Before creating a record, call crm.duplicate.findbycomm with the phone or email to catch repeat visitors.
Turn Webflow Ecommerce orders into Bitrix24 contacts and deals
Webflow Ecommerce orders can open a deal for post-purchase follow-up. The ecomm_new_order webhook, which needs the ecommerce:read scope, delivers orderId, status, customerInfo, purchasedItems, and totals. Your handler creates a contact and a linked deal, then keeps the deal stage in step with the order.
To implement this:
- Subscribe to
ecomm_new_orderandecomm_order_changed, both of which use the sameecommerce:readscope. - Create the contact with
crm.item.addandentityTypeId: 3, taking the name, email, and phone fromcustomerInfo. - Create the deal with
entityTypeId: 2, a title, an opportunity value fromtotals, and the contact you just created. - On
ecomm_order_changed, update the deal stage so a refunded or fulfilled order does not sit in the pipeline as open business.
Bundle the contact and deal calls into one batch request so a single order costs one round trip rather than two, and map Webflow's order status values onto your own deal stages explicitly instead of assuming the names line up.
Publish a Webflow CMS item when a Bitrix24 deal changes
The reverse direction keeps a case study or listings collection current from CRM data. Bitrix24 outbound webhooks send application/x-www-form-urlencoded POSTs carrying event, ts, data[FIELDS][ID], and an auth object. Only the record ID arrives, so you always need a follow-up read before writing to the collection.
To implement this:
- In Bitrix24, go to Developer resources > Other > Outgoing webhook and select the deal event (
ONCRMDEALADDorONCRMDEALUPDATE). - In the handler, compare the incoming
auth[application_token]to the token shown in the outgoing webhook settings, then callcrm.item.getwithentityTypeId: 2and the ID to load the full deal. - Create the item with
POST /v2/collections/{collection_id}/itemsand publish it withPOST /v2/collections/{collection_id}/items/publish. To skip the staging step, post to/items/liveinstead. - For an existing item, call
PATCH /v2/collections/{collection_id}/items, which handles up to 100 items per request.
The create request needs fieldData, name, and slug:
POST /v2/collections/{collection_id}/items
Authorization: Bearer {token}
Content-Type: application/json

{
  "fieldData": {
    "name": "Client Case Study Title",
    "slug": "client-case-study-title",
    "custom-field": "value"
  },
  "isDraft": false,
  "isArchived": false
}
Bitrix24 does not retry a failed event delivery: its queue server logs the failure and moves on. Make the handler idempotent, and where losing an event is unacceptable, read the backlog through Bitrix24 offline events rather than building your own replay. One more thing worth deciding before you switch this on: a CMS item is public the moment it publishes, so map only the deal fields you would put on a live page, never the contact details or the deal value.
What you can build with the Bitrix24 Webflow integration
Every build below moves a site inquiry into a sales pipeline without manual data entry or a separate form vendor. Which one fits depends on whether you want Webflow to keep a copy of the submission.
- Property inquiry routing: A real estate site embeds a Bitrix24 CRM form on each listing page, with hidden fields carrying the traffic source and form ID so the lead lands with the right agent.
- Site-wide live chat and callback: A consulting firm pastes the website widget into Footer code once, and visitors on any page open a chat or leave a phone number for the callback flow.
- Order to deal handoff: A store subscribes to
ecomm_new_order, creates a contact and a deal per purchase, and moves the deal stage when the order status changes. - Case studies published from won deals: An agency's
ONCRMDEALUPDATEhandler creates a CMS item when a deal reaches the won stage, and a Collection List renders it without anyone opening the CMS.
See how the same trigger drives internal alerts in automated lead notifications.
Frequently asked questions
No. The Webflow Marketplace has no Bitrix24 listing and no third-party app that connects to Bitrix24, and the Bitrix24 Market has no Webflow app either. Connect the two with an embedded Bitrix24 script, an automation platform such as Zapier or Make, or your own API code. The closest thing to a packaged connector is the Zapier for CRM app on the Bitrix24 side, published by Bitrix24's own Bitrix24 Integrations account and supported through the Bitrix24 helpdesk.
Only for testing, and the trade-off is severe. Webflow's forms documentation states that when you set a custom action, "submissions won't be sent to or stored in Webflow", so nothing reaches Site settings > Forms and email notifications stop, per the forms documentation. The reCAPTCHA article adds that the native reCAPTCHA integration will not work as expected with a custom action. The webhook URL would also be visible in browser network traffic, which Bitrix24 rules out. Use a serverless relay, or add Webhook as a second destination alongside Webflow so you keep the copy.
Use
crm.item.addwithentityTypeId: 1. The Bitrix24 reference forcrm.lead.addcarries a DEPRECATED notice reading "The development of this method has been halted. Please use crm.item.add." The same applies tocrm.deal.add. Both legacy methods keep working for existing integrations, and every CRM method requires thecrmscope on your inbound webhook.On the Webflow side, adding custom code needs a Core, Growth, Agency, or Freelancer Workspace, or an active Site plan, so a free Starter Workspace with no Site plan cannot embed a Bitrix24 script. Free Starter sites also cap at 50 lifetime form submissions, and that limit never resets, per Form submissions. On the Bitrix24 side, REST API access and unlimited Market apps belong to the Vibe+ plan family, and the Zapier for CRM app requires a trial or paid plan. Check the current Bitrix24 pricing page for which tier includes CRM forms and the website widget.
Two ways. Bitrix24 Sales Intelligence records the traffic source automatically when a visitor arrives through a link carrying a configured UTM parameter and then submits an embedded form, as described in the Sales Intelligence article. For the full visit path, install the Sales Intelligence script on your Webflow pages, read
b24Tracker.guest.getTrace()into a hidden field, then pass that TRACE value server-side when you create the record or link it afterwards withcrm.tracking.trace.add, as shown in the analytics tutorial.
Description
Send Webflow form submissions to Bitrix24 as leads and deals through Zapier, viaSocket, Make, or the two APIs, and embed Bitrix24 CRM forms and live chat on Webflow pages with custom code.
This integration page is provided for informational and convenience purposes only.

jobber
Connect Jobber with Webflow to capture service leads on your site and route them straight into scheduling and quoting workflows.

Odoo
Connect Odoo with Webflow so website activity moves into your back-office workflows.

Recruit CRM
Connect RecruitCRM's applicant tracking system with Webflow through automation platforms like Zapier or Make.

HighLevel
Connect HighLevel, an all-in-one CRM and marketing automation platform, with Webflow to embed forms, chat widgets, and booking calendars while routing leads into pipelines and follow-up sequences.

LeadConnector
Connect LeadConnector, a white-label CRM and marketing automation platform, with Webflow so form submissions and booking calendars feed automated workflows.

Microsoft Dynamics CRM
Connect Microsoft Dynamics CRM with Webflow to turn form submissions into Dynamics 365 leads within seconds of the click.

HoneyBook
Connect HoneyBook with Webflow to capture leads on your site and route them into a client pipeline that handles proposals, contracts, scheduling, and payments.

Copper CRM

Bullhorn CRM
Connect Bullhorn CRM with Webflow to sync job listings, capture candidate applications, and move staffing data between your website and your ATS.
Related integrations
Get started for free
Try Webflow for as long as you like with our free Starter plan. Purchase a paid Site plan to publish, host, and unlock additional features.
