






Announcement Bar
Connect Announcement Bar, Smartarget's no-code message bar widget, with Webflow to change promotional banner copy without republishing the site.

A time-limited promotion on a Webflow site usually means building a new banner section and republishing. Webflow gives you the pieces for that bar already: a fixed div with a close button, and an interaction to hide it. What the platform does not give you is a way for a marketer without site access to change the wording on a Friday afternoon.
Announcement Bar from Smartarget covers that gap with a hosted widget. You install it from the Webflow Marketplace, or paste one JavaScript snippet into your site's custom code, and from then on the message text, colors, CTA buttons, and promo codes live in the Smartarget dashboard. Edits there reach the published site without a Webflow republish.
Marketing managers running frequent campaigns get the most out of this, because they ship messages without waiting on whoever owns the site. E-commerce operators use it for free-shipping thresholds and promo code distribution. Agencies add it to client sites as a service, and Smartarget sells white-label versions of its apps under the agency's own brand name.
How to integrate Announcement Bar with Webflow
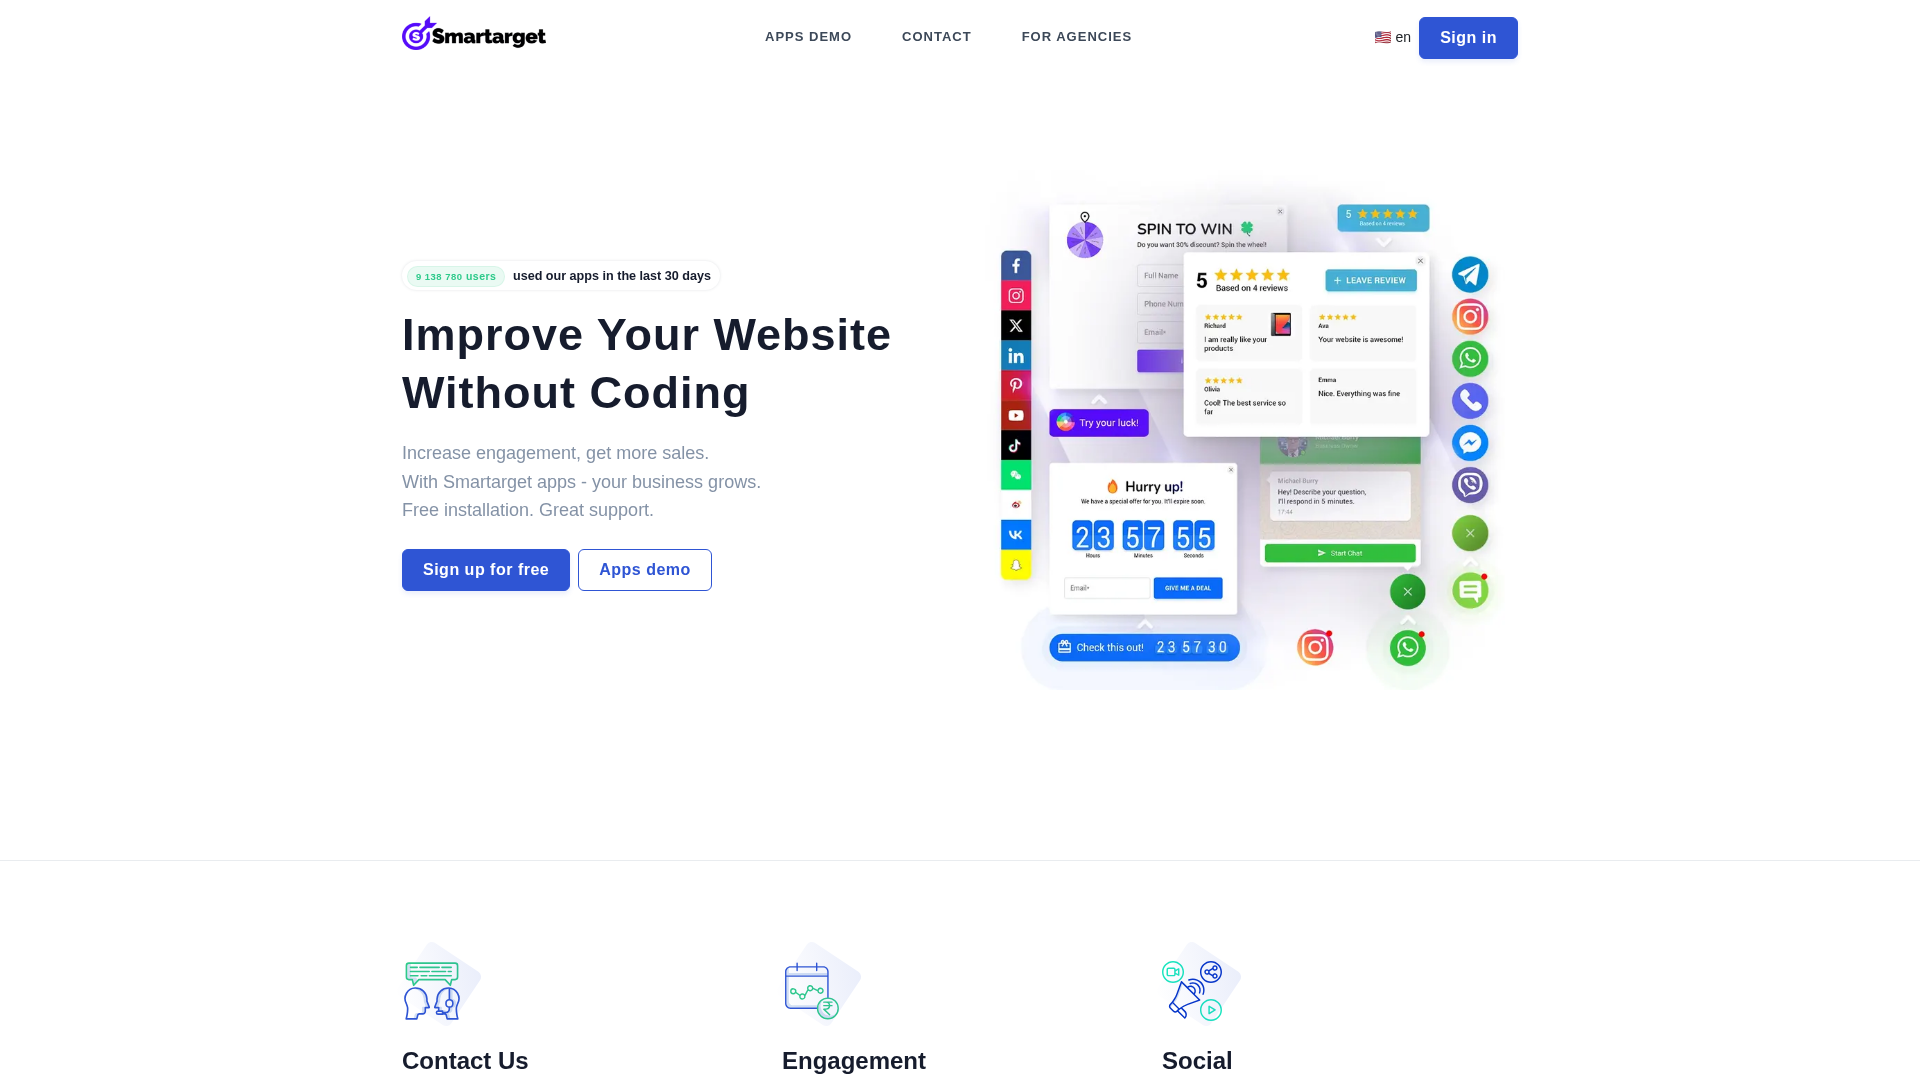
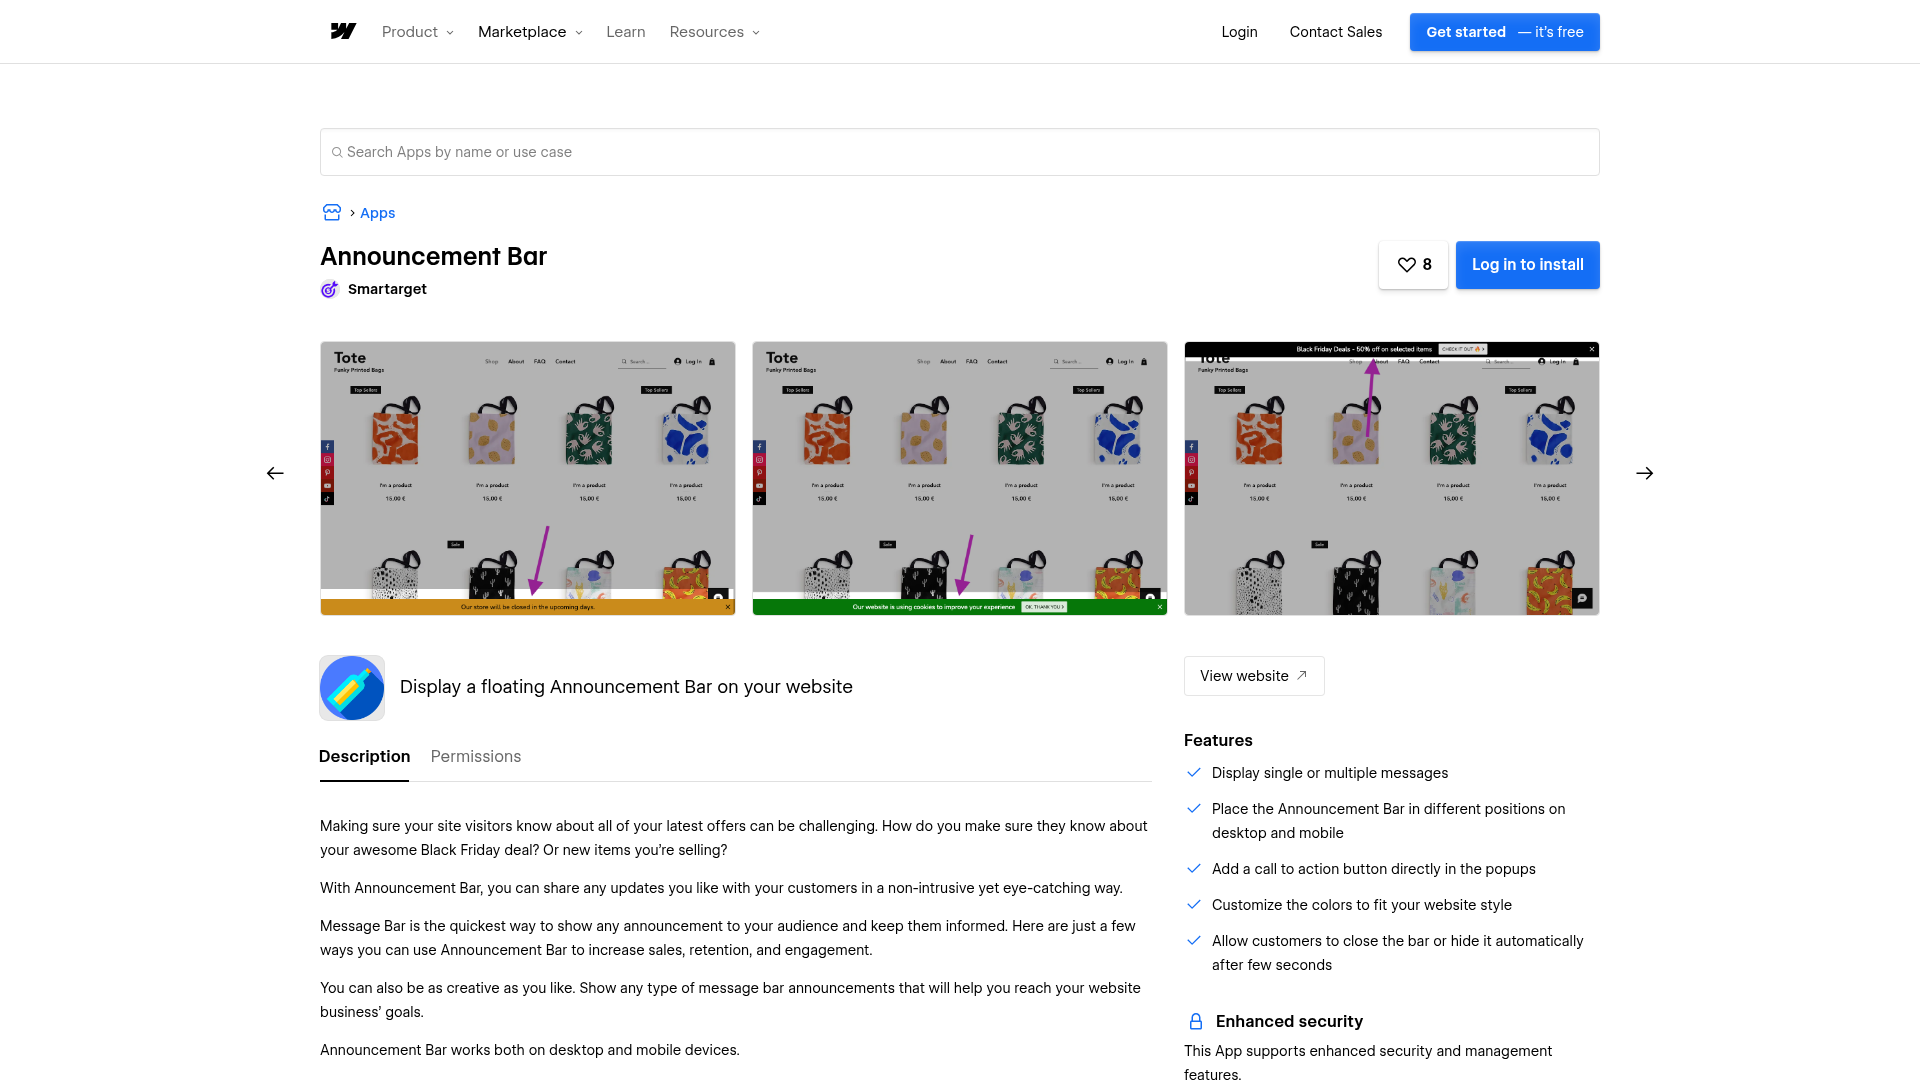
What is Announcement Bar? Announcement Bar is a message bar widget from Smartarget, a no-code website widget platform. It shows a single message or several rotating ones in a fixed bar with a call-to-action button, sits in different positions on desktop and mobile, and lets visitors close it or hide itself after a few seconds. Smartarget publishes the same widget on its own site as Message Bar.
Worth being honest about when this earns its place. A bar whose wording changes twice a year is a short native build, and Webflow has not shipped a first-party announcement bar that would change that answer. The app pays for its third-party dependency when the copy changes weekly and the person changing it has no Webflow access, because the message stops being a site edit at all. Two native limits push the same way: an interaction hides the bar only for the current page view, so dismissal that survives navigation still needs a script, and a bar bound to Webflow CMS still waits on the Collection item being published before new wording goes live.
The widget reaches the site by three routes, and the right one depends on how many sites you are covering and whether the bar belongs on every page:
- The Marketplace app connects Smartarget to your site through OAuth and covers every page.
- Page-level custom code limits the bar to the pages you choose.
- The Webflow Data API registers and applies the snippet programmatically across many sites, and needs a Data Client (OAuth) app.
Smartarget does not specify where its snippet belongs, so use Webflow's own recommendation and put it in Footer code. The three sections below take each route in turn, starting with the app install.
Install the Announcement Bar app site-wide
One install puts the bar on every page, which covers sitewide sale banners as well as shipping thresholds and launch notices. The Marketplace listing carries the Approved by Webflow label and requests three permissions: read and write access to custom code, plus read access to site data. Those are exactly the scopes it needs to place its script for you, so nothing has to be pasted by hand. The listing grants it no publish permission, so a bar added this way appears on your next site publish. Custom code access itself is plan-gated: the custom code fields need a paid Site plan or a paid Workspace plan.
Smartarget also documents a manual path, which is the one to take if you would rather hold the snippet yourself:
- Sign up for a free Smartarget account. No credit card is required.
- Configure the bar in the Smartarget dashboard with your messages, colors, and CTA button.
- Go to Integrations in the Smartarget dashboard and copy the JavaScript code.
- In Webflow, open Site settings, then the Custom code tab, and paste the snippet into the Footer code section.
- Click Save changes, then publish the site. Site-wide custom code needs a full-site publish.
Once the widget is on the site, the Smartarget dashboard controls everything it shows:
- Message rotation: Show one message or cycle several of them inside a single bar without taking up more space.
- Placement: Position the bar differently on desktop and mobile, so it does not collide with a mobile navigation.
- Call to action: Add a button directly in the bar and point it at a sale page or a signup form.
- Dismissal behavior: Let visitors close the bar themselves, or have it hide automatically after a few seconds.
- Promo codes and reporting: Display a code visitors copy and paste at checkout, and read weekly performance reports on how the bar did.
Footer placement matters for the reason it matters with any third-party script: code before the closing </body> tag runs after the page content loads, so the bar is less likely to delay rendering. Each custom code field holds up to 50,000 characters.
One limit to plan around on the vendor side: on Smartarget's free plan the bar shows on all pages for the first 14 days, then falls back to the homepage only and carries a Powered by Smartarget badge. The PRO plan keeps all-pages visibility and removes the branding.
Target specific pages with page-level custom code
The site-wide install shows the bar everywhere. To keep an announcement on a landing page and off checkout or documentation, paste the same snippet at page level instead. This route needs the same paid plan access as site-wide custom code.
Add the snippet to a single page
Page-level custom code applies only to that page and loads after any site-wide custom code. To add the snippet at page level:
- Open the page's settings in Webflow.
- Paste the snippet into the Before
</body>tag field under Custom code. - Save, then publish.
Shipping that page on its own rather than republishing everything is possible, but single-page publishing is limited to Team and Enterprise Platform plans. On any other plan the page-level change still goes live through a full-site publish. Either way the scoping happens on the Webflow side, independent of anything configured in the Smartarget dashboard.
Build with the Webflow Data API
Bar content itself is not automatable: Smartarget publishes no public API or webhooks, so the wording always comes from its dashboard. What you can automate is the deployment. The Data API v2 custom code endpoints let you register the script once from a server and then apply it across sites or pages, which suits rollouts to many client sites. The path needs a Data Client (OAuth) app, because site tokens cannot reach the custom code endpoints.
Four endpoints carry the whole flow:
- Register an inline script (
POST /v2/sites/{site_id}/registered_scripts/inline) stores the Smartarget snippet against the site as a registered script. - Upsert site custom code (
PUT /v2/sites/{site_id}/custom_code) applies a registered script across the whole site. - Upsert page custom code (
PUT /v2/pages/{page_id}/custom_code) applies the same registered script to one page. - Publish site (
POST /v2/sites/{site_id}/publish) pushes the API-applied change live, since nothing takes effect before a publish.
Your OAuth app needs the sites:read, sites:write, pages:read, pages:write, custom_code:read, and custom_code:write scopes, and the two pages scopes only apply when you target individual pages rather than whole sites.
Deploy the snippet across client sites
An agency managing several Webflow sites can script the rollout instead of pasting the snippet into each site by hand. To implement this:
- Register the snippet with
POST /v2/sites/{site_id}/registered_scripts/inline. Inline scripts carry a character cap, and Webflow's reference and its guide currently quote different figures for it, so register a hosted script instead if the Smartarget snippet is long. See working with custom code for the field details. - Apply it with
PUT /v2/sites/{site_id}/custom_code. Pass the registered scriptid, setlocationtofooter, and include a semverversion. Scripts must be registered before they can be applied. - Publish with
POST /v2/sites/{site_id}/publish. API-applied custom code takes effect only after a publish.
A site can hold up to 800 registered scripts, so one registration per client site leaves room for whatever tooling is already there.
What you can build with the Announcement Bar Webflow integration
Integrating Announcement Bar with Webflow lets you run site-wide messaging campaigns without turning every promotion into a layout edit and a republish. Four patterns come up repeatedly:
- Flash sale and seasonal bars: An online store runs a Black Friday bar carrying a percentage-off message and a CTA button pointing at the sale page.
- Free-shipping threshold messaging: A store states its free-shipping spend threshold so the number follows the customer across every page of the site.
- Promo code distribution: A merchant displays a code visitors copy and paste at checkout, or releases one after a social follow or an account signup.
- Product launch announcements: A SaaS marketing site announces a release in the bar and points the CTA button at the new feature page.
The API route is the one that scales, since an agency can register and apply the same snippet across many client sites from a single script. Read how to apply custom code through the Data API if you want that rollout automated, and note the same install pattern covers Smartarget's other widgets, including its countdown popup.
To get started, install the Announcement Bar app from the Webflow Marketplace, then run the bar from your Smartarget dashboard so campaign changes go live without a Webflow republish. If agents are managing the site alongside you, connect Webflow's MCP server as well, because its governance tools cover per-site agent instructions and the site activity log that shows which app changed what.
Frequently asked questions
No. The free Starter Site plan does not include custom code access, which Announcement Bar needs on either install path. A paid Site plan or a paid Workspace plan adds custom code fields at both the site and the page level. See Choose a Site plan for the comparison.
No. Once the widget is on the site, you change message text, colors, and CTA buttons in the Smartarget dashboard, and those edits reach the live site without a republish. You publish again only when you add, move, or remove the snippet itself.
Yes. Announcement Bar is the Webflow Marketplace listing title, and Smartarget's own Webflow guide calls the identical widget Message Bar. The install endpoint behind the Marketplace listing points at Smartarget's message bar service, and setup is the same under either name.
Check publishing first, because custom code shows in preview but goes live only after you publish. Test on your
yoursite.webflow.iostaging subdomain by publishing with the custom domain unchecked. And if your Smartarget account is past its first 14 days on the free plan, the bar renders on the homepage only.If the wording changes twice a year and a developer owns the site, yes: a fixed div with a close button and an interaction is a short build. Reach for the app when a non-developer needs to change the copy without site access, or when dismissal has to survive navigation between pages.
Description
Add a promotional message bar to a Webflow site by installing the Announcement Bar app from the Webflow Marketplace or pasting one Smartarget snippet into the site's custom code fields, then edit message text, colors, and CTA buttons from the Smartarget dashboard.
This integration page is provided for informational and convenience purposes only.

Unbounce
Unbounce and Webflow work together through a popup script, a subdomain CNAME, and Zapier or webhook lead sync. Here is what each method covers and what it does not.

Zendesk Chat (Zopim)
Connect Zendesk Messaging, a live chat and AI-powered support platform, with Webflow to add a chat widget, bot responses, help center search, and persistent conversations to any page.
Zendesk
Connect Zendesk, a cloud-based customer service platform, with Webflow to add live chat, AI-assisted messaging, and ticket creation to any page on your site.

Website Toolbox Forum
Connect Website Toolbox Forum, a hosted community discussion platform, with Webflow to embed threaded forums, user management, and moderation tools on any page without backend code.

UserVoice
Connect UserVoice's powerful feedback management platform with Webflow to collect user insights, prioritize feature requests, and build customer-driven websites. Transform visitor feedback into actionable improvements with voting systems, roadmap transparency, and seamless design integration.

Trustpilot
Connect Trustpilot, an independent review platform, with Webflow to display TrustBox widgets on high-intent pages and send review invitations via embeds or APIs.

Storylane
Connect Storylane, a demo automation platform, with Webflow to embed interactive product tours as inline demos, click-to-launch overlays, or popup modals on landing pages and CMS-driven galleries.

POWr chat
Add a Webflow Chat Plugin to your website without coding or headaches.

Prefinery
Connect Prefinery, a waitlist and referral marketing platform, with Webflow to capture pre-launch signups, generate automatic referral links, manage queue positioning, and sync waitlist data to CMS collections.
Related integrations
Get started for free
Try Webflow for as long as you like with our free Starter plan. Purchase a paid Site plan to publish, host, and unlock additional features.
