

PowerImporter Airtable Sync
Connect PowerImporter Airtable Sync, a one-way data sync tool, with Webflow to automatically push Airtable content into CMS collections without writing code.
Webflow CMS stores and displays structured content on your site, but it does not connect to external databases. Teams that manage content in Airtable — job listings, product catalogs, event schedules, member directories — have no native way to push that data into Webflow CMS collections. Every update requires manual re-entry or a custom API integration.
PowerImporter Airtable Sync fills that gap by creating a one-way data pipeline from Airtable into Webflow CMS. It detects additions, updates, and deletions in your Airtable base and writes those changes directly to your CMS collections. The sync handles field mapping, image uploads, reference fields, rich text conversion, and localization without requiring any code.
This integration is built for content teams that treat Airtable as their source of truth and Webflow as their publishing layer. Webflow designers, agency developers, marketing managers, and startup founders all use it to keep CMS-driven sites current without touching the Webflow editor for every content change.
How to integrate PowerImporter Airtable Sync with Webflow
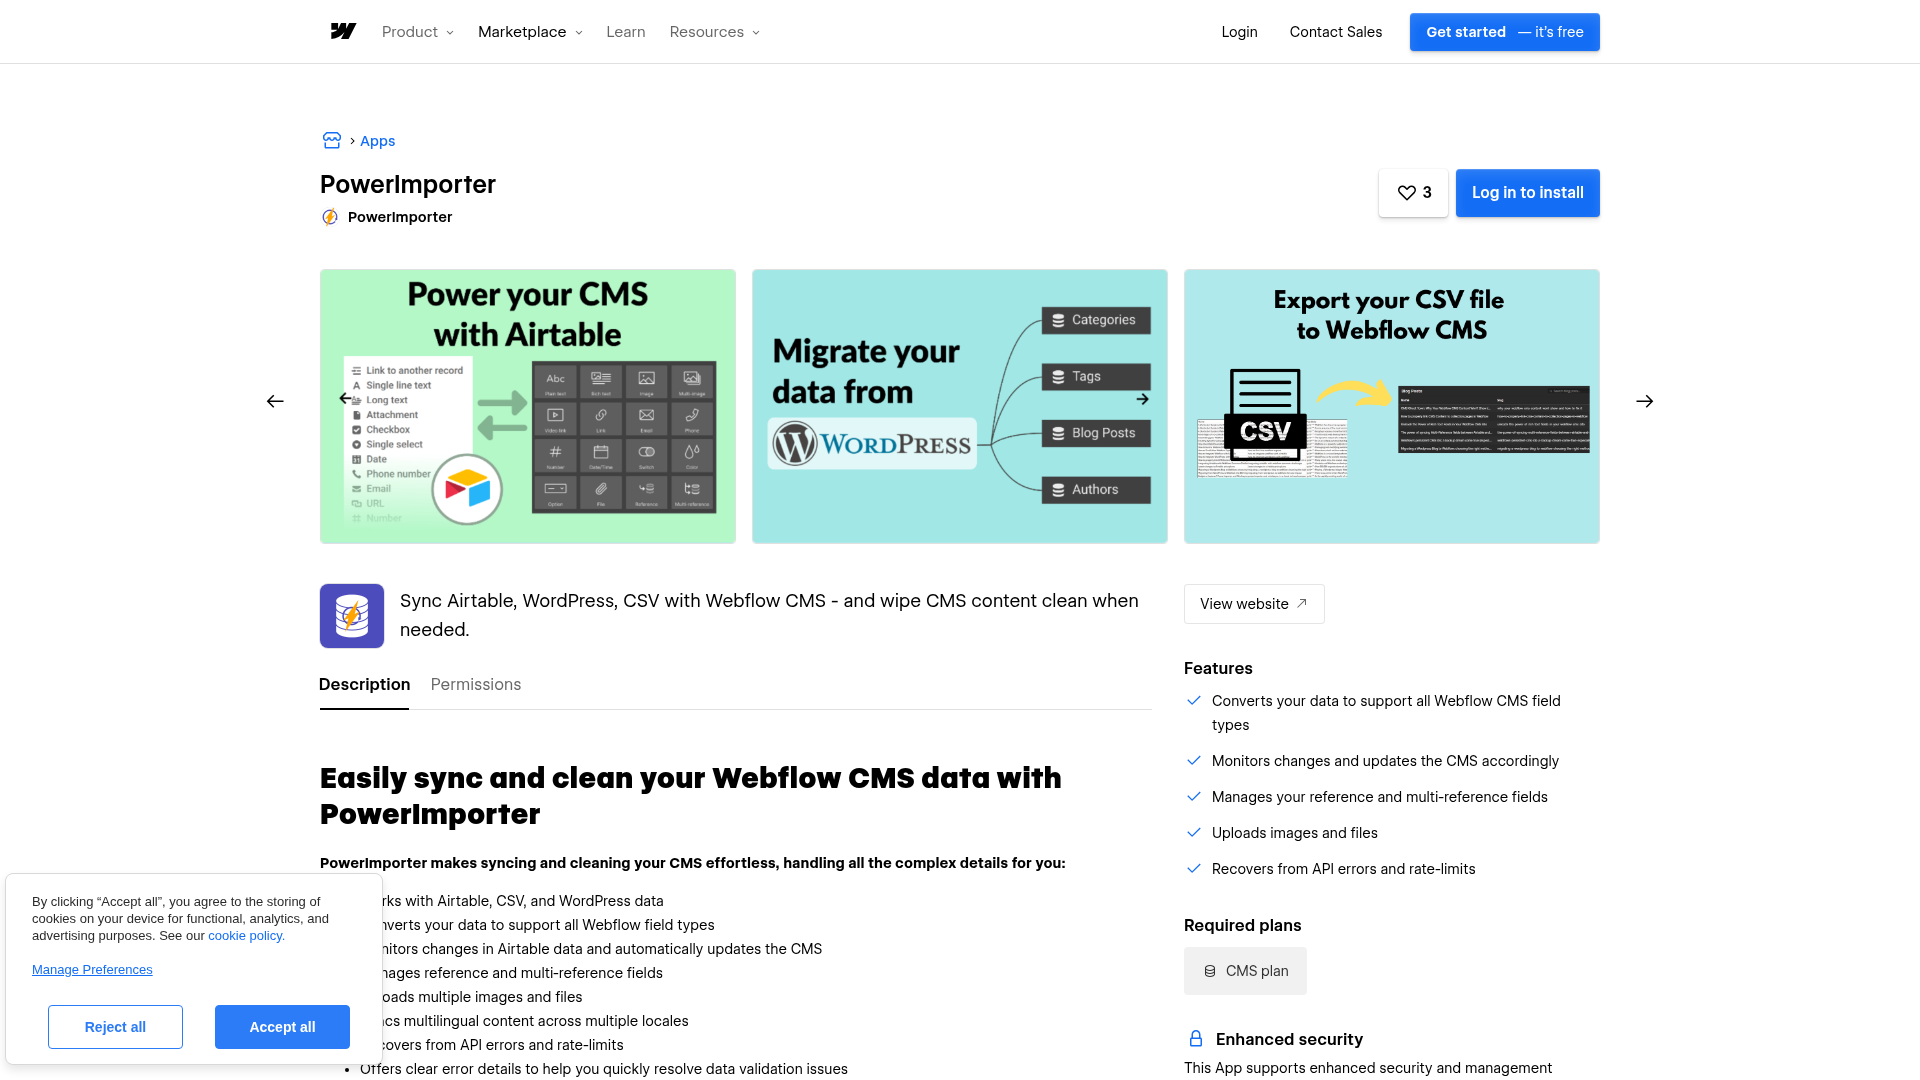
What is PowerImporter Airtable Sync? PowerImporter is a one-way data synchronization tool that pushes content from Airtable, CSV files, and WordPress into Webflow CMS collections. It supports scheduled auto-sync for Airtable sources, handles all Webflow CMS field types including reference and multi-reference fields, and converts Airtable Markdown to Webflow-compatible HTML automatically.

Teams use PowerImporter when they need Airtable to drive a Webflow site's content without writing API integrations. A real estate agency updates listings in Airtable and needs the website to reflect changes within minutes. A recruitment team adds jobs to an Airtable base and expects the job board to stay current. In each case, PowerImporter removes the manual CMS editing step and keeps both systems in sync.
The PowerImporter Airtable Sync-Webflow integration supports 3 approaches:
- PowerImporter app handles installation, Airtable connection, field mapping, and manual sync execution without writing code.
- Auto-Sync and remote sync triggers let you schedule recurring syncs or trigger them from outside PowerImporter using a public URL or webhook.
- Webflow Data API and Airtable APIs give you full control over CMS collection reads, writes, and publishing — but require server-side development.
Most implementations start with the app for initial setup, then add Auto-Sync or the Public Sync URL for ongoing automation.
Install the PowerImporter app
The PowerImporter app on the Webflow Marketplace connects your Airtable base to your Webflow CMS site through a visual dashboard. It handles OAuth authentication for both platforms, provides a drag-and-drop field mapper, and runs syncs that create, update, and delete CMS items based on changes in your Airtable data. Your Webflow site needs at least one CMS collection already set up, and your first sync should target an empty collection to prevent duplicates.
The app supports these capabilities:
- Converts Airtable data to match all Webflow CMS field types
- Manages reference and multi-reference fields between linked Airtable tables and Webflow collections
- Uploads images, multi-image attachments, and file fields automatically
- Converts Airtable Markdown to HTML for Webflow rich text fields when enabled during mapping
- Syncs content into Webflow Locales for multilingual sites on paid plans
- Previews sync impact with a simulation mode before writing to your live site
- Removes all CMS items across collections in one click with CMS Cleaner on the Premium plan
These features cover the core setup and publishing tasks most teams need for Airtable-to-Webflow syncing.
To set up the integration:
- Go to the PowerImporter Marketplace listing and install the app, or log in at powerimporter.com and click New syncs then Create a sync for Airtable.
- Click Login to connect your Webflow account via OAuth, select the target site, and click Save and Continue.
- Connect your Airtable account using OAuth or a Personal Access Token with the required scopes, then select your Airtable base.
- Map your Airtable views to Webflow collections — a green Mapped indicator confirms each pairing.
- Map individual Airtable fields to Webflow CMS fields. Enable Convert markdown to HTML for any rich text fields. Optionally map Slug and Webflow Item ID fields to write them back to Airtable.
- Run a test sync to preview results, or run an immediate sync to push data to your Webflow CMS.
Field mappings persist between syncs and can be edited at any time. If you change your Webflow collection structure or Airtable schema after setup, open the sync configuration and use the Refresh button in Steps 3 and 4 to pull in the updated structure — then remap any affected fields. The full field compatibility reference lists every supported Airtable-to-Webflow field type mapping.
Configure Auto-Sync and remote sync triggers
The PowerImporter app offers three trigger methods beyond manual sync — each suited to different workflows. Auto-Sync runs on a schedule you define. The Public Sync URL lets anyone with the link trigger a sync from a browser, an embedded iframe, or an HTTP POST request. These options remove the need to log into PowerImporter for every content update.
Set up Auto-Sync scheduling
Auto-Sync polls your Airtable base at a fixed interval and pushes any detected changes to Webflow automatically. It applies only to Airtable sources — CSV and WordPress syncs remain manual. The Schedule button appears in your sync dashboard only after you complete one successful manual sync.
To configure Auto-Sync:
- Open your sync in the PowerImporter dashboard and click Schedule.
- Set your Time Zone, Start Time in 24-hour format, and Repeat Interval.
- Click Create Schedule to activate.
- Optionally enable email notifications for sync errors.
Once the schedule is active, PowerImporter runs the sync automatically at the interval you defined.
Sync frequency depends on your PowerImporter plan tier. Once Auto-Sync is active, manual sync is disabled — delete the schedule to return to manual mode. For datasets with thousands of items, consider a longer interval to avoid overlapping sync cycles that exceed the Webflow API's processing capacity. The Auto-Sync documentation covers configuration details and edge cases.
Trigger syncs with the Public Sync URL
The Public Sync URL is a shareable endpoint that triggers a sync without requiring a PowerImporter login. It supports three access modes described in the Public Sync URL guide.
To generate a Public Sync URL:
- Open your sync in the PowerImporter dashboard and go to Edit then Embed.
- Click Create to generate the URL.
- Copy the URL from the Shareable, iframe, or Webhook section depending on your intended use.
The three modes work as follows:
- Direct sharing provides a link that any team member can open in a browser to trigger the sync manually.
- Embedded iframe lets you place a sync trigger button inside an Airtable interface extension or an internal dashboard page.
- Webhook (POST method) accepts an HTTP POST request from Airtable automations, external systems, or any tool that can send a POST request — making it useful for event-driven sync workflows.
You can regenerate the URL at any time to invalidate the previous one, or revoke it entirely from the Embed settings. Once a sync starts via the Public Sync URL, it runs to completion with no undo option.
Build with the Webflow and Airtable APIs
For teams that need a custom Airtable-to-Webflow sync pipeline — with conditional logic, data transformation, or integration into a larger backend — building directly with both platforms' APIs provides full control. This approach requires server-side development and ongoing maintenance, but eliminates third-party dependencies.
The relevant APIs include:
- The Airtable Web API handles reading records, filtering by views, and accessing linked record data from your base.
- Webflow's Data API v2 handles creating, updating, deleting, and publishing CMS collection items.
- Webflow webhooks fire events like
collection_item_createdandcollection_item_changed— useful for triggering downstream workflows after CMS writes.
Together, these APIs provide the building blocks for a custom sync workflow.
This path makes sense when you need to transform data between Airtable and Webflow, apply business rules during sync, or integrate the sync into a CI/CD pipeline.
Sync CMS items via the Webflow Data API
A typical custom sync reads records from Airtable, maps them to Webflow's field schema, and writes them to a target collection. The Webflow CMS plan supports 2,000 items, and the Business plan supports 10,000 items — your sync logic needs to respect these limits.
To implement a basic sync:
- Authenticate with Airtable using a Personal Access Token and fetch records from a specific view using
GET /v0/{baseId}/{tableName}with aviewparameter. - Authenticate with Webflow using a site token or OAuth bearer token. List collection items via
GET /v2/collections/{collection_id}/itemsorGET /v2/collections/{collection_id}/items/liveto compare Airtable records with staged or published CMS items. - Write changes to Webflow using the CMS items endpoints to create, update, or delete collection items.
- If your workflow uses staged items, publish those changes individually via the staged items publish endpoint, or publish the entire site via
POST /v2/sites/{site_id}/publish.
This sequence covers the basic read, compare, write, and publish flow.
Custom implementations must handle Markdown-to-HTML conversion for rich text fields, multi-reference field resolution across collections, and image upload constraints. The Webflow CMS management guide walks through the full endpoint structure.
What can you build with the PowerImporter Airtable Sync Webflow integration?
Integrating PowerImporter Airtable Sync with Webflow lets you publish and maintain CMS-driven pages directly from Airtable without manual content entry in Webflow.
- Auto-updating job board: A recruitment team manages open positions in an Airtable base with fields for title, location, salary range, and status. PowerImporter syncs active listings to a Webflow CMS collection displayed through a Collection List on the careers page. When a position closes in Airtable, it disappears from the site on the next sync cycle.
- Multilingual product catalog: An e-commerce team maintains product descriptions in three languages within a single Airtable base. PowerImporter pushes each language version to the corresponding Webflow Locale, keeping all translations current without republishing each locale manually.
- Real estate listings directory: A property portal tracks listings with photos, pricing, and availability status in Airtable. PowerImporter syncs the data to Webflow CMS including multi-image fields and reference fields for property types — generating individual listing pages that update as properties are added, sold, or repriced.
- Programmatic SEO content site: A SaaS company builds hundreds of landing pages from a structured Airtable database of city names, feature descriptions, and meta content. PowerImporter maps each row to a CMS item, populating template-driven Webflow pages at scale without custom API development.
If you need more control over data transformation or conditional sync rules, the API integration path covers those cases with full flexibility.
Frequently asked questions
No. PowerImporter operates as a one-way sync from Airtable to Webflow only. Airtable is the single source of truth — all content additions, edits, and deletions must happen in Airtable. Any changes made directly in Webflow CMS to synced fields will be overwritten on the next sync. The only exception is that PowerImporter can optionally write the Slug and Webflow Item ID back to Airtable during field mapping. The one-way sync documentation covers this behavior in detail.
Adding, renaming, or deleting fields in your Webflow collection or Airtable base breaks existing field mappings in PowerImporter. To fix this, open your sync configuration and go to Edit, then use the Refresh button in Steps 3 and 4 to pull in the updated collection structure, correct any broken mappings, and save before running a new sync. Finalize your data schemas in both Airtable and Webflow before configuring PowerImporter to avoid repeated remapping. The troubleshooting guide lists additional resolution steps for schema-related errors.
PowerImporter converts Airtable Markdown to HTML for Webflow rich text fields when Convert markdown to HTML is enabled during field mapping. Airtable stores rich text as Markdown, while Webflow rich text fields require HTML. PowerImporter includes a Convert markdown to HTML toggle that appears during field mapping. When enabled, it converts headings, bold, italics, and lists automatically during each sync. This option must be manually enabled per field — if you skip it, formatted text appears as raw Markdown syntax on your Webflow site. The rich text fields documentation explains the conversion behavior and supported formatting.
Yes. This requires a specific four-step setup. Create a dedicated Airtable table for reference options (such as tags or authors), add a "Link to a record" field in your main table, create matching collections in Webflow with Reference or Multi-reference fields, and then map both tables in PowerImporter. Airtable's native Multiple Select field type is not supported for this — you must use linked records instead. The multi-reference fields guide walks through the complete configuration.
You need a Webflow CMS plan or higher. The CMS plan supports up to 2,000 CMS items, and the Business plan supports up to 10,000 items. Your PowerImporter plan's item cap and your Webflow plan's item cap are independent limits — both apply simultaneously, and the lower of the two determines your effective ceiling. The pre-flight checklist covers all prerequisites for your first sync.
Description
PowerImporter Airtable Sync keeps your Webflow CMS collections current by pushing additions, updates, and deletions from Airtable automatically. Supports field mapping, image uploads, rich text conversion, reference fields, and scheduled auto-sync.
This integration page is provided for informational and convenience purposes only.

Krastie AI
Connect Krastie AI, an AI-powered content creation platform, with Webflow to transfer AI-generated content to your CMS through Make, Zapier, CSV imports, or custom API scripts.
Hipa.ai
Connect Hipa.ai, an AI-powered blog content automation tool, with Webflow to automatically update and maintain your blog posts. Hipa.ai keeps your content current with 24/7 automated updates to published articles.
Text Wizard AI
Connect Text Wizard AI by Modulify with Webflow to add AI-powered text processing capabilities directly in the Webflow Designer through a marketplace app.
Finsweet Attributes: Table of Contents Webflow integration
Connect Finsweet Attributes: Table of Contents with Webflow to generate automatic, clickable tables of contents from your heading elements.
Engyne
Connecting Engyne to Webflow enables content marketing teams to manage blog creation, SEO preparation, and publishing workflows in a single platform while maintaining Webflow's design control and site performance.
Blaze
Connect Blaze with Webflow to automatically publish AI-generated content to CMS collections through Zapier integration.
Ghost
Connect Ghost, an open-source publishing platform, with Webflow to embed membership signup forms, display blog content on pages, and sync published posts into CMS collections automatically.
Leadpages
Connect Leadpages with Webflow to run A/B-tested landing pages, pop-ups, and alert bars alongside your brand site through embed code, Zapier, or the Webflow Data API.
Substack
Connect Substack with Webflow to capture newsletter subscribers and display publication content directly on your site.
Related integrations
Get started for free
Try Webflow for as long as you like with our free Starter plan. Purchase a paid Site plan to publish, host, and unlock additional features.
