






AI Image Enhancer
Connect AI Image Enhancer with Webflow to improve and generate site images with AI prompts without leaving the canvas.

Webflow stores and serves your images through the Assets panel, but it does not edit them. A product photo that needs brighter lighting, or a blog post that needs its own header, still sends you out to an image editor and back again with a fresh upload.
AI Image Enhancer closes that gap inside the canvas. It installs as a free Webflow Marketplace app: select an image on the page, type a prompt like "make it brighter", and the edited result applies to the element you selected. The same app generates new images from text descriptions, with optional reference images for style guidance.
The app listing names designers, agencies, freelancers, and teams as its intended users, and the workflow suits content editors swapping images on the canvas as much as marketers assembling a landing page. Developers who need image processing to run with nobody in the canvas should read the API path below instead.
How to integrate AI Image Enhancer with Webflow
What is AI Image Enhancer? AI Image Enhancer is a free, open-source Webflow app extension built by Andrii Lysenko (OLAI ONE) that calls the Google Gemini API straight from your browser using your own API key. Everything runs client-side, so your images and credentials never reach the developer's infrastructure.
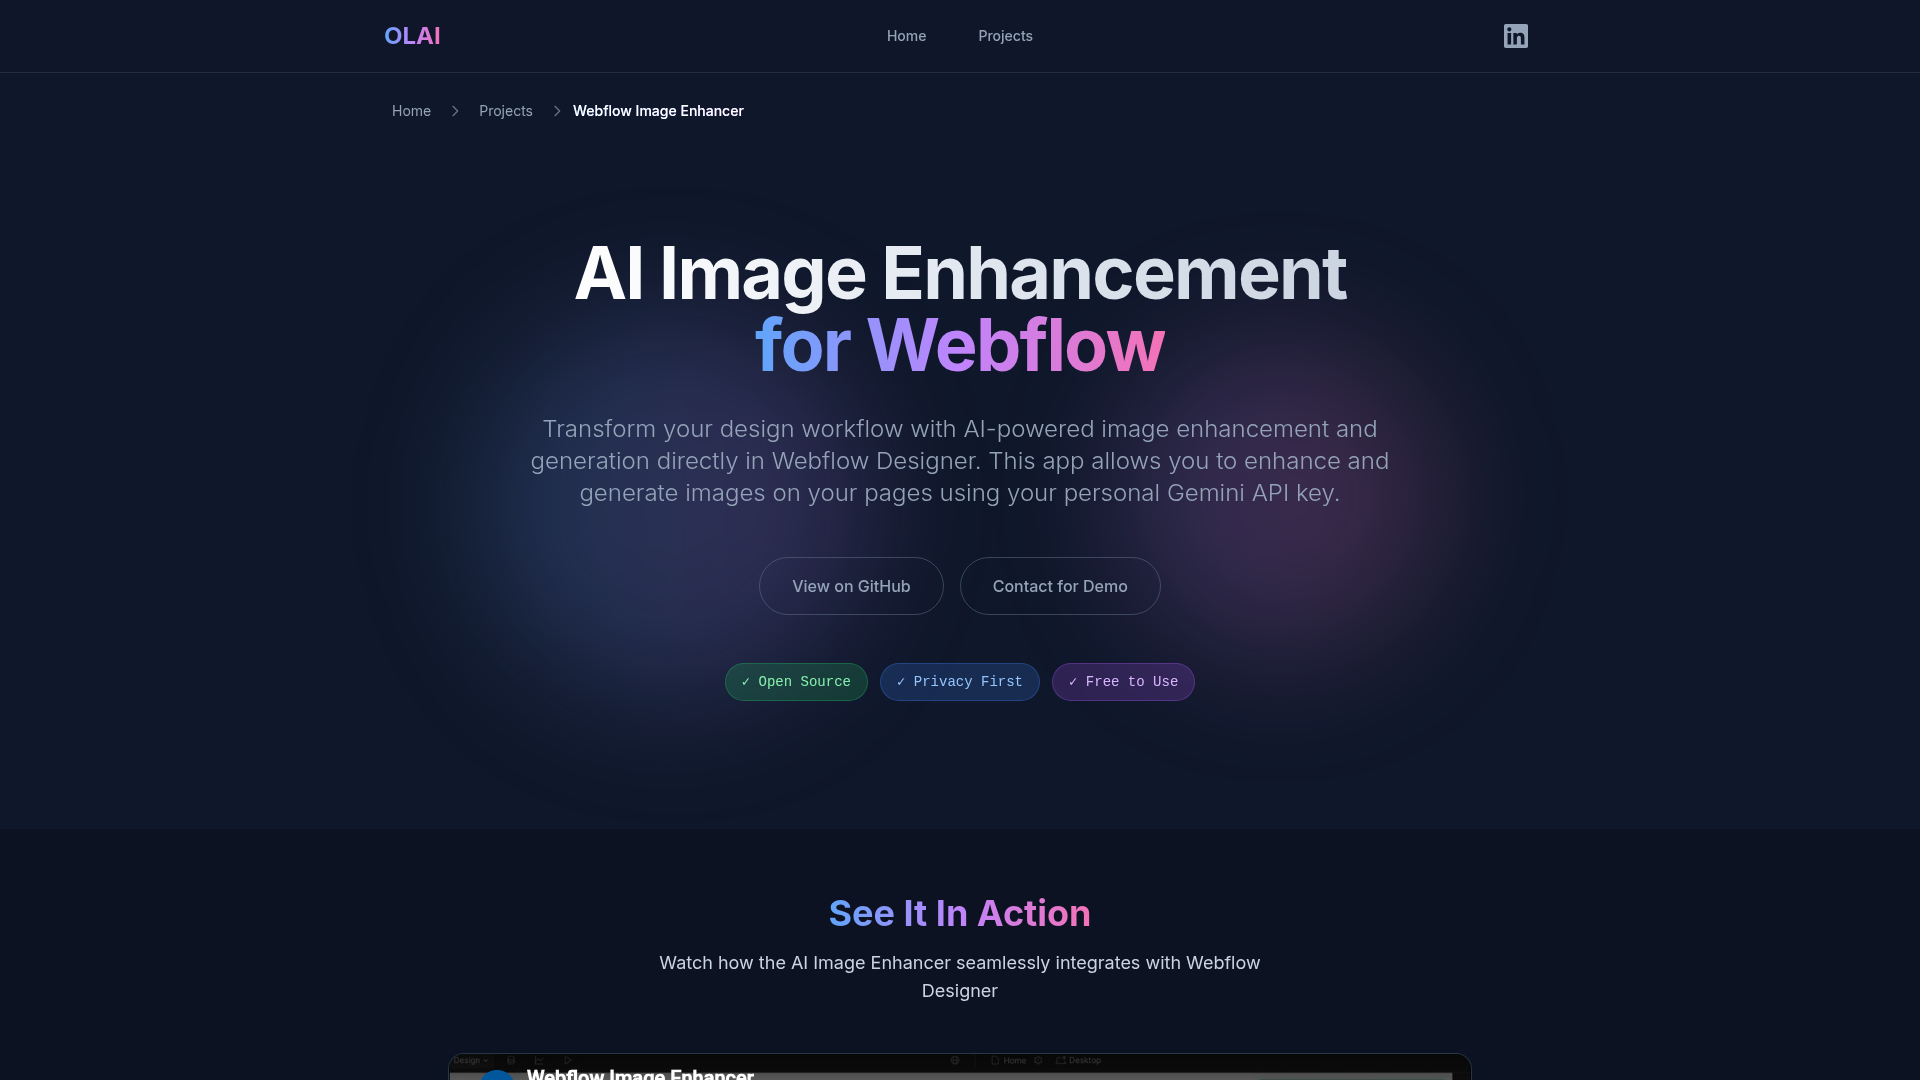
Teams reach for this pair when image work would otherwise interrupt page building, like a blog header or a product lifestyle shot, and when a placeholder needs replacing before a client review.
The integration supports two approaches. The AI Image Enhancer app handles in-canvas edits and generation with no code. The Webflow Data API gives you automated image pipelines, at the cost of server-side development and a separate image processing service. Most sites need only the app; the API path exists for teams processing images across large Webflow CMS collections.
Install the AI Image Enhancer app
The app is free to install from the Webflow Marketplace, where it carries Approved by Webflow status. It runs entirely in your browser, so images and prompts travel from your machine to the Gemini API on your own credentials. The single prerequisite is a free Google AI Studio API key, and the listing names no Webflow plan tier as a requirement.
To set up the integration:
- Install the app from the Webflow Marketplace.
- Open your site, click the Apps icon in the left panel, and launch AI Image Enhancer.
- Enter your Google AI Studio API key. The app validates that the key starts with
AIza. - Select an image element to edit, or start a new one from a prompt.
- Review the output and apply it.
Once connected, the app covers four jobs:
- Prompt edits on placed images: Adjust a photo already on the page with an instruction such as "make it brighter" or "improve contrast", then apply the result to that same element.
- Text to image generation: Describe the visual you need and the app creates it, with no stock library and no external editor in the loop.
- Reference image guidance: Upload existing images alongside the prompt so new output follows the style your site already uses.
- Your own API key: Usage bills to your Google account, and the app adds no charge of its own on top of it.
One setup detail is worth getting right. By default the key sits in memory and clears when you close the app, while the optional Remember API key setting writes it to browser localStorage, which the developer's own privacy policy describes as unencrypted and not safe for production. Leave that setting off on any shared or client machine, and issue a separate key per person rather than passing one key around a team.
Improve an existing image
Use this mode when a photo already on the page needs an adjustment, such as a brightness or contrast fix.
To edit an image in place:
- Select the image element on the canvas.
- Launch the app and open the Enhance tab.
- Enter a prompt describing the change and send it.
- Review the results and apply them.
The edited image replaces the original on the selected element, so nothing gets exported or re-uploaded.
Generate a new image
Use this mode to create visuals from scratch, including blog headers and feature illustrations.
To generate an image:
- Launch the app and open the Generate tab.
- Add reference images if you want the output to match an existing style.
- Write a prompt and generate.
Watch the output size. Webflow caps image assets at 4 MB, per the Assets API documentation, and a high-resolution generation can land above that ceiling.
Build automated pipelines with the Webflow Data API
AI Image Enhancer only works inside Webflow. It is a client-side app extension with no public API or webhooks, so no outside service can call it. Automated work, like reprocessing every product photo as CMS items arrive, runs on the Webflow Data API v2 at https://api.webflow.com/v2 together with a separate image processing service, and it needs server-side development.
Four pieces cover that pipeline:
- Content reads and writes: Data API v2 handles collection items and site data, so your middleware picks up a source image and writes the finished one back.
- Asset uploads: The create asset endpoint returns an upload URL plus Amazon S3 details, and you POST the binary to that URL as a second step under the
assets:writescope. - Event triggers: Webflow webhooks fire collection item events such as
collection_item_createdandcollection_item_changed. Usesite_publishinstead if you would rather batch the work at publish time. - The edit itself: An independent image service, for example Claid's image editing API, does the processing, because Webflow has no server-side image editor of its own.
The app plays no part in any of this. Your middleware coordinates every call.
Auto-edit images when a CMS item is created
This pipeline processes images as editors add CMS items, with no manual work in the canvas.
To implement it:
- Register a webhook with
POST /v2/sites/{site_id}/webhooks, settriggerTypetocollection_item_created, and point it at your middleware URL. This call needs thesites:writescope. - In your middleware, read
collectionIdandidfrom the top level of the payload and the source image URL fromfieldData, then send that image to your image service, for example Claid'sPOST /v1/image/edit. - Compute an MD5 hash of the returned file, then call
POST /v2/sites/{site_id}/assetswith the file name and that hash asfileHash. Take the upload URL and Amazon S3 details from the response and POST the binary there. - Update the item with
PATCH /v2/collections/{collection_id}/items/{item_id}and write the new asset intofieldData:
"main-image": {
  "fileId": "62b720ef280c7a7a3be8cabe",
  "url": "/files/62b720ef280c7a7a3be8cabe_image.png"
}
Two constraints shape this pipeline. Any upscaled photo past the 4 MB asset limit belongs on an external CDN such as Cloudinary, with only the URL stored in the CMS field. Webflow also skips responsive image variants for files added through the API, so compress and resize before you upload rather than after.
If you want Gemini answering requests on the published site rather than editing images in the canvas, our guide to adding Gemini to Webflow covers that setup.
What you can build with the AI Image Enhancer Webflow integration
Pairing AI Image Enhancer with Webflow means producing and fixing page imagery in the canvas, with no separate editor and no stock photo hunt.
The combination fits four kinds of work:
- Blog visuals: Generate a header image for each article from a text prompt, then apply it to the post's hero element without leaving the page.
- Product mockups: Create lifestyle images and promotional graphics for ecommerce pages, using reference images to keep the output on brand.
- Portfolio galleries: Build a gallery of generated artwork piece by piece inside Webflow, rather than importing finished files from elsewhere.
- Landing page graphics: Generate illustrations and feature images, or fix brightness and contrast on existing photos with plain-English prompts.
Read our walkthrough on serving responsive Cloudinary images when your generated files run heavier than the asset limit.
For work that spans a whole site rather than one element, connect the MCP server and let an agent audit your assets for missing alt text or queue compression jobs, then come back to the canvas for the edits that need your eye.
Frequently asked questions
No. The app itself is free and adds no charge of its own, so you pay Google only for the Gemini API usage you run, at the published Gemini API rates. A free key comes from Google AI Studio, and the source is public under an MIT license, so the no-markup claim is checkable.
No. The Marketplace listing names no plan requirement, and the developer's Terms of Service list only a compatible browser with JavaScript enabled, an active Webflow session, valid third-party API credentials, and a stable internet connection.
In your browser. The app's privacy policy says the key sits in memory by default and clears when you close the app, while the optional Remember API key setting moves it to
localStorageunencrypted. OLAI ONE runs no backend servers that hold your images or keys.No. It is a client-side app extension with no public API or webhooks, so automation platforms have nothing to call. For automated image work, trigger a webhook on collection item events and run the Data API pipeline described above against a separate image service.
Only for direct uploads. Images added straight to the Assets panel or a CMS image field get
srcsetandsizesvariants automatically. Webflow does not generate variants for images added through the API or a CSV import, and variants never apply to background images, per our responsive images documentation. Compress and resize any API-uploaded image before you send it.
Description
Install the free AI Image Enhancer app to improve or generate images with AI prompts inside Webflow, using your own Google Gemini API key. Developers who need automation can run image pipelines on the Webflow Data API instead.
This integration page is provided for informational and convenience purposes only.

Vectary
Connect Vectary with Webflow to embed interactive 3D models and app-free AR experiences on any page.

Icon Drop
Connect Icon Drop with Webflow to search, insert, and manage 20,000+ open-source SVG icons directly inside the Designer, no code or external tools required.

Remove Background
Connect Remove Background with Webflow to remove image backgrounds on the canvas without uploading files to external servers.

SVG Import
Connect SVG Import, a free app that converts pasted SVG code into editable DOM elements, with Webflow to add path-level control to SVGs on the canvas.

Icons8 Graphics
Connect Icons8 Graphics, a design asset platform, with Webflow to access 500,000+ icons, vector illustrations, and stock photos through drag-and-drop, SVG embeds, icon fonts, or API-driven CMS population.

Logo To Use

Modulo
Connect Modulo with Webflow to add pre-built, customizable UI components directly to your canvas and bind them to CMS data.

Stockpress
Connect Stockpress with Webflow to search and place approved brand files from your DAM inside Webflow without downloading and re-uploading them.
Stockpress
Connect Stockpress, a digital asset management platform, with Webflow to browse, search, and place brand assets directly in Webflow without switching platforms.
Related integrations
Get started for free
Try Webflow for as long as you like with our free Starter plan. Purchase a paid Site plan to publish, host, and unlock additional features.
