

ClickFunnels
Conecta ClickFunnels, una plataforma de embudos de ventas y negocios online, con Webflow para gestionar registros, flujos de pago, automatización de correo electrónico y seguimiento de CRM junto a tu sitio de Webflow.

Webflow produces polished, CMS-powered websites but lacks built-in funnel sequencing, email nurturing, and multi-step checkout. Connecting ClickFunnels fills that gap: Webflow handles the public-facing site, blog, and content layer, while ClickFunnels manages opt-ins, checkout, upsells, email automation, and CRM tracking. Data moves between them via embedded forms, Zapier, or direct API calls.
This combination suits marketing teams, course creators, agencies, and SaaS founders who need a branded site alongside a conversion-optimized pipeline, as well as freelance designers delivering site-plus-funnel packages for clients selling digital products, coaching, or subscriptions.
How to integrate ClickFunnels with Webflow
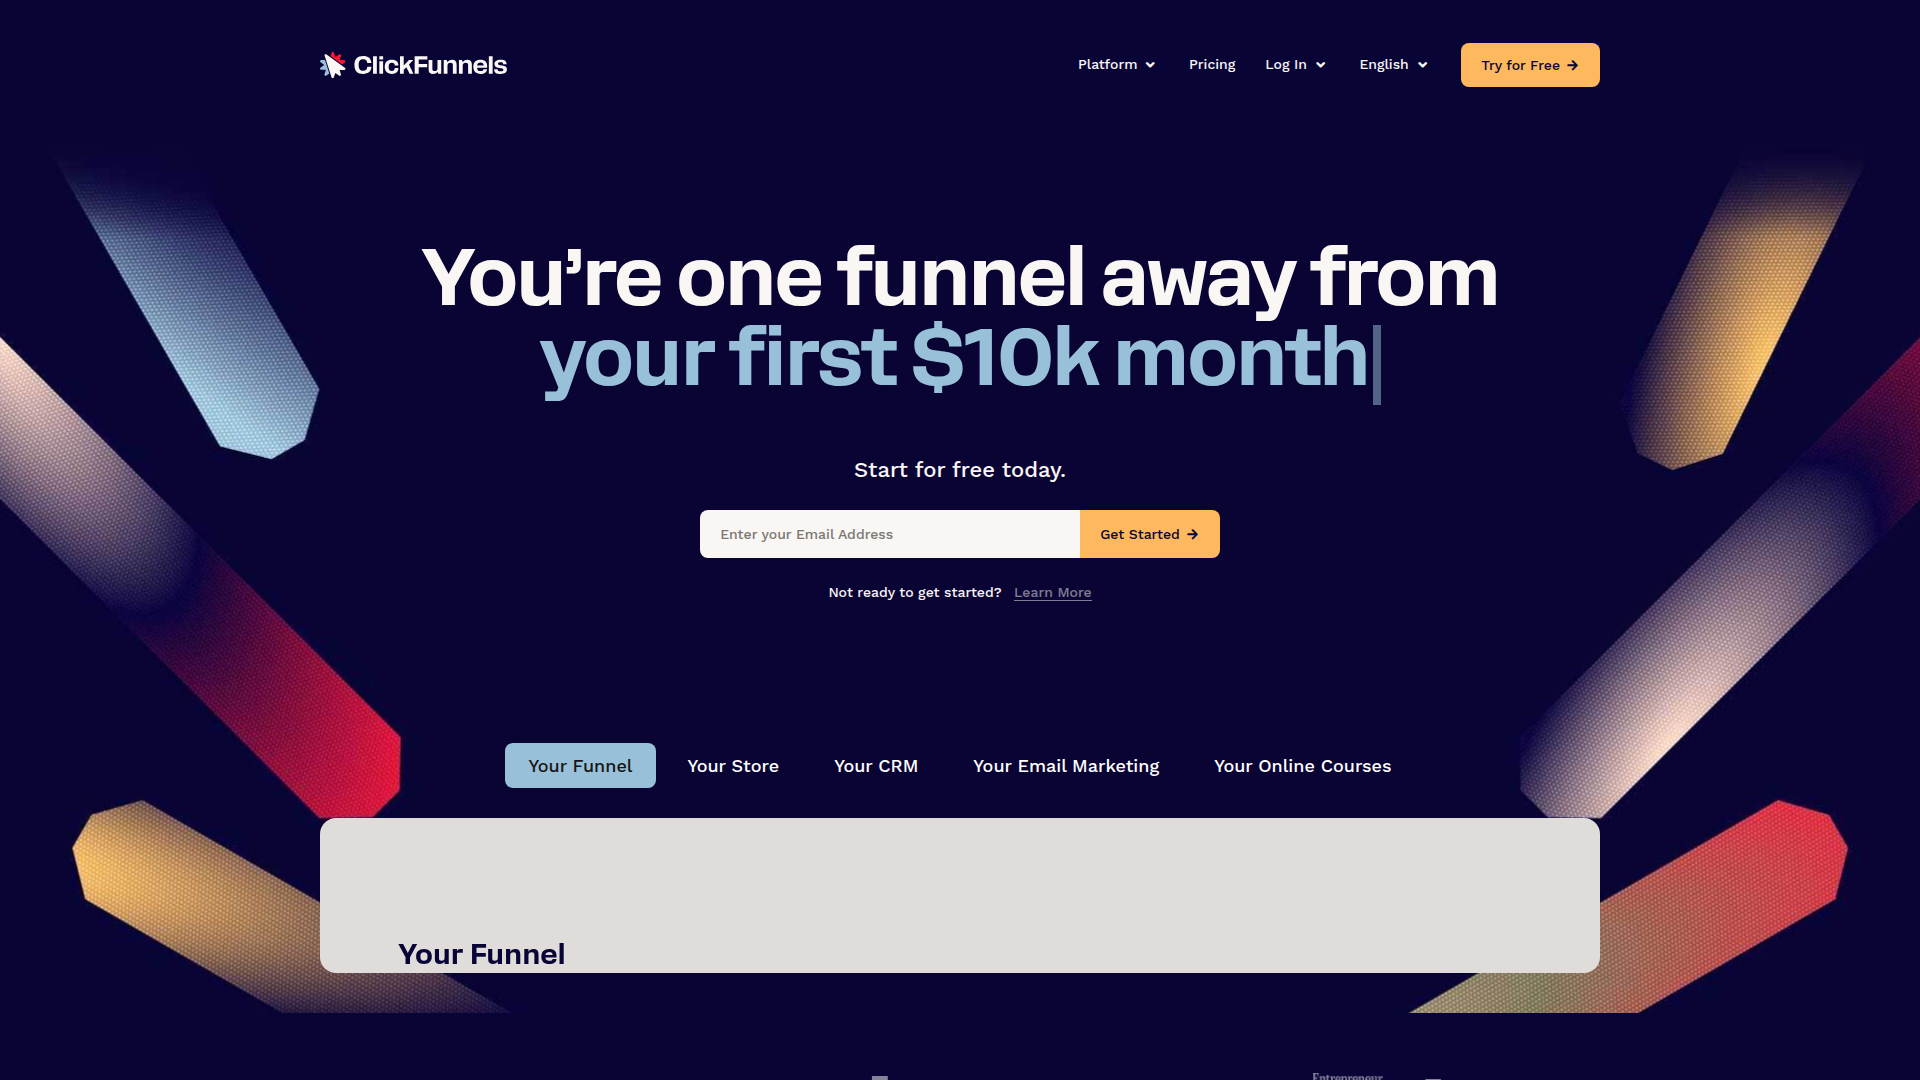
What is ClickFunnels? ClickFunnels is a sales funnel builder and online business platform that handles landing pages, checkout flows, email marketing, CRM pipelines, and course hosting. ClickFunnels 2.0 consolidates these features into a single workspace, replacing the need for separate tools across lead capture, payment processing, and post-purchase follow-up.
Teams pair ClickFunnels with Webflow when they want the brand and content layer to live on a Webflow site while routing visitors into ClickFunnels for conversion-specific sequences. A Webflow blog post might drive traffic through SEO, while a call-to-action button sends readers to a ClickFunnels opt-in page or embeds a lead capture form directly on the Webflow page. Funnel activity, such as new contacts or completed orders, can then sync back to the Webflow CMS for display or reporting.
The ClickFunnels-Webflow integration supports 3 approaches:
- Embedding and linking lets you place ClickFunnels opt-in forms, scheduling widgets, and funnel links directly on Webflow pages without writing code.
- Zapier automation syncs contacts, form submissions, and funnel data between platforms through pre-built workflows.
- The Webflow Data API v2 and ClickFunnels APIs give you full control over bidirectional data sync, custom field mapping, and real-time event handling, but require server-side development.
Most implementations combine two or more of these methods depending on the complexity of the setup.
Embed ClickFunnels content on Webflow pages
ClickFunnels generates embeddable code snippets for opt-in forms, appointment schedulers, and popup triggers. You can place these directly on any Webflow page using Code Embed elements or custom code in head and body tags. This method works for teams who want ClickFunnels functionality visible on their Webflow site without building API integrations or automation workflows. No ClickFunnels marketplace app exists in the Webflow Apps directory, so embedding is the primary no-code path.
ClickFunnels order pages, membership areas, and affiliate pages cannot be embedded on external sites due to security restrictions. Opt-in forms, thank-you pages, content pages, and appointment widgets are all supported.
Add a ClickFunnels opt-in form with Code Embed
ClickFunnels Classic generates a ClickPop embed code that opens a funnel opt-in form as a popup overlay. This code can be placed at a specific position on any Webflow page using a Code Embed element. The ClickPop feature supports text links, image links, and custom HTML/JS triggers. It works only for opt-in pages, not for order pages, membership area/access pages, or affiliate pages.
To embed a ClickPop form on a Webflow page:
- In ClickFunnels Classic, go to ClickFunnels > Funnels, select your funnel, and open the opt-in page.
- Click the Publishing tab, configure your trigger options (text link, image link, or custom element), and copy the generated ClickPop code.
- In Webflow, open the Add panel and drag a Code Embed element to the desired position on your page canvas.
- Double-click the Code Embed element to open the code editor, paste the ClickPop code, and click Save & Close.
- Publish your Webflow site. Script-based embeds render only on the published or staged site, not in the canvas preview.
ClickFunnels 2.0 does not have a documented ClickPop equivalent. For ClickFunnels 2.0, use the HTML/JS element embed code or the Appointments embed code and paste it into a Webflow Code Embed element following the same steps above.
Inject ClickFunnels scripts site-wide or per page
When a ClickFunnels script needs to run across every page (such as a global tracking pixel or chat widget), site-wide custom code injection is more practical than placing individual Code Embed elements.
To add ClickFunnels code site-wide:
- Open your Webflow dashboard and go to Site Settings > Custom Code.
- Paste the ClickFunnels script into either the Head Code field (for scripts that must load before the page renders) or the Footer Code field (for scripts that load after page content).
- Click Save Changes and publish your site.
To add ClickFunnels code to a single page:
- In Webflow, open the Pages panel and click the gear icon next to the target page name.
- Scroll to the Custom Code section and paste the ClickFunnels code into the Inside tag or Before tag field.
- Publish your site.
Page-level code renders after site-wide code in the final HTML. Each code field supports up to 50,000 characters independently. Custom code injection requires a paid Webflow site plan.
Link to ClickFunnels funnels from a subdomain
For checkout flows, membership enrollment, and other pages that cannot be embedded externally, the recommended architecture places ClickFunnels on a dedicated subdomain (such as go.yourdomain.com) while Webflow serves the root domain. Visitors click a button on the Webflow site and arrive at a ClickFunnels-hosted page on the same parent domain.
To set up subdomain routing:
- In your DNS provider, add a CNAME record with the name set to your chosen subdomain (for example,
go) and the target set totarget.clickfunnels.com. - In ClickFunnels, connect the subdomain to your workspace so funnels resolve on that address.
- In Webflow, add a Button or Link element and set the URL to the ClickFunnels subdomain path (for example,
https://go.yourdomain.com/your-funnel).
Do not point your root domain at ClickFunnels. A root domain CNAME record pointing to target.clickfunnels.com will displace your Webflow site entirely. Keep root A records pointing to Webflow and use a subdomain for ClickFunnels.
Connect ClickFunnels and Webflow with Zapier
Zapier is the only automation platform with confirmed native connectors for both Webflow and ClickFunnels. A dedicated ClickFunnels + Webflow integration page on Zapier lists pre-built templates and available triggers and actions. Webflow also supports building and managing Zaps directly inside the Webflow interface through the Apps panel.

To connect ClickFunnels and Webflow through Zapier:
- Sign in to Zapier and click Create Zap.
- Choose a trigger that explicitly starts in one platform, such as Webflow trigger: New Form Submission or ClickFunnels trigger: New Contact Identified.
- Choose an action that explicitly runs in the other platform, such as Webflow action: Create Item in Webflow CMS or ClickFunnels action: Create Contact.
- Map the data fields between platforms. Match Webflow form field names to ClickFunnels contact fields (such as
emailtoemail_address). - Test the Zap and turn it on.
Available ClickFunnels triggers on Zapier include:
- ClickFunnels trigger: Scheduled appointment event created
- ClickFunnels trigger: Opportunity moved stages
- ClickFunnels trigger: New contact identified
- ClickFunnels trigger: New funnel or page created
Available Webflow actions on Zapier include:
- Webflow action: Create a new CMS item in a collection
- Webflow action: Update an existing CMS item
- Webflow action: Fulfill an Ecommerce order
Zapier lists "ClickFunnels" and "ClickFunnels Classic" as separate apps. Verify which version your account uses before building workflows. Zapier's default data flow for this integration is one-way (ClickFunnels to Webflow). Bidirectional sync requires additional Zaps or a custom API setup.
Build with the Webflow and ClickFunnels APIs
For teams that need real-time data sync, custom field transformations, or bidirectional contact management, the API path provides full control. This approach requires a server-side application (or serverless functions) to receive webhooks, transform data, and call each platform's REST API. ClickFunnels API and webhook access requires the Scale plan or higher.
The relevant APIs and reference documentation:
- The ClickFunnels 2.0 API handles contacts, orders, products, funnels, and webhook registration
- The Webflow Data API v2 handles CMS collections, items, forms, and Ecommerce data
- Webflow webhooks fire on form submissions, CMS item changes, and new Ecommerce orders
- ClickFunnels webhooks fire on contact identification, order completion, invoice status changes, and appointment creation
Both APIs use Bearer token authentication. ClickFunnels also supports OAuth 2.0 for public integrations acting on behalf of multiple users.
Sync ClickFunnels contacts to Webflow CMS
When a new contact enters a ClickFunnels funnel, the contact.identified webhook event fires with the contact's name, email, phone number, and custom attributes. A middleware server can receive this payload and write it to a Webflow CMS collection as a new item.
To implement contact sync:
- Register a
contact.identifiedwebhook endpoint in ClickFunnels pointing to your server URL. - In your webhook handler, parse the incoming payload and map ClickFunnels fields to your Webflow collection schema. For example, concatenate
data.first_nameanddata.last_nameinto Webflow's requirednamefield, and mapdata.email_addressto a custom email field. - Call
POST /v2/collections/{collection_id}/items/liveon the Webflow CMS Items API with the mappedfieldDatato create and publish the item in one step. - Store the ClickFunnels
public_idin a plain-text Webflow CMS field for deduplication on future updates.
Webhook payloads from ClickFunnels use a minimal form by default. If you need expanded data (such as tags or custom attributes), make a follow-up GET request to the relevant API endpoint using the subject_id from the webhook payload.
Send Webflow form submissions to ClickFunnels
Webflow form submissions can trigger a webhook that pushes lead data into the ClickFunnels contacts API. This keeps your Webflow site as the front door for lead capture while ClickFunnels handles email sequences and CRM management.
To implement form-to-contact sync:
- Register a
form_submissionwebhook on your Webflow site using the Webhooks API, pointing to your server endpoint. - Validate incoming requests using the HMAC-SHA256 signature in the
x-webflow-signatureheader. - Parse the form field values from the payload, mapping
nameattributes (such asemail,first-name,last-name) to ClickFunnels contact fields (email_address,first_name,last_name). - Call
POST /api/v2/workspaces/{workspace_id}/contacts/upserton the ClickFunnels Contacts API to create or update the contact.
For ClickFunnels webhook endpoint testing, the endpoint should respond within 3 seconds with an HTTP 200 status. In production, acknowledge webhook deliveries quickly and use the event_id field as an idempotency key since webhook events can arrive out of order.
What can you build with the ClickFunnels Webflow integration?
Integrating ClickFunnels with Webflow lets you run a full sales funnel operation behind a design-focused website without managing data manually between systems.
- Lead capture with automated nurturing: A Webflow blog post drives organic traffic and includes an embedded ClickFunnels opt-in form. New subscribers sync to ClickFunnels CRM automatically through Zapier, enrolling them in a multi-email nurture sequence that ends with a course offer or consultation booking.
- Course sales with a branded content hub: Webflow hosts an SEO-optimized resource library with articles, case studies, and free mini-lessons. Calls to action route visitors to a ClickFunnels checkout funnel on a subdomain, where they purchase through a sequence with order bumps and one-click upsells to a premium tier.
- Funnel performance dashboards in the CMS: Zapier syncs new ClickFunnels funnel records and appointment data into Webflow CMS collections as they are created. A Collection List on a password-protected page displays active campaigns, conversion counts, and pipeline status for internal team visibility.
- Event registration with subdomain checkout: A Webflow event site showcases speakers, agenda details, and past-event recaps. Registration buttons link to a ClickFunnels subdomain funnel with countdown timers, ticket tier selection, and VIP upgrade order bumps. Completed registrations sync back to a Webflow CMS collection for attendee display.
If you need more control over bidirectional contact sync or custom data transformations between platforms, the API integration path covers those cases with full flexibility.
Preguntas frecuentes
No. Por una limitación de seguridad de ClickFunnels, no es posible insertar páginas de pedidos, áreas de miembros ni páginas de afiliados en sitios externos. Los formularios de suscripción y widgets de citas sí pueden integrarse con elementos Code Embed. Para los procesos de pago, recurre a un subdominio: un clic en tu botón de Webflow y tus visitas aterrizarán directamente en la página de ClickFunnels.
No. ClickFunnels no cuenta con ficha en el directorio de Webflow Apps. Todas las opciones de integración pasan por incrustar código, conectar mediante Zapier o desarrollar soluciones a medida con su API.
El acceso a la API y a los webhooks requiere el plan Scale o superior. El plan Launch no admite llamadas a la API ni la configuración de webhooks. Verifica que tu plan incluya estas funciones antes de crear cualquier integración basada en API o webhooks.
Conectar un subdominio (como
go.yourdomain.comsub.tudominio.com) a ClickFunnels no afecta al sitio de Webflow en el dominio raíz. Añade un registro CNAME para el subdominio que apunte a target.clickfunnels.comtarget.clickfunnels.comy mantén los registros A del dominio raíz apuntando a Webflow. No dirijas el dominio raíz a ClickFunnels, ya que esto dejaría el sitio de Webflow fuera de línea. La documentación sobre subdominios de ClickFunnels explica paso a paso la configuración de DNS.Con Zapier lo tienes facilísimo. Una plantilla prediseñada crea o actualiza contactos en ClickFunnels en cuanto entra un formulario en Webflow. Elige Webflow trigger: New Form Submission, marca luego ClickFunnels action: Create Contact (o la acción para actualizar contactos) y vincula cada campo del formulario. También puedes crear y gestionar tus Zaps sin salir de Webflow mediante la app de Zapier en el panel de Webflow Apps.
Descripción
Inserta formularios de registro de ClickFunnels y sincroniza contactos y datos de embudos con el CMS de Webflow mediante Zapier o flujos de trabajo de API personalizados.
Esta página de integración se ofrece únicamente con fines informativos y de conveniencia.

Teachable
Conecta Teachable, una plataforma de cursos online, con Webflow para vender tus cursos desde un sitio de marketing diseñado a medida y automatizar la inscripción de estudiantes.

BigCommerce
Conecta BigCommerce, una plataforma de comercio electrónico Open SaaS para marcas B2B y B2C, con Webflow para mostrar productos en tiempo real y gestionar pedidos mediante botones de compra o la API.

WooCommerce
Conecta WooCommerce, un plugin de comercio electrónico de código abierto para WordPress, con Webflow para gestionar una tienda headless con una infraestructura comercial completa que incluye más de 140 pasarelas de pago, suscripciones y gestión de inventario.

De Udesly BigCommerce a Webflow Ecommerce
El directorio de integraciones de Webflow incluye el adaptador de Udesly de BigCommerce a Webflow para migrar tu catálogo de BigCommerce al CMS de Webflow y gestionar tu tienda en páginas diseñadas con Webflow.

Shopify
Vende productos de Shopify desde un sitio de marketing de Webflow mediante botones de compra integrados, aplicaciones de sincronización, automatizaciones o la API de Storefront, dejando que Shopify gestione el proceso de pago.

SimpleFunnel
Recauda pagos únicos o recurrentes, vende tus productos y acepta pagos directamente en Stripe.

Simple Subscriptions para tiendas Webflow
Conecta Simple Subscriptions con Webflow para vender productos recurrentes a través del carrito y el proceso de pago nativos de tu tienda.

Shippo
Conecta Webflow con Shippo para agilizar la comparación de tarifas de transportistas, la creación de etiquetas de envío y el seguimiento de paquetes para tus pedidos de comercio electrónico.

Shoprocket
Conecta Shoprocket con Webflow para añadir widgets de productos, un carrito de compras y un proceso de pago a cualquier sitio de Webflow sin necesidad de un plan de Ecommerce de Webflow.
Integraciones relacionadas
Empieza gratis
Prueba Webflow todo el tiempo que quieras con nuestro plan Starter gratuito. Compra un plan de sitio de pago para publicar, alojar y desbloquear funciones adicionales.
